
 Customer Experience
  Blog
Blog  Business Communication
  Leadership
  Marketing & Sales
  Productivity
  VoIP
VoIP 

You just signed up for an AI receptionist platform. You’re staring at a setup screen, and the promise is compelling, offering an AI employee that answers calls, books appointments, and qualifies leads 24/7. But right now, it doesn’t know anything about your business. It doesn’t know your services, hours, pricing, or even how you want it to greet customers.
What do you do first? What information does it actually need? And how do you make sure it doesn’t say something wrong to a customer?
Most AI receptionist platforms advertise that they go live in minutes, and that’s technically true. You can flip a switch and start taking calls almost immediately. But going live and going live well are two very different things. I’ve seen businesses rush through setup and end up with an AI that confuses callers, quotes the wrong prices, or sounds so robotic that customers hang up.
This guide covers both the quick-start setup and the all-essential fine-tuning that makes the difference between an AI that embarrasses your business and one that impresses your customers.
The shocking part? While it doesn’t take minutes as some sites claim, it’s also not a massive drain on your time or tech resources. Most businesses can complete the entire process in under an hour. Here’s how to do it right, step-by-step.

Try the best AI answering service free for 14 days
XBert AI answers questions and captures leads. Add your 24/7 answering service in minutes.
Step 1: Build Your AI Employee and Teach It Your Business
What your AI receptionist says starts with what it knows. This step is the foundation, and it’s where most businesses either set themselves up for success or create problems they’ll spend weeks fixing. Let’s go through each part of the process.
Start with your website or Google Business profile
My biggest pro tip here: The fastest way to give your AI virtual assistant a knowledge base is to point it at your website or Google Maps listing (as long as these sources are thorough and up to date, of course). Agents like Nextiva’s XBert AI receptionist can scan them automatically to pull your business hours, services, location, and contact information.
For most businesses, this initial scan captures up to 80% of the essential details without any manual input, taking care of the heavy lifting when it comes to some of the most common frequently asked questions callers will have. That said, review what the AI found and correct anything outdated or incomplete. If a page on your website hasn’t been updated recently, this is where you can catch discrepancies before a caller does.
Customize your AI employee’s identity
Next, set up your AI virtual receptionist’s personality. Think avatar, name, greeting, and voice. This is what your customers will hear before the AI starts to answer questions.
Pick a voice that matches your brand. A law firm might choose something professional and measured, while a home services company might go for something warmer and more conversational.
Regardless of your specific approach, the greeting should sound natural and set expectations. Think something like: “Hi, thanks for calling [Business Name]. How can I help you today?” Remember: This is the first impression. A robotic or generic greeting undermines trust immediately (even if the AI quickly transfers calls to a real human), so spend a few minutes getting it right.
Pro Tip: When you’re picking a voice in the setup wizard, don’t just choose the one you like personally. Think about your customer’s state of mind. If you’re a 24/7 emergency plumber, your caller is stressed — they need a calm, reassuring, and slightly deeper voice. If you’re a boutique fitness studio, they want high energy. Most platforms give you 5–10 options; take the time to listen to each one through a phone speaker, not just your high-end laptop speakers.
Add business details and knowledge
Now it’s time to add in all the essential information that the AI employee needs to help customers with their questions and concerns. Taking even 15–20 minutes to add extra detail here can make a world of difference.
After completing the automated scan and setting up the automated receptionist’s identity, use the “Tell me about your company” section to fill in anything the AI missed. Write in natural language, not technical jargon, and explain your business the way you’d explain it to a new employee on their first day.

Key information to include:
- Services and pricing (if you want it shared; if not, leave it out)
- Policies for cancellations, refunds, and payments
- FAQs your front desk answers repeatedly
- Team structure and call routing logic
- Guardrails for topics the AI should avoid
You can also upload supporting documents like pricing sheets, menus, and service catalogs. You can do this using a CSV template. The more context you provide here, the better your AI will be able to handle real conversations with customers.
If you’re not sure if your AI tool is ready, think about what your best receptionist would know after six months. That’s the knowledge level you’re building, but (here’s the fun part) the AI can learn and retain it in minutes.
Step 2: Test, Refine, and Add Skills
You’ve loaded your AI receptionist up with data, but it’s not customer-ready until you’ve tested it. In our experience, some businesses put too much faith in initial training rounds and skip testing (to their detriment).
Make test calls before your customers do
If there’s a glitch somewhere in the system, you don’t want your customers to be the ones to find it. Run three to five test calls with realistic scenarios:
- Ask about a service listed on your website.
- Ask about business hours or policies.
- Ask a specific question from your FAQs.
- Ask something the AI shouldn’t know or shouldn’t be discussing (to test guardrails).
Listen for accuracy, tone, and completeness. The AI should sound natural, answer correctly, and gracefully handle questions outside its knowledge base. If something sounds off, it almost always isn’t a technical issue but just a need for additional information.
This takes five minutes and prevents embarrassing mistakes with real callers. You can see how it works here:
Refine your AI’s knowledge
Based on your test calls, you can update the knowledge base. Common changes you might need to make include:
- Adding services or use cases that the AI missed
- Clarifying pricing details
- Correcting outdated information
- Adding or adjusting guardrails for sensitive topics (including competitor comparisons, legal advice, or specific employee details)
Even small refinements dramatically improve how the AI represents your business. Treat this like coaching a new hire, not programming a phone system.
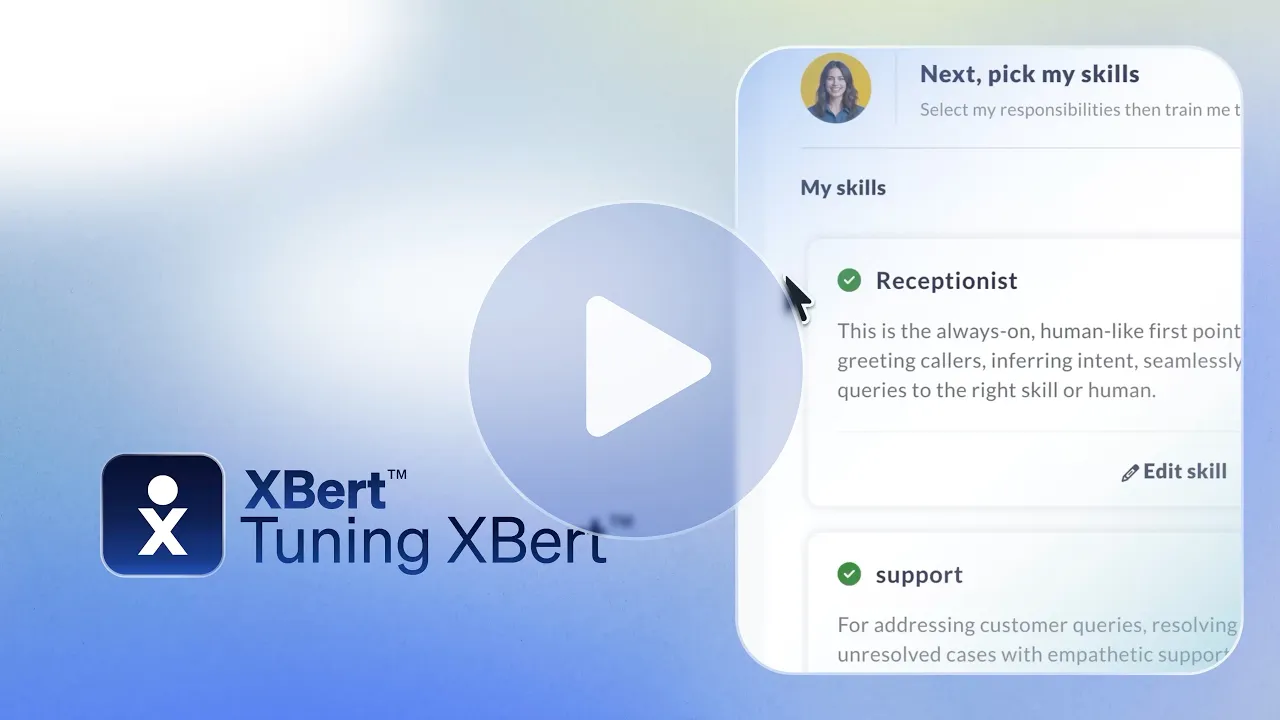
Enable skill modules
Want your virtual receptionist to be able to do more than answer FAQs? You need to train it to do that.
Skill modules give your AI receptionist abilities beyond answering common questions. Popular AI receptionist use cases include:
- Receptionist skill: Handles call routing so customers reach the right person or department automatically.
- Support skill: Answers customer support questions and can create tickets for follow-up.
- Lead generation skill: Qualifies inbound calls by asking the right questions, capturing contact details, and scoring leads in real time.
Each skill includes built-in instructions and a knowledge base. Most businesses won’t need to change the defaults immediately — review them after a week of live call volumes and adjust based on real data.

The lead generation skill is particularly valuable for service-based businesses. It turns every inbound call into a potential pipeline opportunity without requiring a live agent to screen callers.
Pro Tip: When configuring the lead generation skill, less is more. I recommend a three-question sequence to maximize completion rates:
- Identity: “Who am I speaking with?”
- Intent: “Briefly, what can we help you with today?”
- Urgency: “Are you looking to get this handled this week, or are you just researching?”
This allows the AI to score leads so that when they hit your inbox, you know exactly who to call back first.
Step 3: Connect Channels and Go Live
Your AI receptionist is trained and tested. Now it’s time to connect it to the channels your customers use, including phone, text, and live chat. Then, you’ll configure what happens when the AI needs to hand off to a human.
Want to cut right to the chase? You can watch our video tutorial here:
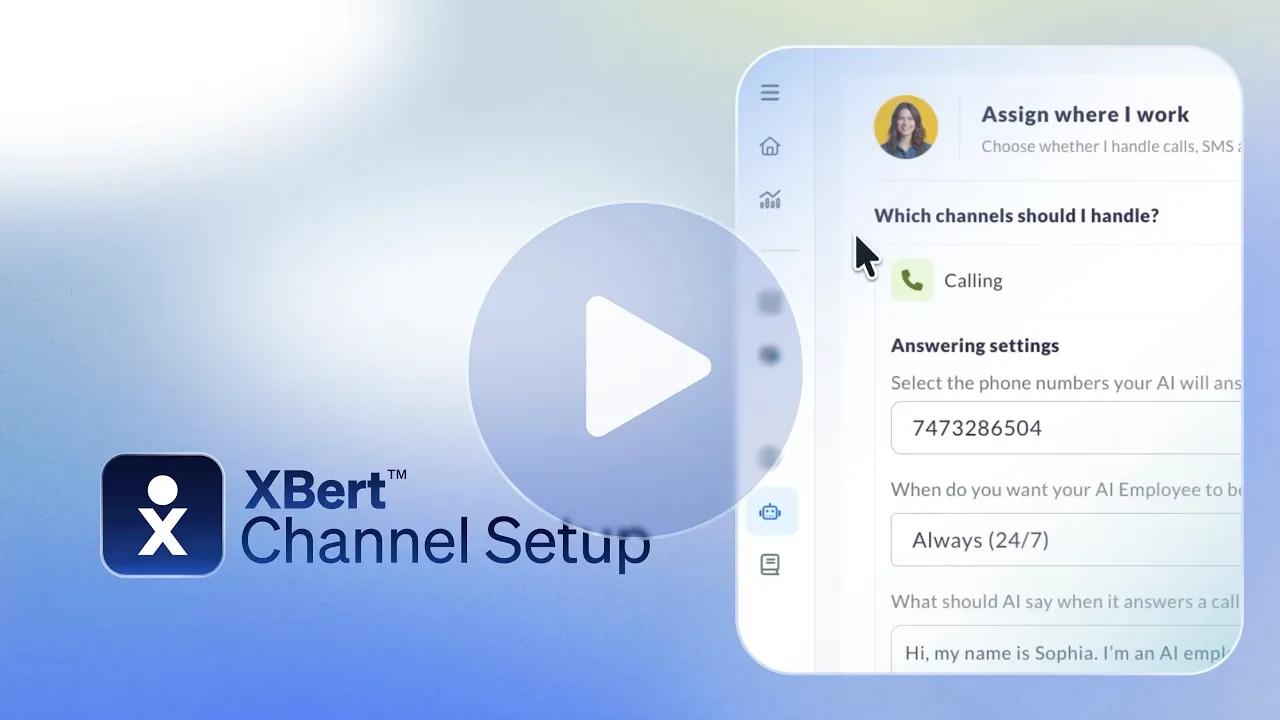
Configure phone calls
AI agents like XBert typically include a dedicated phone number out of the box, so you can start receiving phone calls immediately. For most businesses, the best approach is call forwarding from your existing number.
Depending on your workflow, you can:
- Forward all calls to XBert.
- Forward only after-hours or weekend calls.
- Forward calls only when your main line is busy or unanswered.
Then, you need to set your handoff preferences. This determines what XBert should do when a caller needs more help than it can provide. You may want to tell it to forward the call straight to the relevant team member, for example, or take a message for follow-up.
Once you configure the schedule (choosing between always on, business hours only, or custom options), confirm the greeting. Then, you can go live.
Check out this after-hours request example of XBert AI: A customer reaches out after business hours needing an account update. XBert captures the details and queues everything for follow-up. 👇
Add live chat to your website
When you’re ready, you can enable live chat in your channel settings and customize the greeting and handoff behavior. To add the widget, copy a single line of code from your admin settings and paste it into your website’s HTML. When you publish it, the chat widget appears immediately.
When you do this, web visitors can get instant answers, book appointments, and be qualified as leads all without a single human on the other end. This channel is especially valuable for converting visitors who prefer text-based communication or who want a quick answer they may not have been willing to make a phone call for.
Live chat is also the fastest channel to launch. There’s no carrier registration or phone system changes involved. If you want to test your online virtual receptionist in a low-risk environment, you can start here.
Enable text messaging
To send texts from your business number, you’ll need to complete 10DLC registration. This is a carrier requirement that verifies your business and ensures reliable delivery.
During registration, provide your business name, Tax Identification Number, and examples of messages you plan to send, such as appointment confirmations, scheduling links, or follow-up texts. Approval can take anywhere from a few days to a few weeks, so start early.
Once approved, your AI receptionist can send and receive business texts automatically. This is perfect for customers who prefer texting over voicemail, and it allows you to take advantage of automated outbound messaging.

Note: While you can turn on the AI’s voice in minutes, the texting side involves the carriers. 10DLC registration is the digital equivalent of a background check for your business. Don’t wait until the day you want to launch an SMS campaign to start this. Verify your Tax Identification Number and business address in the Nextiva portal on day one so the carriers can clear your path while you’re still in the testing and tuning phase.
Hear why XBert AI is the best AI receptionist
XBert AI receptionist handles customer questions, captures leads, and books appointments. Try it free for 14 days.
What to Expect After Going Live
You’ve built and tested your agent and connected it to go live. You’ve cleared the biggest obstacle, but the work isn’t over. You’ll still need to monitor your AI voice agent’s progress to better understand how it’s impacting the customer experience and what changes you need to make.
Here’s what you can realistically expect:
- The first 48 hours are a learning window: Review call transcripts daily for the first few days. Look for questions the AI couldn’t answer, incorrect information it shared, and missed handoff opportunities. Every gap you find is a coaching opportunity.
- Expect to make three to five small adjustments in the first week: This is normal. Even the best initial setup will miss edge cases that only real customer conversations reveal. Add new FAQs, refine guardrails, and update knowledge-base items as you learn.
- Track key metrics from day one: Monitor resolution rate (how many conversations the AI handles without human help), handoff rate, customer satisfaction, and total conversations handled. To help make this easier, Nextiva’s XBert provides real-time transcripts and insights from the dashboard.
- Plan for a full review after 30 days: By then, you’ll have enough data to evaluate performance, identify the highest-volume call types, and decide which additional skills or integrations to enable.
The AI improves with every interaction. Unlike a human receptionist who needs repeated training, your AI receptionist gets better continuously as it handles more conversations and as you refine its knowledge base.
Go Live With Your Nextiva AI Voice Agent in Minutes, Not Months
Setting up an AI phone answering service used to be a project (and not a pleasant one). Now it’s a single task that you can realistically complete quickly.
The technology has reached the point where any business owner can go from zero to a fully functional AI employee in under an hour without coding or relying on their IT department. And in my experience, the three-step framework in this guide to build, test, and connect works every time.
The businesses that invest an extra 15–20 minutes in testing and refining are the ones whose AI answering service sounds polished and professional from day one. So now, with the tools being ready, the question is whether you’re ready to stop letting missed calls and high call volumes overwhelm your team and cost you revenue.
Fortunately, AI voice agents are now affordable, too. Nextiva’s XBert AI Receptionist starts at $99 per month and includes assisted onboarding at no extra cost. Most businesses go live in minutes.
See how our voice agent can handle your calls, texts, and chats 24/7. Get in touch to learn more about XBert today.
AI receptionist that never misses a call, text or chat.
XBert AI greets customers, books appointments, and captures leads while your business grows.
Frequently Asked Questions About Setting Up an AI Receptionist
Most businesses complete the setup of their AI receptionist in under an hour, including testing and initial refinement.
No, you don’t need any technical skills to set up an AI receptionist. Nextiva’s XBert, for example, is a no-code platform designed for business owners and office managers. If you can fill out a form and make a phone call, you can set this up.
At a minimum, your AI receptionist will need the following information to get started:
– Your business name
– Services
– Hours
– Contact information
Remember, the more you add, the better the AI handles real conversations. Adding answers to FAQS and information about your team structure and company policies can be helpful.
Yes, you can use your existing business phone number with an AI receptionist. Many businesses use call forwarding from their existing number to route calls to XBert. This is a one-time setup in your current phone system.
To train your AI voice agent to answer specific questions, add information to the knowledge base using natural language. Write the way you’d explain something to a new employee or a customer, and the AI learns it immediately.
If the AI receptionist can’t answer a question, you can configure the handoff behavior. The AI should forward the call to a team member who can help or take a message for follow-up.
XBert AI Receptionist starts at $99 per month and includes assisted onboarding. For most small businesses, this replaces the cost of missed calls, after-hours answering services, or part-time front desk coverage.
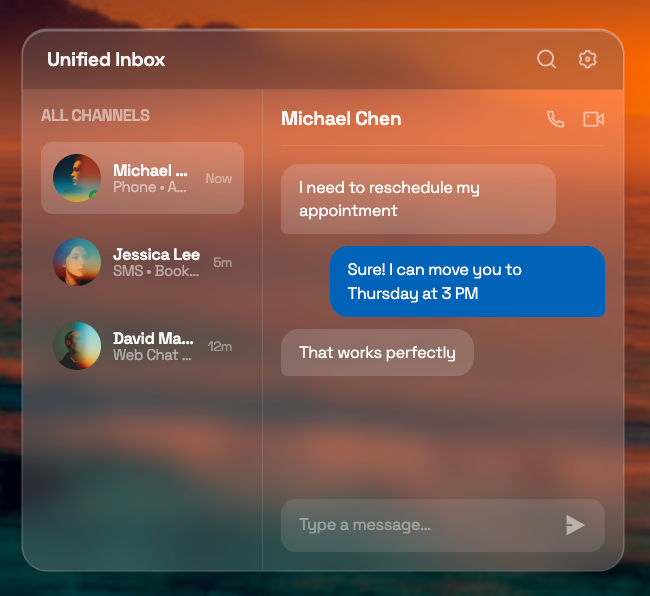
Yes, XBert handles all three channels with conversational AI: inbound calls, SMS, and website live chat. You can enable each channel independently based on your workflow and customer preferences.


