Add Wait Blocks to specify an amount of time that must transpire or a specific date/time that must be true before initiating the Action that completes the task. For example, when an interaction is logged to an Account, Nextiva CRM will trigger an action, such as sending a text message to the Contact associated with the Account 24 hours after the interaction was logged. The Wait Block, in this example, is 24 hours.
Only Administrators with a license for Rules and Automation can create rules. For information on how to create rules, click here.
- Under Workflow Builder, on the Build page, click Plus (+) and select Wait Block to add a Wait Block to the rule.
- Enter a name for the Wait Block in the Wait Block Name field.
- Select Start on a specific date or time or Wait for a duration of time to indicate when to execute the Action and complete the respective fields.
- Click Save & Close to add the Wait Block to the rule flow.
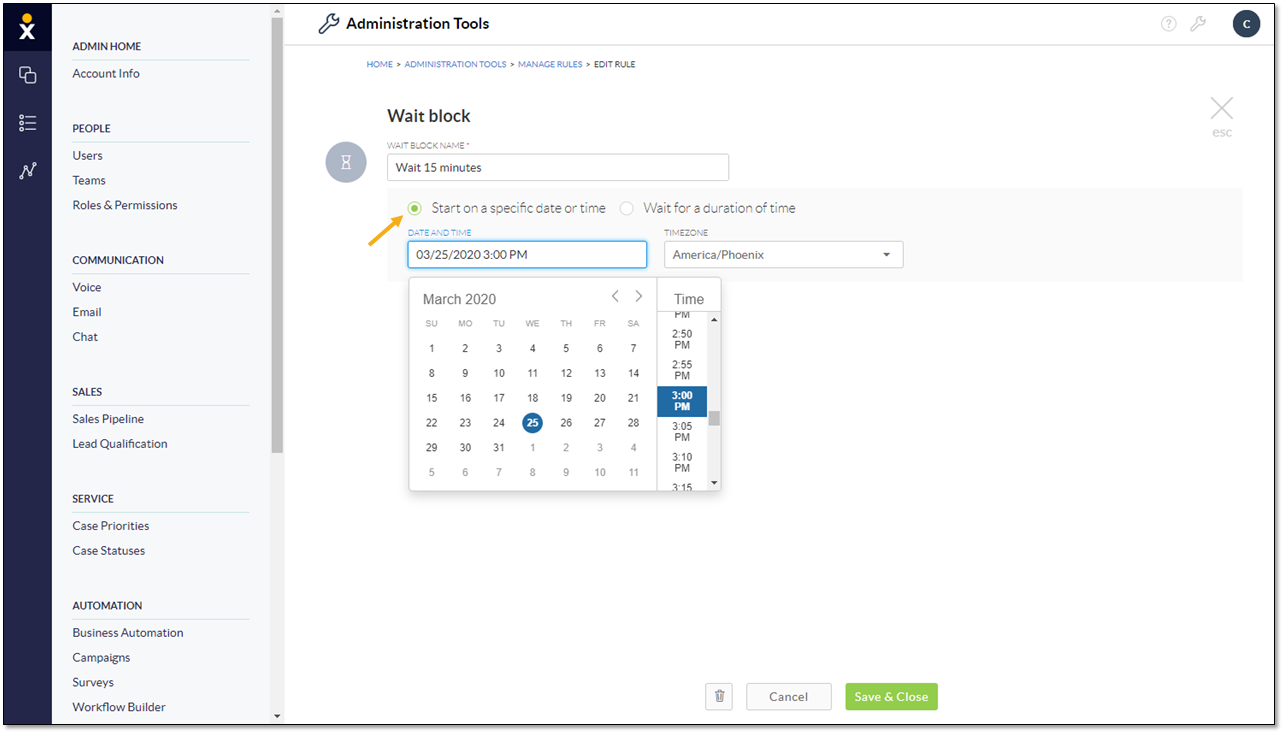
Start on a Specific Date or Time
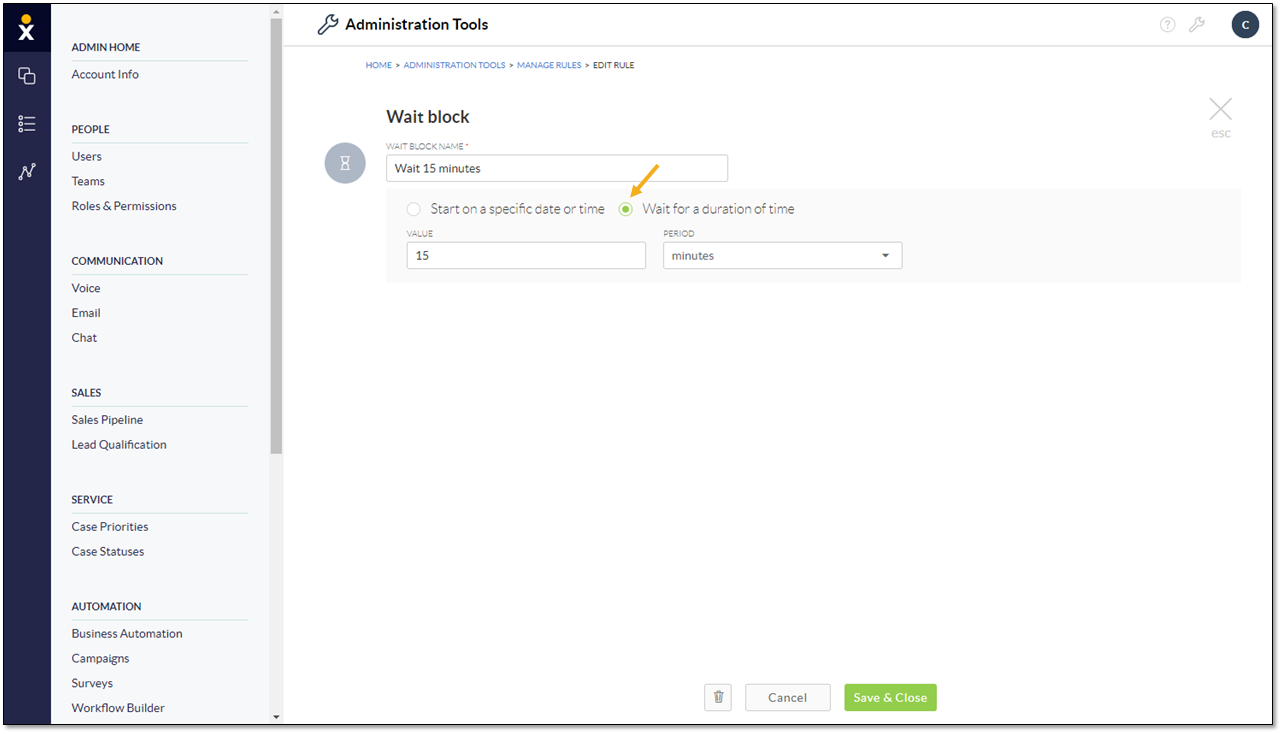
Wait for a Duration of Time