An Account is a Nextiva CRM record used to store information related to a business partner or customer. It also saves a history of all interactions related to the account. Users can associate contacts, cases, and opportunities to accounts to create relationships between the records for easy access to related information.
Account view
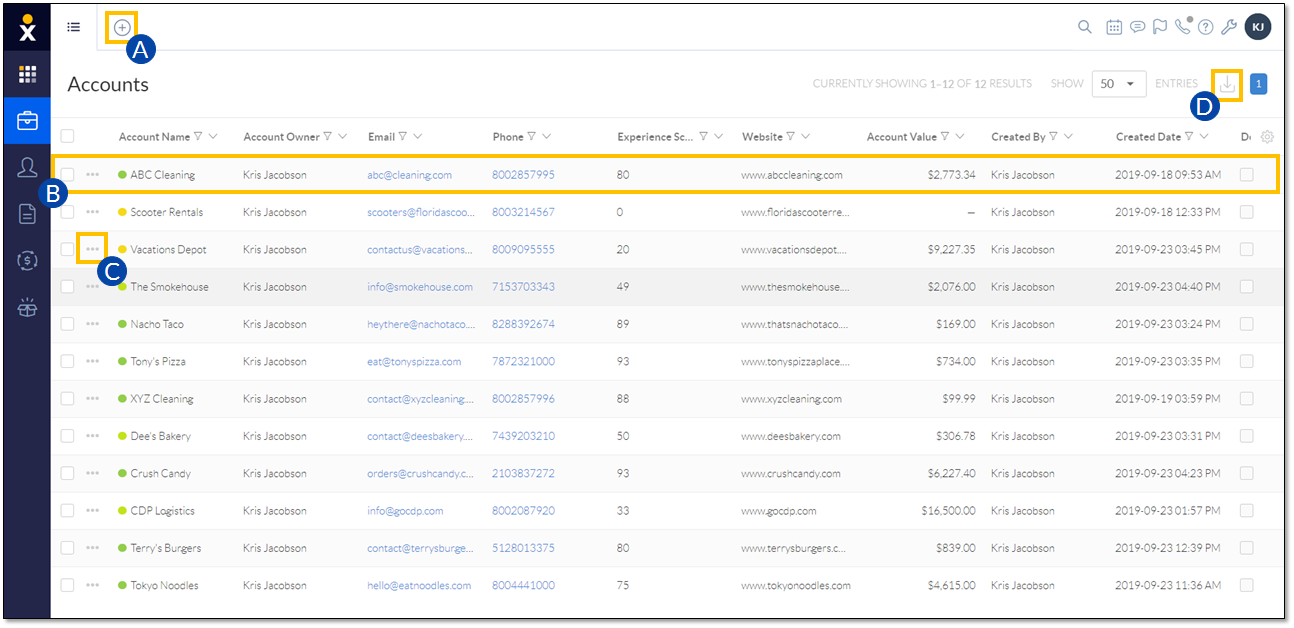
Creating accounts
- Click the Plus (+) icon and select account.
- Fill out the New Account form and click Save.
Account Workspace
In the Account view, search and select an account to view the Account Workspace. The Workspace allows users to easily view and manage account Information, contact details, interactions, analytics, and more.
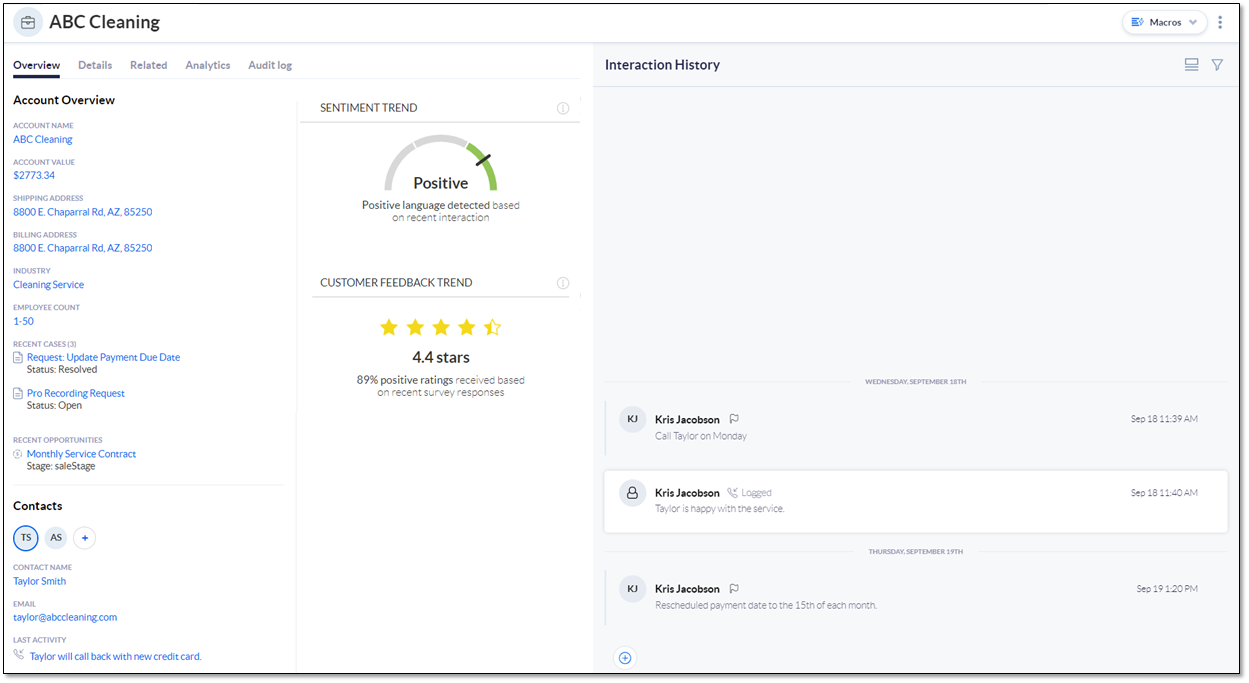
Overview Tab
On the Overview tab, view a 360° snapshot of the customer’s account, their recent activity, and an overview of the customer journey. The Overview tab displays necessary account information, such as account name, shipping and billing addresses, associated contacts, and analytics. Recent cases and opportunities related to the account also appear on the Overview tab.
Details Tab
The Details tab allows Users to view and edit account information, contact details, and address information.
Related Tab
The Related tab displays records associated with the account. Click the Show button and select the desired record type(s) (Cases, Contacts, Opportunities, Child/Parent Accounts) from the drop-down menu. Contacts and Opportunities display by default. To associate an existing record, such as a Contact or Case, with an account, click Add. Click Create new to create a new record and automatically associate it with the account.
Analytics Tab
On the Analytics tab, view the Customer Feedback Trend and Sentiment Trend details. View a detailed history of the customer journey by hovering over the points in any of the charts. Adjust the sliders to modify the time range.
- Sentiment Trend works to estimate the customer’s current disposition. Nextiva CRM calculates this metric by gathering positive and negative keywords in the account’s activities and SmartTopics. This can be customized based on customer needs and industry.
- Customer Feedback Trend reports the outcome of any surveys the customer has completed.
Interaction History Feed
View all recent communication in the Interaction History feed on the right side of the workspace. Users can also create a Note, Email, Log Interaction, and Send Survey by clicking the Plus (+) icon at the bottom-left corner of the Interaction History feed.
NOTE: You can also preview surveys that have been sent and completed, including the results and the status, directly from the interaction history.