If you are looking to hook up your Nextiva handset or device and do not have multiple network connections at your desk or station, you may be able to “Daisy Chain” devices together to get them up and running without a dedicted voice port. If you have a computer at your station, you may be able to set up the phone and computer via one network connection (Ethernet or LAN port), by Daisy Chaining. Please ensure if you are Daisy Chaining to a computer or laptop that it is connected via Ethernet, not Wi-Fi.
First, on the back of your phone you’ll see a couple different ports, depending on your phone model. Identifiy the ports you’ll need to use, either labeled PC or with a graphic of a computer.
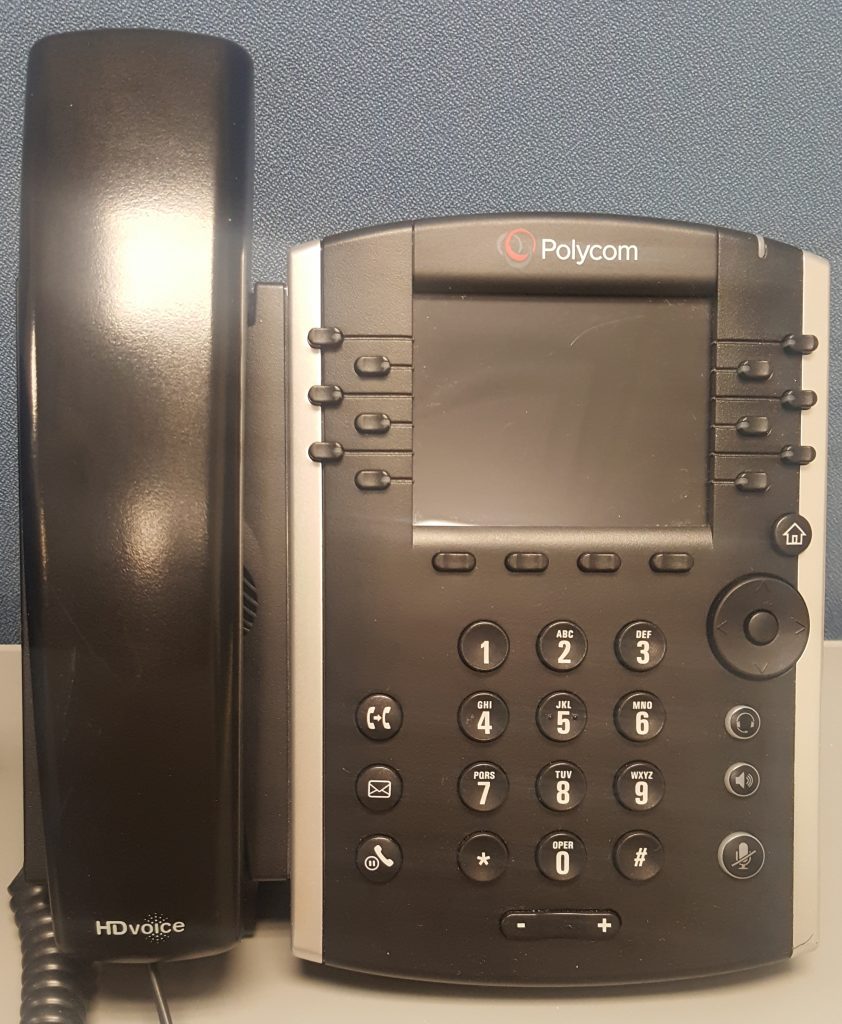 SIP Phone
There will be labels marking each port. Explanations for each port can be found here.
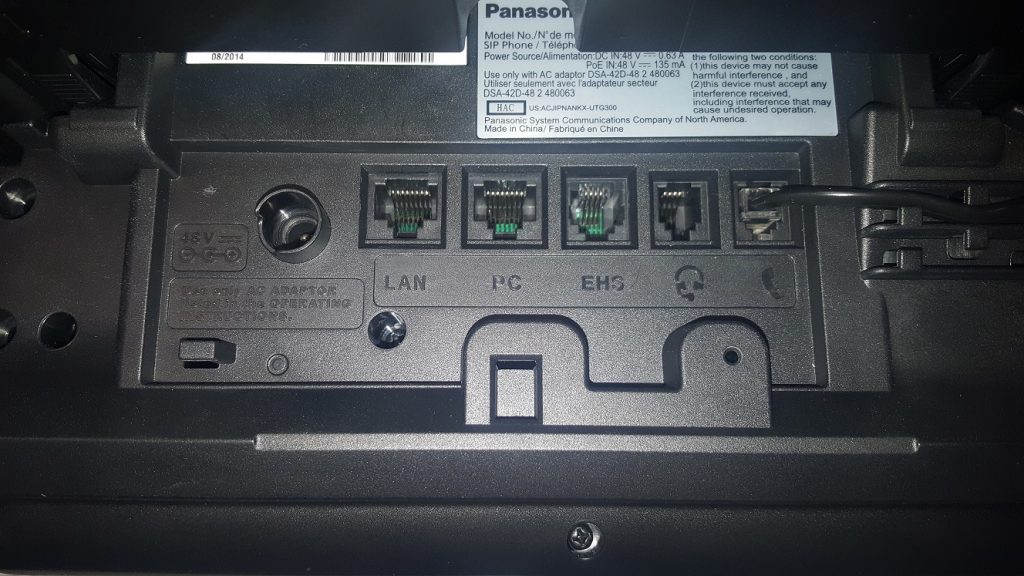 Back of Phone Version 1
Some phones will have graphics marking each port.
 Back of Phone Version 2
First, you’ll want to connect an Ethernet cord from the network connection (router/Firewall) to the Ethernet port (LAN) marked on the back of the phone.
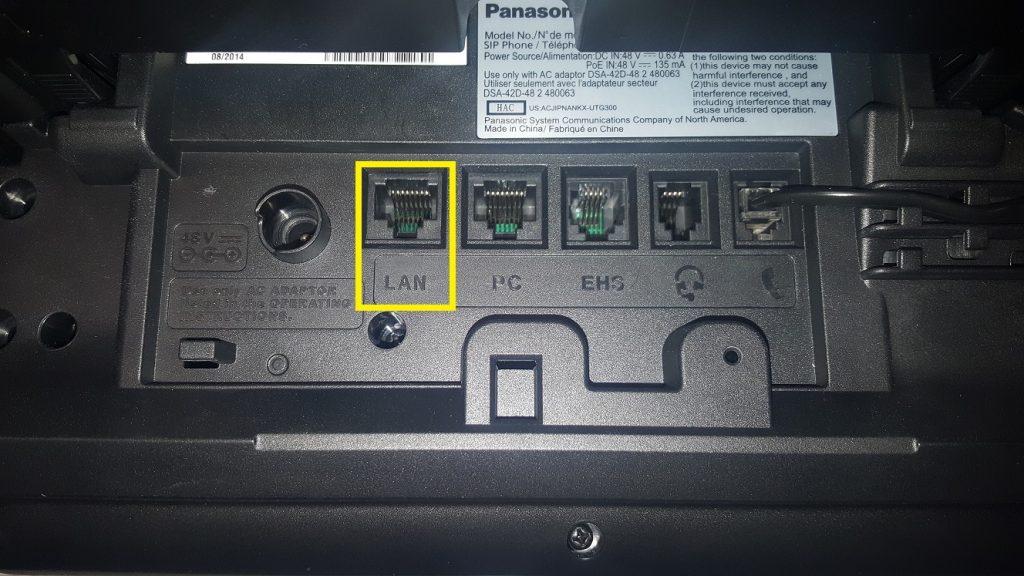 LAN Port
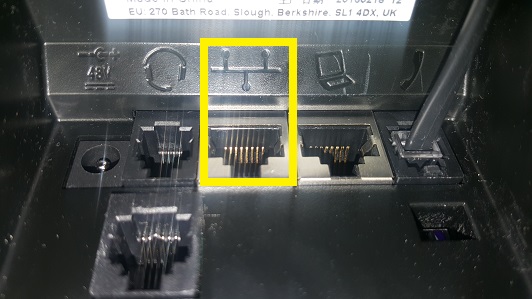
LAN Port Version 2
Next, plug a different Ethernet cord into the PC port (Figure 1-6). This Ethernet cord will connect to the Ethernet port on your laptop or computer.

PC Port
Now you’re all set.
NOTE: Any time you disconnect the phone’s power cord (or Ethernet cord if POE), the system (including any devices connected via Daisy Chain) may lose Internet connection.
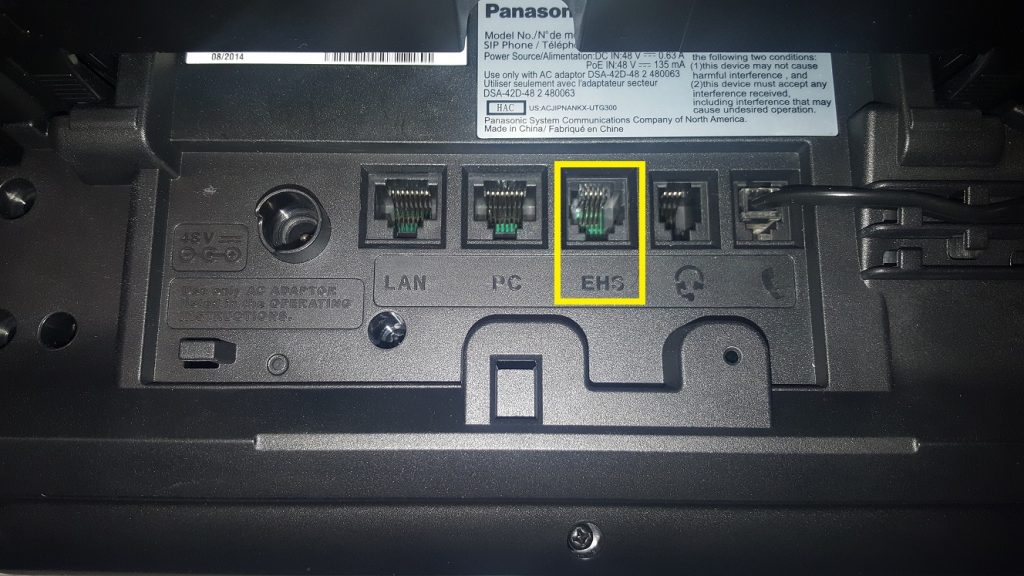
The port labeled “EHS”, if applicable is for Electronic Hook Switches, used commonly for headsets.
The port labeled with a headset is to connect corded headsets to your phone.
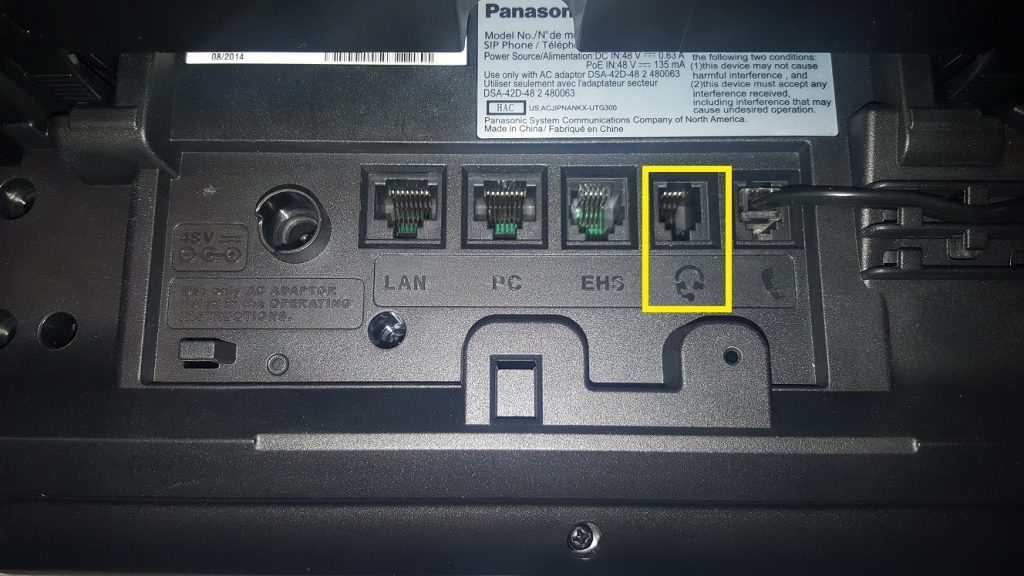 Headset Port
Lastly, the port that is labeled with a phone handset is used to connect the actual handset to the base unit.
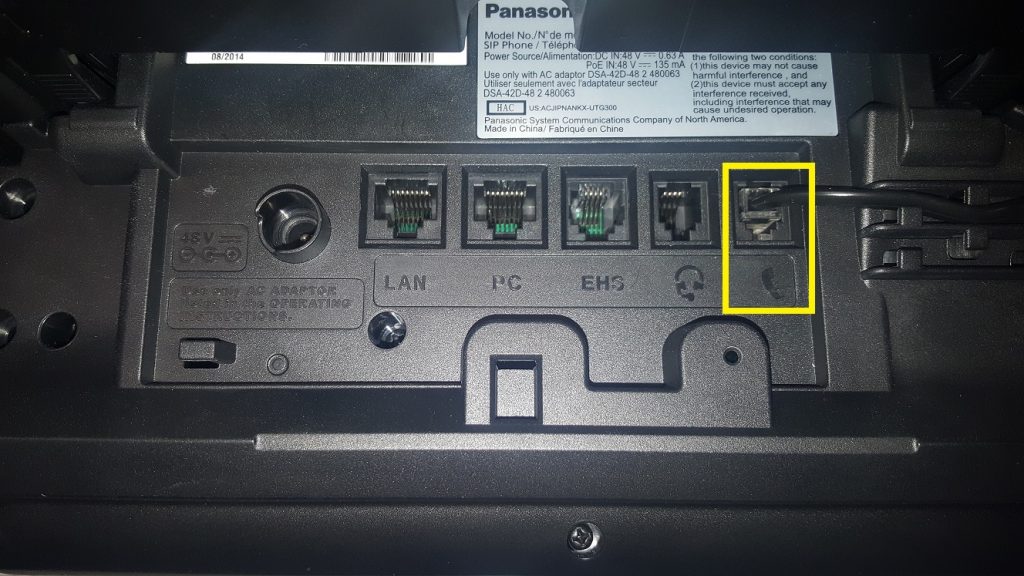 Handset Port.