Wallboards display a high-contrast set of metrics to be displayed on large TVs or screens in a call center to keep track of current statistics.
Create a new wallboard from scratch or from using a NextOS Analytics system-generated dashboard template. For information on using dashboard templates, click here.
- Visit nextiva.com, and click Client Login to log in to NextOS.
- From the NextOS Home Page, select Analytics.
- In the left navigation panel, click Dashboards, then select Dashboard Builder.
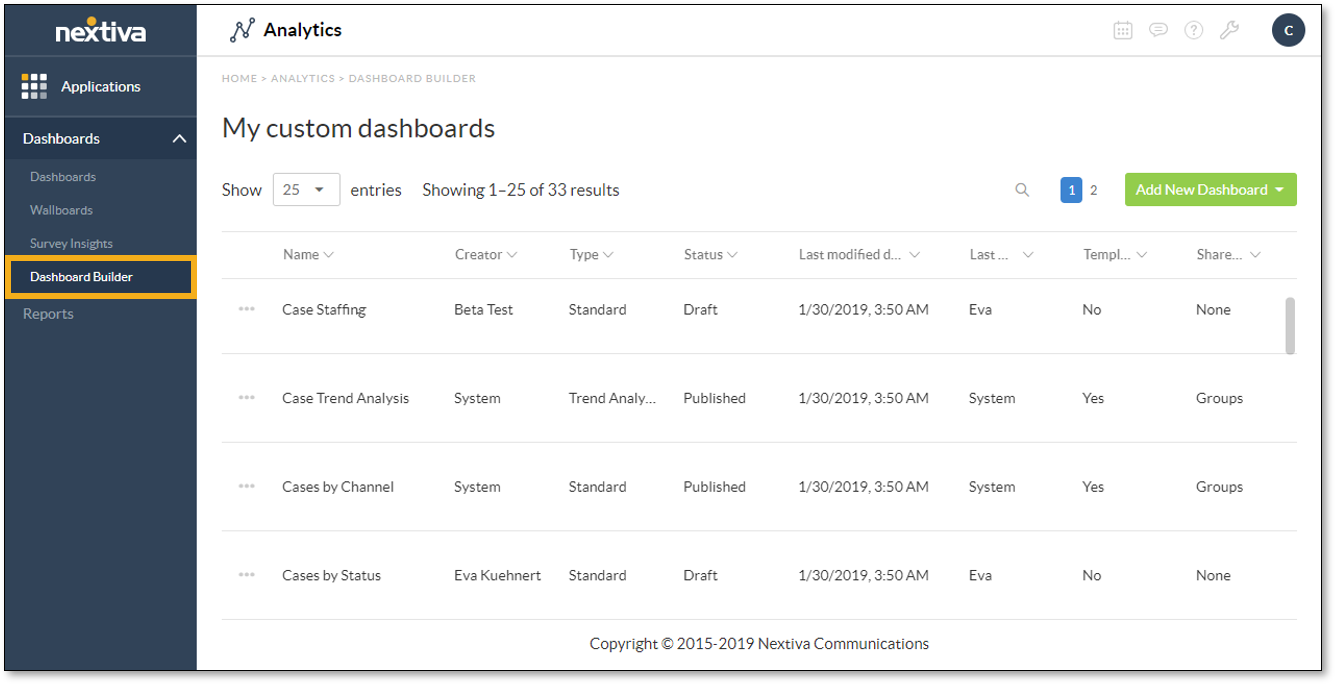
- Click Add New Dashboard at the top-right corner of the window, then select Wallboard.
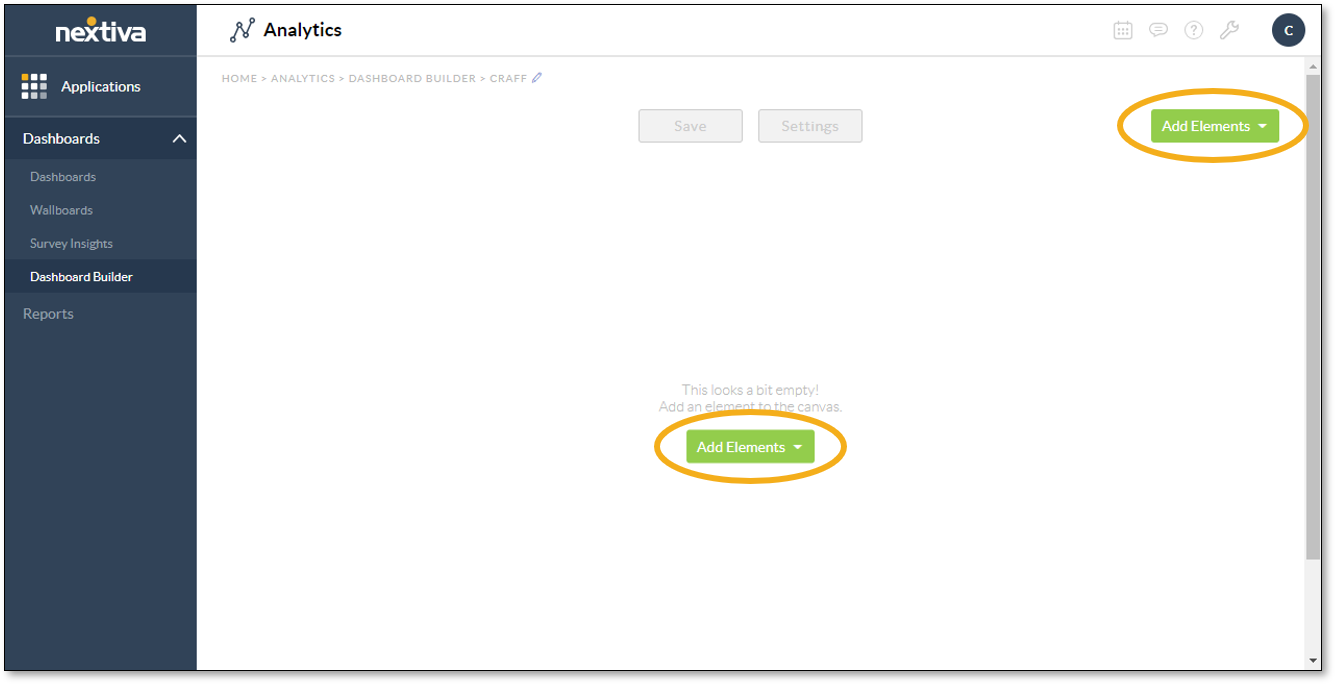
- Enter a name for the wallboard, then click Okay.
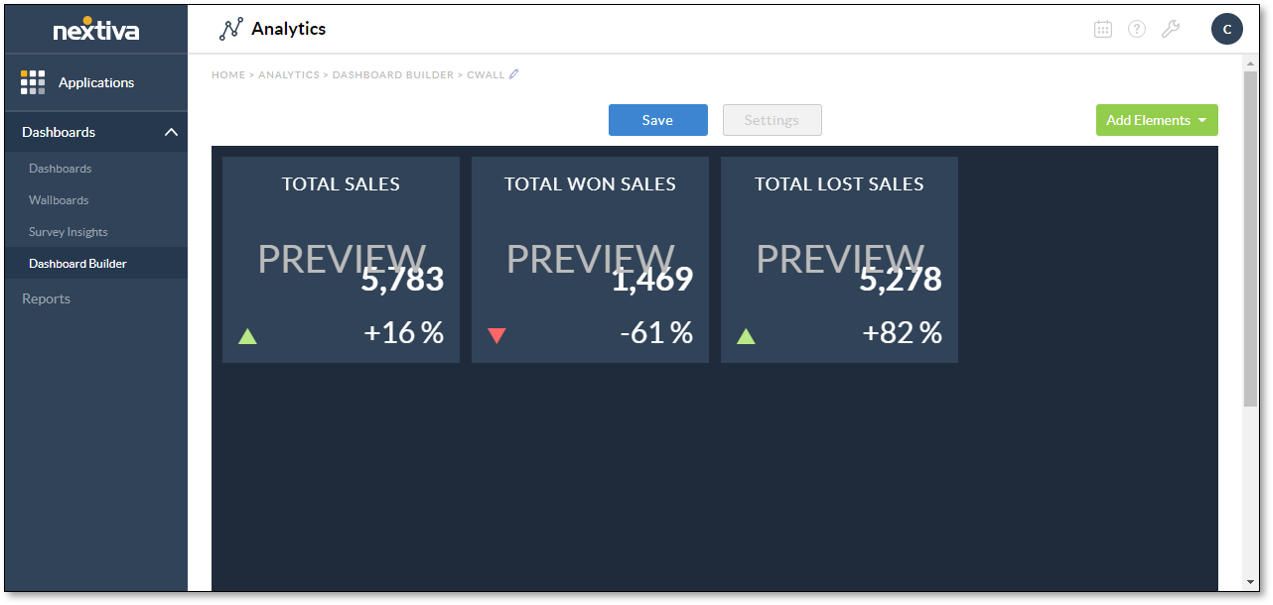
- Add metric tiles to the wallboard by clicking Add Elements at the top-right corner or the center of the window, then selecting Metric Tile. For information on metric tiles, click here.
- Repeat step 4 to add multiple metric tiles, if desired.
- Reposition the metric tiles as desired by clicking and dragging them across the window.
- Remove the metric tiles by clicking the X at the top-right corner, then clicking Remove it. The X appears when the cursor hovers over the tile.
- Click the Save button to create the wallboard.
- Click the Settings button to configure the settings for publishing the newly created wallboard. For information on configuring the settings, click here.
Related Articles:
- What is Dashboard Builder in NextOS Analytics?
- Creating Standard Dashboards in NextOS Analytics
- Adding Metric Tiles to Dashboards in NextOS Analytics
- Renaming Dashboards in NextOS Analytics
- Modifying the Metric Tile Element on Dashboards in NextOS Analytics
- Configuring Dashboard Settings in NextOS Analytics
- Duplicating Dashboards in NextOS Analytics
- Deleting Dashboards in NextOS Analytics
- Using Dashboard Templates in NextOS Analytics