Schedules are used with services, such as an Auto Attendant, to specify if the service should perform an action (ring phones, forward calls, route calls to voicemail, etc) should take place. Once you have set up your schedule, you’ll want to assign the schedule to an Auto Attendant to determine when a business-hours menu or an after-hours menu should play.
Assigning Schedules to an Auto Attendant:
-
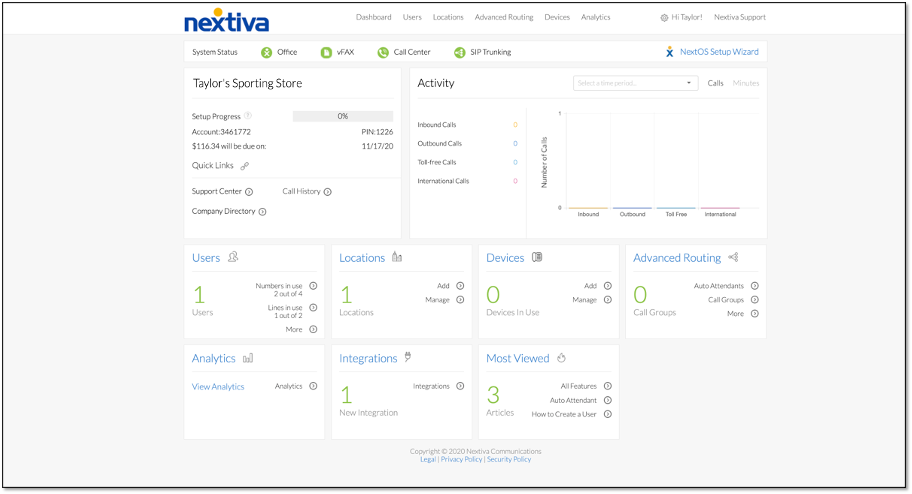
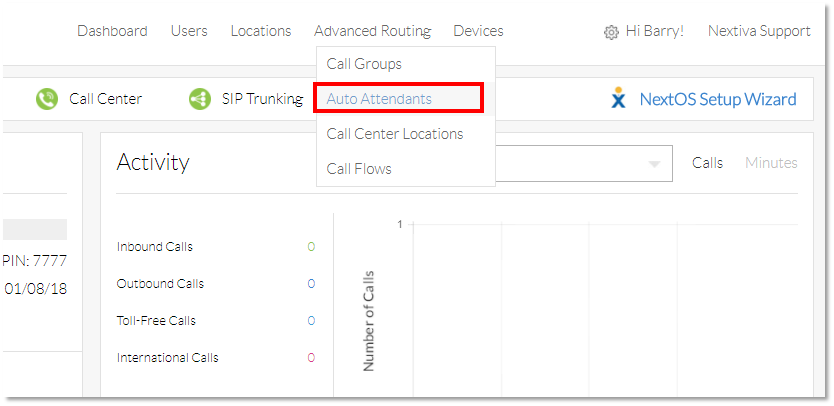
- From the Nextiva Voice Admin Dashboard, hover over Advanced Routing at the top of the page, then select Auto Attendants.
-
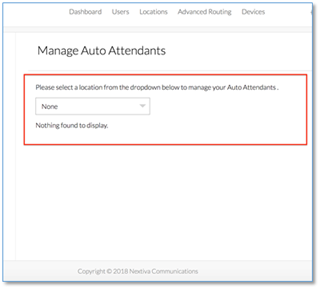
- On the Manage Auto Attendants screen, click the drop-down menu to select the location to which the Auto Attendant belongs.
-
- Hover the cursor over the Auto Attendant you want to add a schedule to, then click the pencil icon to the right.
![]()
-
- Select the schedule to assign as your Business Hours schedule in the Regular schedule drop-down list.

- A pop-up message will appear confirming the auto attendant has been updated.