.chooseScreenMost { display: flex; flex-wrap: nowrap; gap: 15px; }
.chooseScreenMost > div{width: 50%;}
.chooseScreenMost.topChoice > div:nth-of-type(1){width: 49.3%;}
.chooseScreenMost.topChoice > div:nth-of-type(2){width: 50.7%;}
.chooseScreenMost div img{ width: 100%; }
.chooseScreenMost div a br{ display: none;}
.hkb-article__content img { border-radius: 0;box-shadow: none!important; border: none;}
.chooseFlexCenter {align-items: center;}
.chooseFlexTop {align-items: start;}
@media only screen and (max-width:767px){
.chooseScreenMost { display: flex; flex-wrap: wrap; }
.chooseScreenMost > div, .chooseScreenMost.topChoice > div:nth-of-type(1), .chooseScreenMost.topChoice > div:nth-of-type(2){ width: 100%; max-width: 567px;}
}
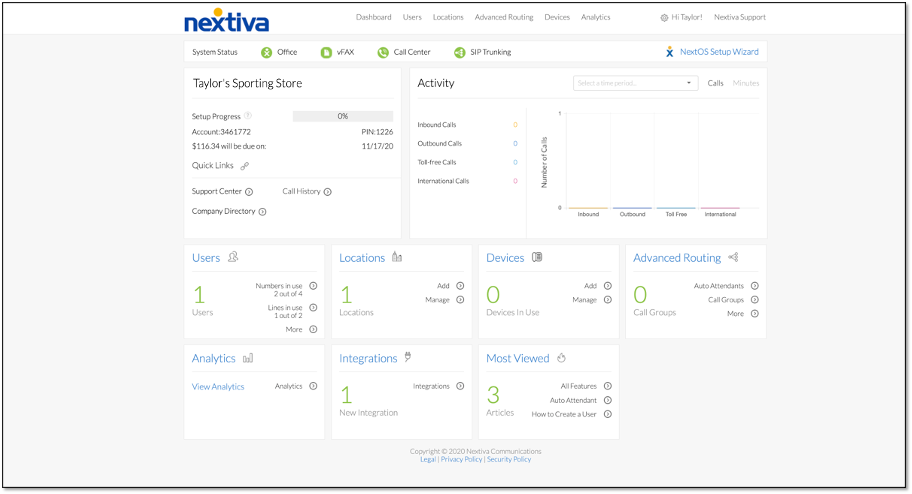
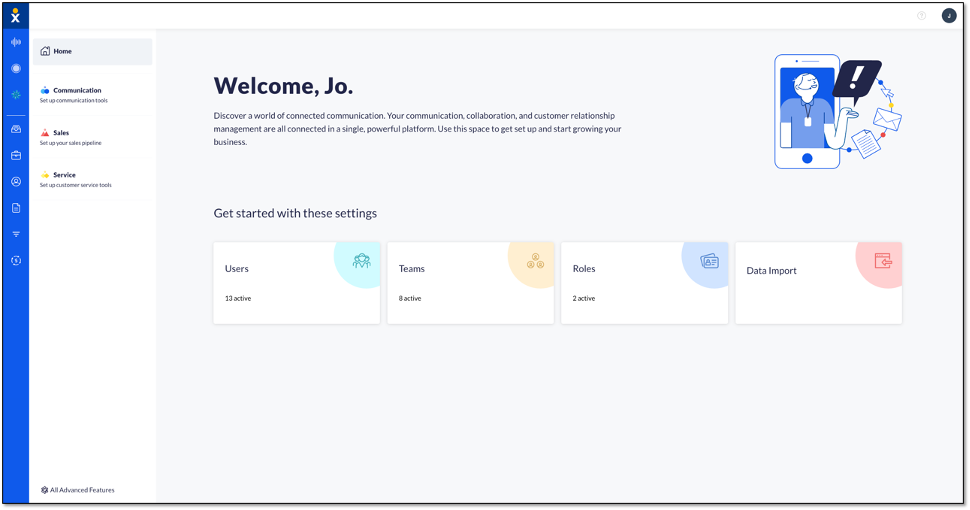
Choose the image that looks most like your screen once logged in.
Not all phones are compatible with Shared Call Appearance. Any type of phone that does not have full status support (such as the Cisco 7940/7960 series or Grandstream phones) will not work. This is a difficult issue to troubleshoot on your own, we suggest that you contact a member of the Nextiva Support team through chat, email, or by submitting a ticket. When submitting your ticket, please include the make and model of the phone.
To Troubleshoot One-Way Audio Issues:
- One-way or no-way audio is most likely caused by double NAT or SIP ALG on your private network.
- Manually configured phones can have the port changed in the Settings menu of the phone to bypass possible SIP ALG. Auto-configured phones must have the port changed within the configuration file on the back end by a Nextiva Support Technician.
- To bypass SIP ALG on your mobile or computer application (like 3CX or Bria), first pull up the Settings menu.
- Under the Account tab, input :5062 at the end of the domain. Example: prod.voipdnsservers.com:5062
- Save the changes at the bottom by pressing OK.
To Troubleshoot Dropped Calls:
Dropped calls while using Shared Call Appearance usually has to do with the protocol being used. By default, the UDP protocol is used for Nextiva VoIP connections. For Shared Call Appearance to work without issue, the TCP protocol needs to be used.
- Shared call Appearance only works properly when the phone is using the TCP protocol. For auto-provisioned phones, this protocol must be changed in the configuration file on the back end by a Nextiva support representative.
- On your computer or mobile application, this can be changed in the Settings menu. Select the Transport option on your computer softphone or mobile application. In the drop-down menu, select TCP and press OK.
Call Failures in a Call Group with Shared Devices:
The Shared Call Appearance feature is used to signal multiple devices on a single inbound telephone call. A Call Group is used to call multiple users on a single inbound phone call. When users in a Call Group have Shared Call Appearances setup to other devices, this can cause technical issues by sending a single call to a device multiple times.
To fix this issue, one of two things must be done.
- Change the Call Distribution policy of the Call Group (See below)
- Remove the Shared Call Appearances (Click here)
Change the Call Distribution policy of the Call Group to something other than Simultaneous Ring:
- From the Nextiva Voice Admin Dashboard, hover your cursor over Advanced Routing and select Call Groups.
- Select the location the Call Group is on by clicking the drop-down arrow and clicking the location.
- Hover your cursor over the name of the Call Group you would like to adjust and select the pencil icon.
- Check the Call Distribution Policy and verify that it is set correctly.
- Make sure the Simultaneous radio button is NOT selected and choose Regular, Circular, Uniform, or Weighted Call Distribution.
- Regular, Circular, Uniform, and Weighted Call Distribution will cause incoming calls to ring phones in a different pattern based on your company needs (See How Step here).
- In the Available Users section, verify that the order of users is correct. To move a user, click and hold on the user, and move the user to the correct order location.
- Click Save to apply changes.
- Place and receive a test call to ensure Shared Call Appearance is functioning as expected.
To Troubleshoot the “Account Failed to Enable” Error Message:
- The “Account failed to enable” message usually means the authentication details entered into the phone are incorrect. This can happen when the authentication details in the account for the primary phone have been regenerated and the new information was not entered into the device.
- From the Nextiva Voice Admin Dashboard, hover your cursor over Users and select Manage Users.
- Hover your cursor over the user you wish to edit Shared Call Appearance authentication details for, and click the pencil icon to edit.
- Scroll down and select the Device section to expand.
- Click the Change Password checkbox, then click the green Generate buttons under Authentication Name and Change Password field.
- Notate the authentication details, as they may be needed in the future.
- Click the green Save button.
- Reboot the device by unplugging the power supply for 10 seconds, then plugging the device back in.
- The device will come back online and may reboot again to install the new configuration details.
- Place and receive a test call to ensure Shared Call Appearance is functioning as expected.