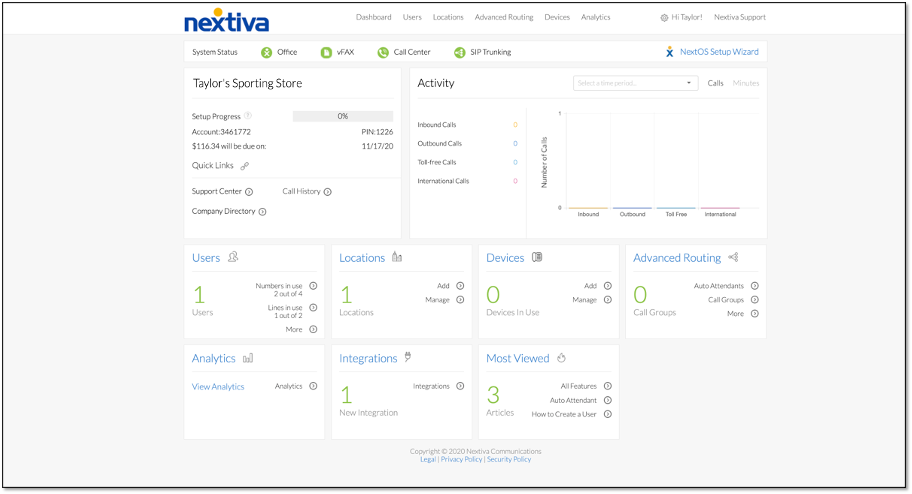
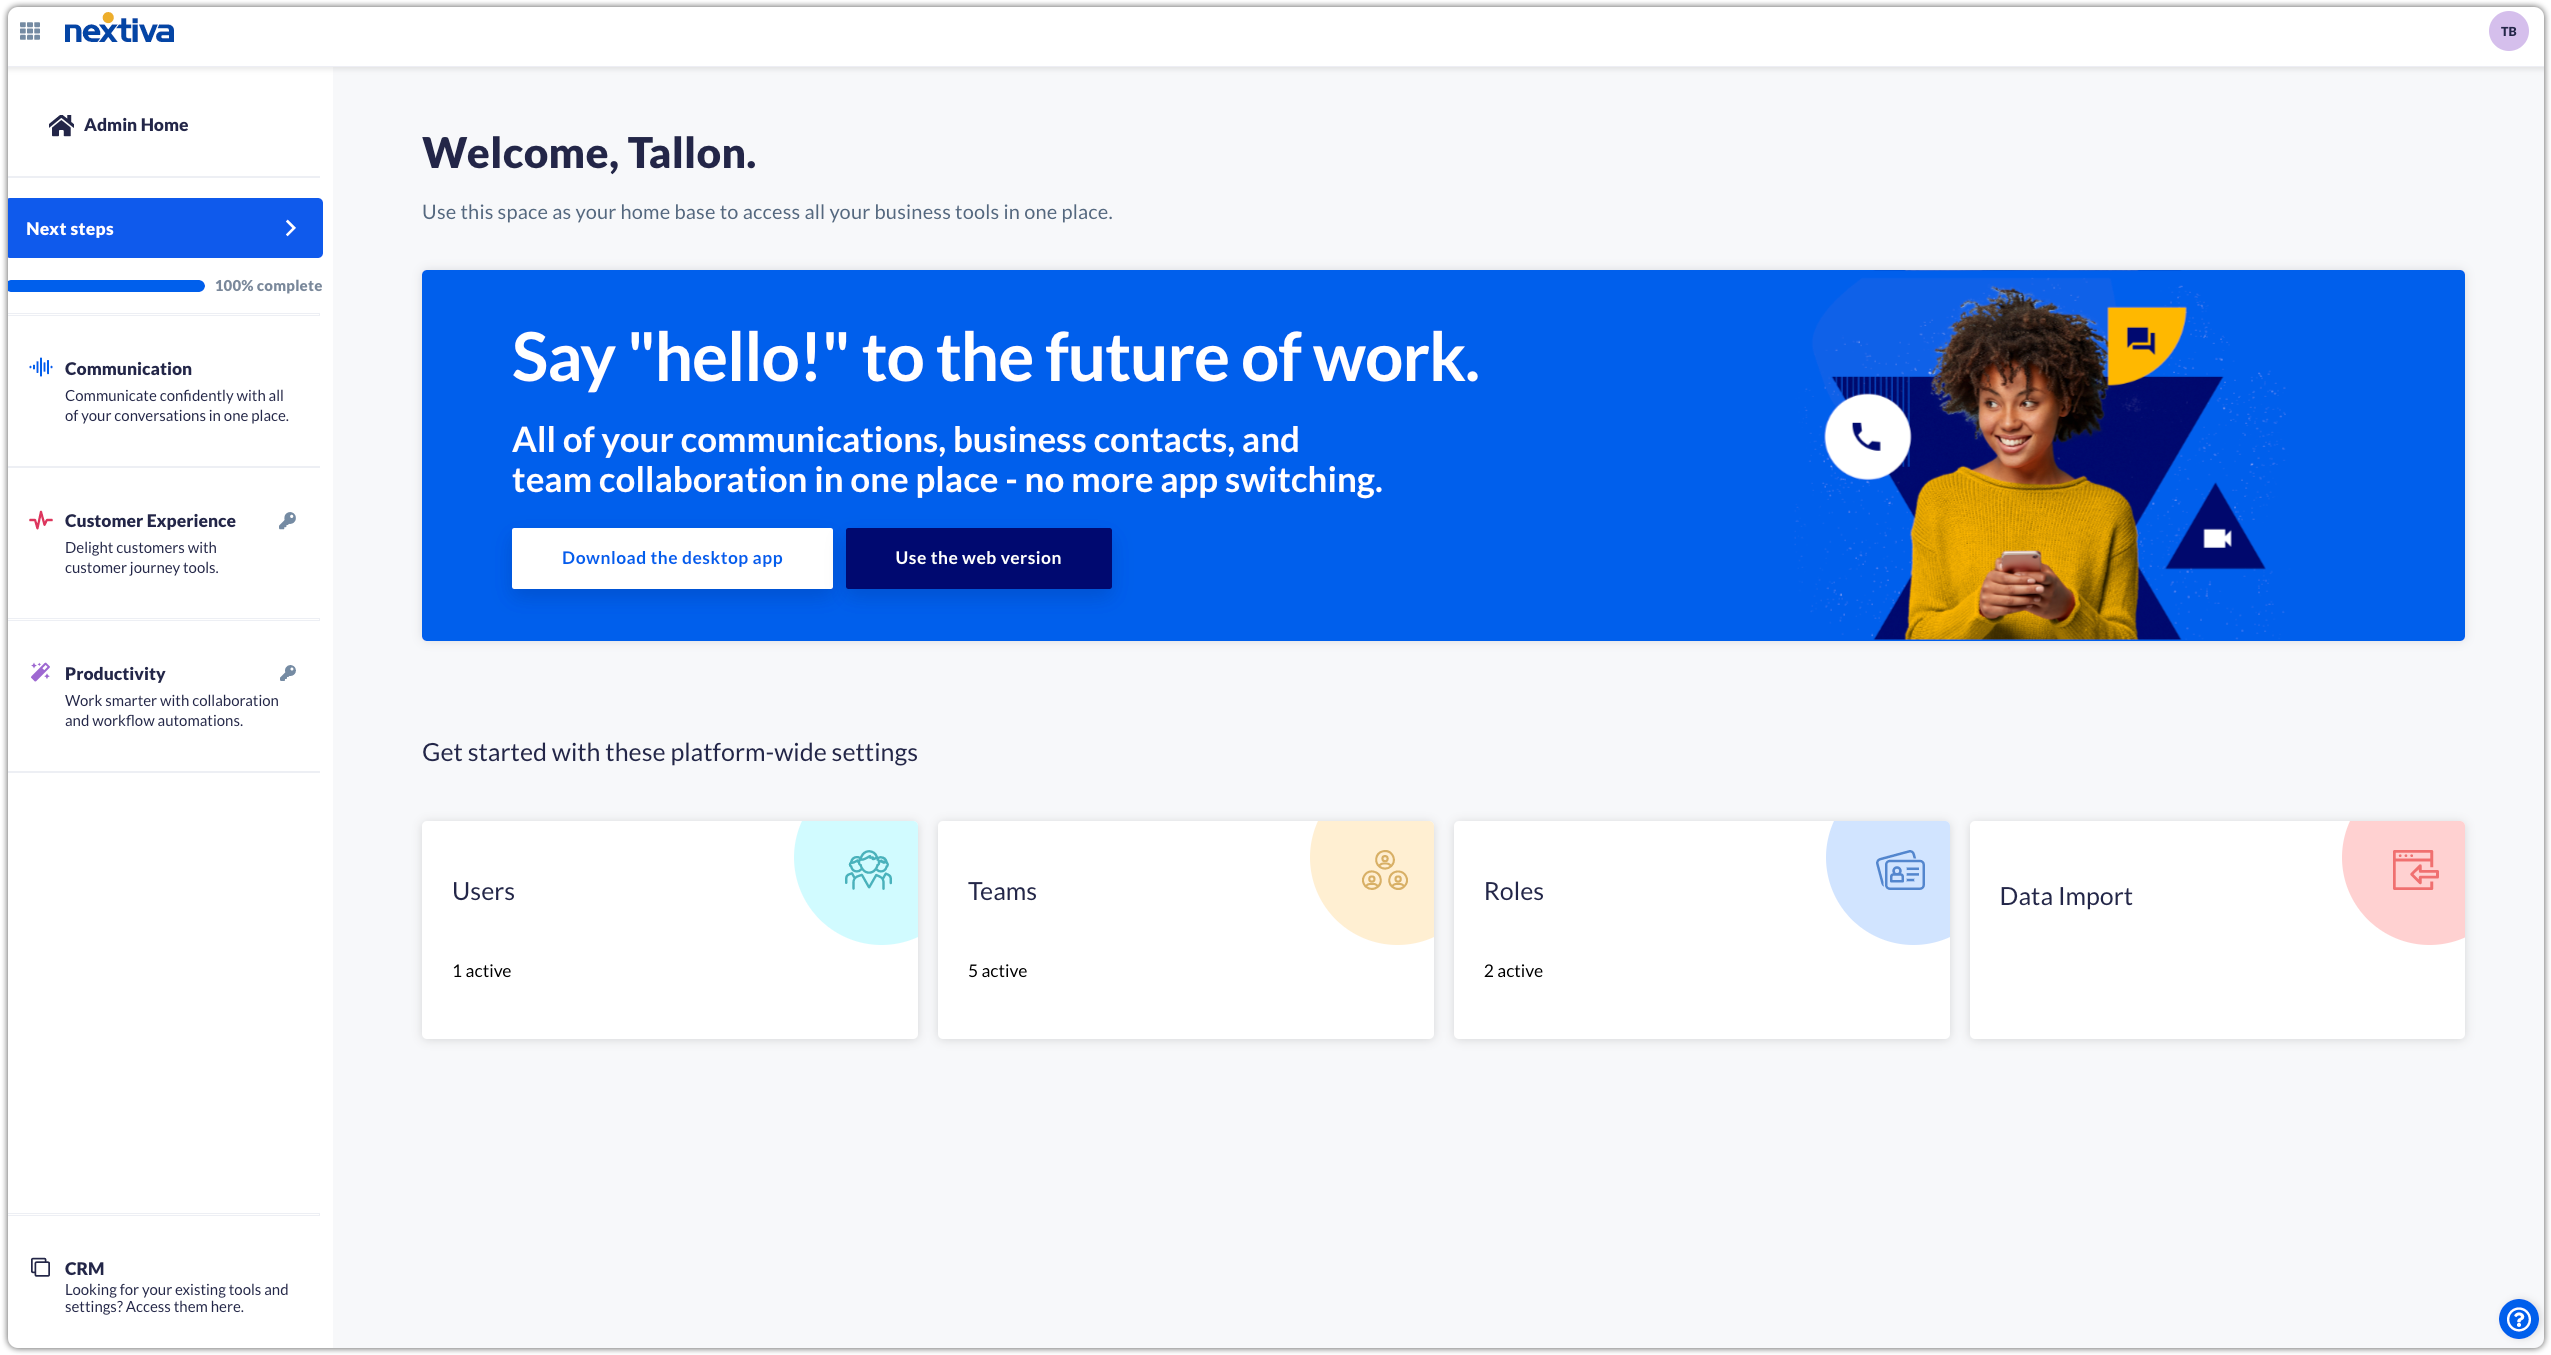
Choose the image that looks most like your screen once logged in.
Music on Hold allows you to upload an audio file to play for your customers while they are on hold, in the queue, or being transferred.
Setting up music on hold in NextOS
From the NextOS admin home page, click Communications > Phone System > Voice overview > Manage Locations > Locations > Actions > Voice Settings.
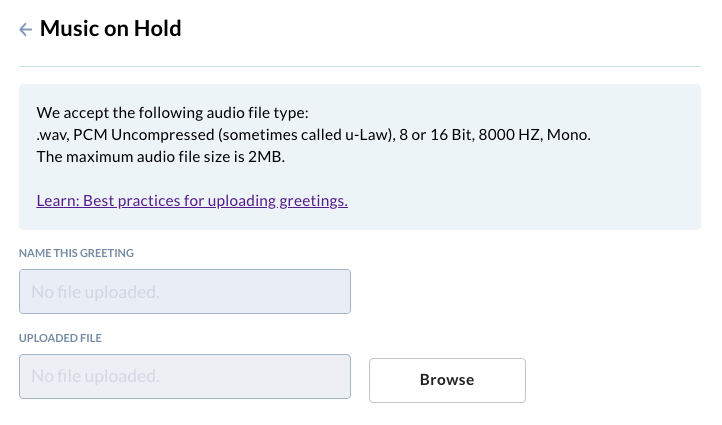
Click Add audio file > Browse to upload a new audio file. Enter a name and click Save.
NOTE: We support the following audio file types: .wav, PCM Uncompressed (u-Law), 8 or 16 Bit, 8000 HZ, Mono. The maximum audio file size is 2MB.
Setting up music on hold in Nextiva Voice
From the Nextiva Voice Admin Dashboard, click Locations > Manage locations.
Select the location > Location Features > Music on Hold.
Hover your cursor over the Default entry, and select the pencil icon to the right.
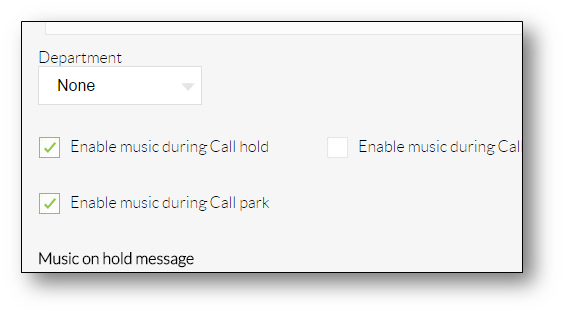
Enter the required information as indicated below:
- Department: Choose the department within the location to the selected music on hold file. Do not select a department if you want the Music on Hold to be used for the entire location.
- Enable music during call hold: Select this checkbox to play music while a caller is on hold. This option is selected by default.
- Enable music during call waiting: Select this checkbox to play music if you receive another incoming while you are already on the phone. This option is not selected by default.
- Enable music during call Park: Select this checkbox to play music when you park a call. This option is selected by default.
Scroll down to the Music on hold message section and fill out the required information:
- Preferred audio codec: Select G_711 from the drop-down list. This is the only audio codec supported by Nextiva, click here for more information on what types of files are supported for Music on Hold.
- System-defined music: Select this radio button to use the system default Music on Hold. To hear what this sounds like, call the location’s phone number, and put yourself on hold.
- Custom music file: Select this radio button to specify a custom music file that should play when callers are placed on hold, and then select the file from the drop-down list to the right. If you do not see any files listed, you will need to upload a file to the Announcement Repository. For instructions on how to upload audio files to the Announcement Repository, click here.
Select the Advanced settings link at the bottom of the Music on hold menu.
Enter the required information as indicated below and click Save.
- User alternate source for internal calls: Select this checkbox to have a different music file play for internal callers (other Users on your account).
- Preferred audio codec: Select G_711 from the drop-down list. This is the only audio codec supported by Nextiva.
- System-defined music: Select this radio button to use the system default Music on Hold. To hear what this sounds like, call the location’s phone number, and put yourself on hold.
- Custom music file: Select this radio button to specify a custom music file that should play when callers are placed on hold, and then select the file from the drop-down list to the right. If you do not see any files listed, you will need to upload a file to the Announcement Repository.
