Troubleshooting NextivaONE

If you’re experiencing any issues with Nextiva, such as error messages or video/audio issues, check out the recommended troubleshooting steps below.

For information on system requirements, click here

For information on improving call quality while using the Nextiva app, click here.

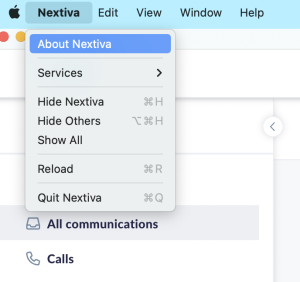
1. Make sure you are using the most up-to-date version of the desktop application, and try clearing the cache. 

Desktop application

To check your app’s version, click Nextiva from the menu bar at the top of the screen. Select About Nextiva. From here, you can see which version you currently have installed and the option to check for upgrades.

If you’re already using the most up-to-date version of the Nextiva app, try clearing the cache from the desktop application by clicking Nextiva from the menu bar at the top of the screen and selecting Clear Cache and Reload.

Web version

If you are using the web version of Nextiva, try clearing the cache and cookies in the web browser. Click the browser you’re using for instructions on how to do this:

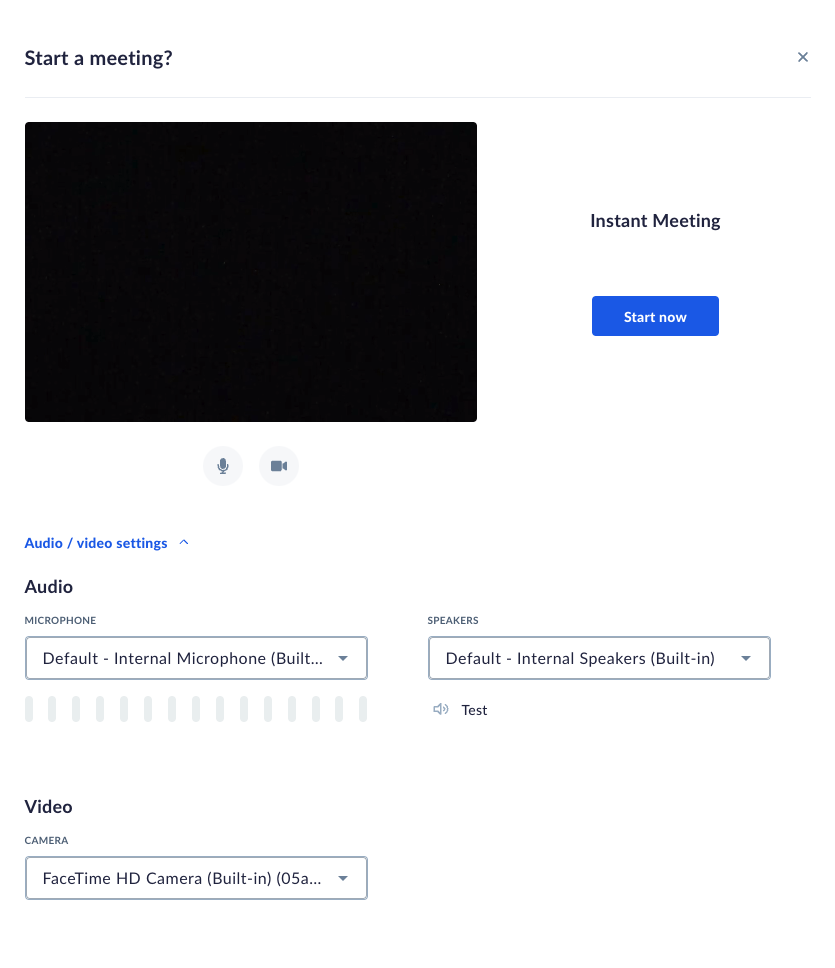
2. Ensure the audio and video settings are set up correctly in the Nextiva desktop app

If you have problems using the Nextiva desktop app, such as one-way audio/video, please ensure the microphone, speakers, and video settings are set up correctly. 

Click Audio/video settings from the preview screen before initiating a video call. Here, you can choose the microphone, speakers, and camera to use – including the ability to test the speaker and microphone. 

You can also access the audio settings while on an active call by selecting the ellipses in the call control panel and selecting Audio Settings

3. Check to ensure the Nextiva desktop app has permission to access the device’s camera and microphone. 

Check out the support articles below on controlling access to the camera and microphone on both Mac and Windows. 

Camera: 

Microphone: 

Need additional help? Click here.

Was this article helpful?