Phones purchased from Nextiva are already provisioned. Phones not purchased from Nextiva require provisioning for use with Nextiva Voice.
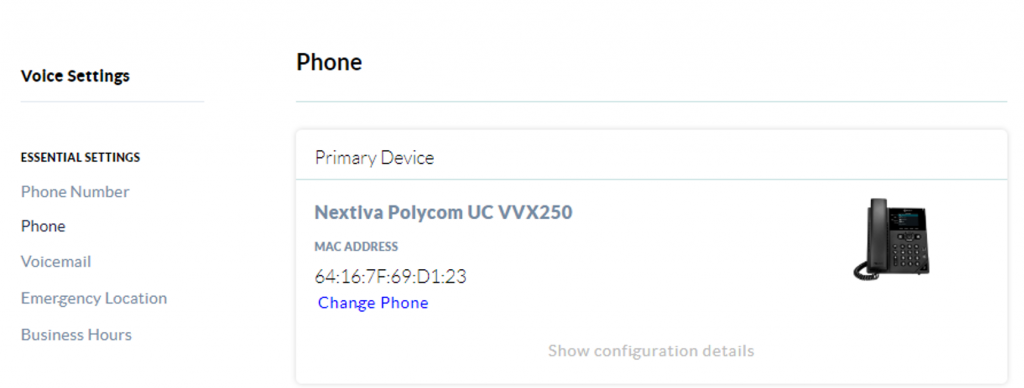
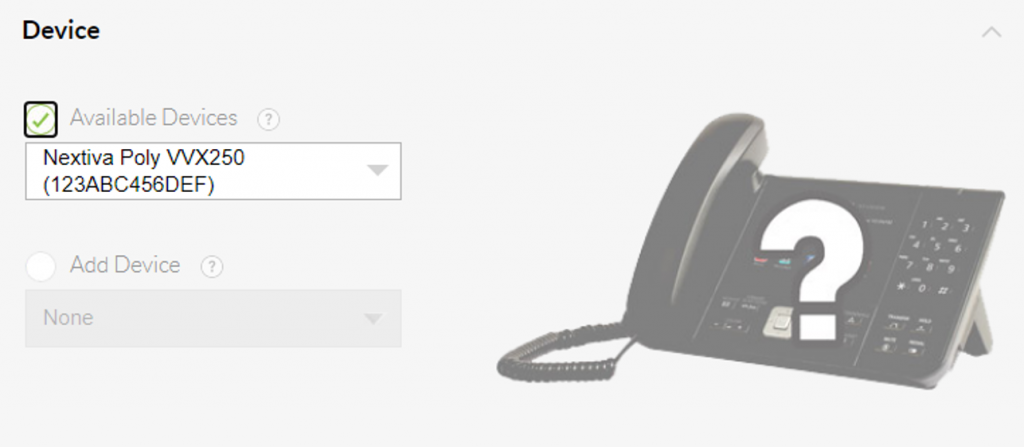
NOTE: When setting up a new device, the first two steps include creating a User and assigning the device.
- Reset the phone to factory settings: Press and hold 1, 3, and 5 on the keypad. When prompted, enter password 456.
NOTE: If previously with JIVE, and 456 does not work, use 8647.
- Reboot the phone (or unplug it and plug it back in). A 10-second countdown timer appears on the phone after a reboot.
- Press the Setup key and enter the password 456.
- Scroll down to Server Menu > Select > specify the Server Type (see table below) using the left and right arrows on the phone > OK.
- Enter the Server Address (case sensitive) corresponding to the phone being provisioned:
| Device | Server Type | Server Address |
| Edge E220 | HTTPS | dm.nextiva.com:443/dms/Nextiva_Service_Provider/Poly/E220/ |
| Edge E300 | HTTPS | dm.nextiva.com:443/dms/Nextiva_Service_Provider/Poly/E300/ |
| Edge E350 | HTTPS | dm.nextiva.com:443/dms/Nextiva_Service_Provider/Poly/E350/ |
| Edge E450 | HTTPS | dm.nextiva.com:443/dms/Nextiva_Service_Provider/Poly/E450/ |
| Edge E550 | HTTPS | dm.nextiva.com:443/dms/Nextiva_Service_Provider/Poly/E550/ |
| CCX 500 | HTTPS | dm.nextiva.com:443/dms/Nextiva_Service_Provider/Poly/CCX500/ |
| VVX 101 | HTTP | dm.nextiva.com:80/dms/Nextiva_Service_Provider/Polycom/UC-VVX101/ |
| VVX 150 | HTTP | dm.nextiva.com:80/dms/Nextiva_Service_Provider/Polycom/UC-VVX150/ |
| VVX 201 | HTTP | dm.nextiva.com:80/dms/Nextiva_Service_Provider/Polycom/UC-VVX201/ |
| VVX 250 | HTTPS | Click here |
| VVX 300/310 | HTTP | dm.nextiva.com:80/dms/Nextiva_Service_Provider/Polycom/UC-VVX300/ |
| VVX 301 | HTTP | dm.nextiva.com:80/dms/Nextiva_Service_Provider/Polycom/UC-VVX301/ |
| VVX 311 | HTTP | dm.nextiva.com:80/dms/Nextiva_Service_Provider/Polycom/UC-VVX311/ |
| VVX 350 | HTTP | dm.nextiva.com:80/dms/Nextiva_Service_Provider/Polycom/UC-VVX350/ |
| VVX 400/410 | HTTP | dm.nextiva.com:80/dms/Nextiva_Service_Provider/Polycom/UC-VVX400/ |
| VVX 401 | HTTP | dm.nextiva.com:80/dms/Nextiva_Service_Provider/Polycom/UC-VVX401/ |
| VVX 411 | HTTP | dm.nextiva.com:80/dms/Nextiva_Service_Provider/Polycom/UC-VVX411/ |
| VVX 450 | HTTP | Click here |
| VVX 500 | HTTP | dm.nextiva.com:80/dms/Nextiva_Service_Provider/Polycom/UC-VVX500/ |
| VVX 501 | HTTP | dm.nextiva.com:80/dms/Nextiva_Service_Provider/Polycom/UC-VVX501/ |
| VVX 600 | HTTP | dm.nextiva.com:80/dms/Nextiva_Service_Provider/Polycom/UC-VVX600/ |
| VVX 601 | HTTP | dm.nextiva.com:80/dms/Nextiva_Service_Provider/Polycom/UC-VVX601/ |
| VVX 1500 | HTTP | dm.nextiva.com:80/dms/Nextiva_Service_Provider/Polycom/UC-VVX1500/ |
| Trio 8300 | HTTPS | dm.nextiva.com/dms/Nextiva_Service_Provider/Polycom/UC_Trio-8300/ |
| Trio 8500 | HTTP | dm.nextiva.com:80/dms/Nextiva_Service_Provider/Polycom/UC_Trio-8500/ |
| Trio 8800 | HTTP | dm.nextiva.com:80/dms/Nextiva_Service_Provider/Polycom/UC_Trio-8800/ |
TIPS:
- Use the a/A/1 key on the screen to alternate between lowercase, uppercase, and number.
- Use the one key for a colon (:).
- Use the asterisk (*) key for a period.
- Use the pound (#) key for forward-slash (/), underscore (_), and dash (-).
- Press OK > Back > Tag SN to UA > Enabled > OK > Exit > Exit > Save > Reboot.
Please allow a few minutes while the phone configures the User settings. If the phone displays the error “Could not contact boot server,” confirm the correct MAC Address and Server Address is assigned to the User. A capital letter or a missing character will prevent the phone from provisioning and registering.
Related Articles:
- Creating Users and Assigning Licenses
- Adding and Assigning Devices
- Poly VVX250, 350, and 450 phone tutorial
| Device | Server Type | Server Address |
| Polycom UC VVX 250 | HTTPS | dm.nextiva.com:443/dms/Nextiva_Service_Provider/Polycom/UC-VVX250/ |
| Poly VVX 250 | HTTPS | dm.nextiva.com/dms/Nextiva_Service_Provider/Poly/VVX250/ |
| Polycom UC VVX 350 | HTTP | dm.nextiva.com:80/dms/Nextiva_Service_Provider/Polycom/UC-VVX350/ |
| Poly VVX 350 | HTTPS | dm.nextiva.com/dms/Nextiva_Service_Provider/Poly/VVX350/ |
| Polycom UC VVX 450 | HTTP | dm.nextiva.com:80/dms/Nextiva_Service_Provider/Polycom/UC-VVX450/ |
| Poly VVX 450 |
HTTPS | dm.nextiva.com/dms/Nextiva_Service_Provider/Poly/VVX450/ |
TIPS:
- Use the a/A/1 key on the screen to alternate between lowercase, uppercase, and number.
- Use the one key for a colon (:).
- Use the asterisk (*) key for a period.
- Use the pound (#) key for forward-slash (/), underscore (_), and dash (-).
- Press OK > Back > Tag SN to UA > Enabled > OK > Exit > Exit > Save > Reboot.
Please allow a few minutes while the phone configures the User settings. If the phone displays the error “Could not contact boot server,” confirm the correct MAC Address and Server Address is assigned to the User. A capital letter or a missing character will prevent the phone from provisioning and registering.