Quickly import contacts from Google Contacts or Office 365 to Nextiva or manually add contacts with just a few clicks.
Click Contacts to view all saved business contacts and teammates. Teammates are other users on the same account, whereas a business contact may be a customer record or potential prospect. There are specific features only available for teammates, such as team presence and the ability to send and receive internal chat messages.
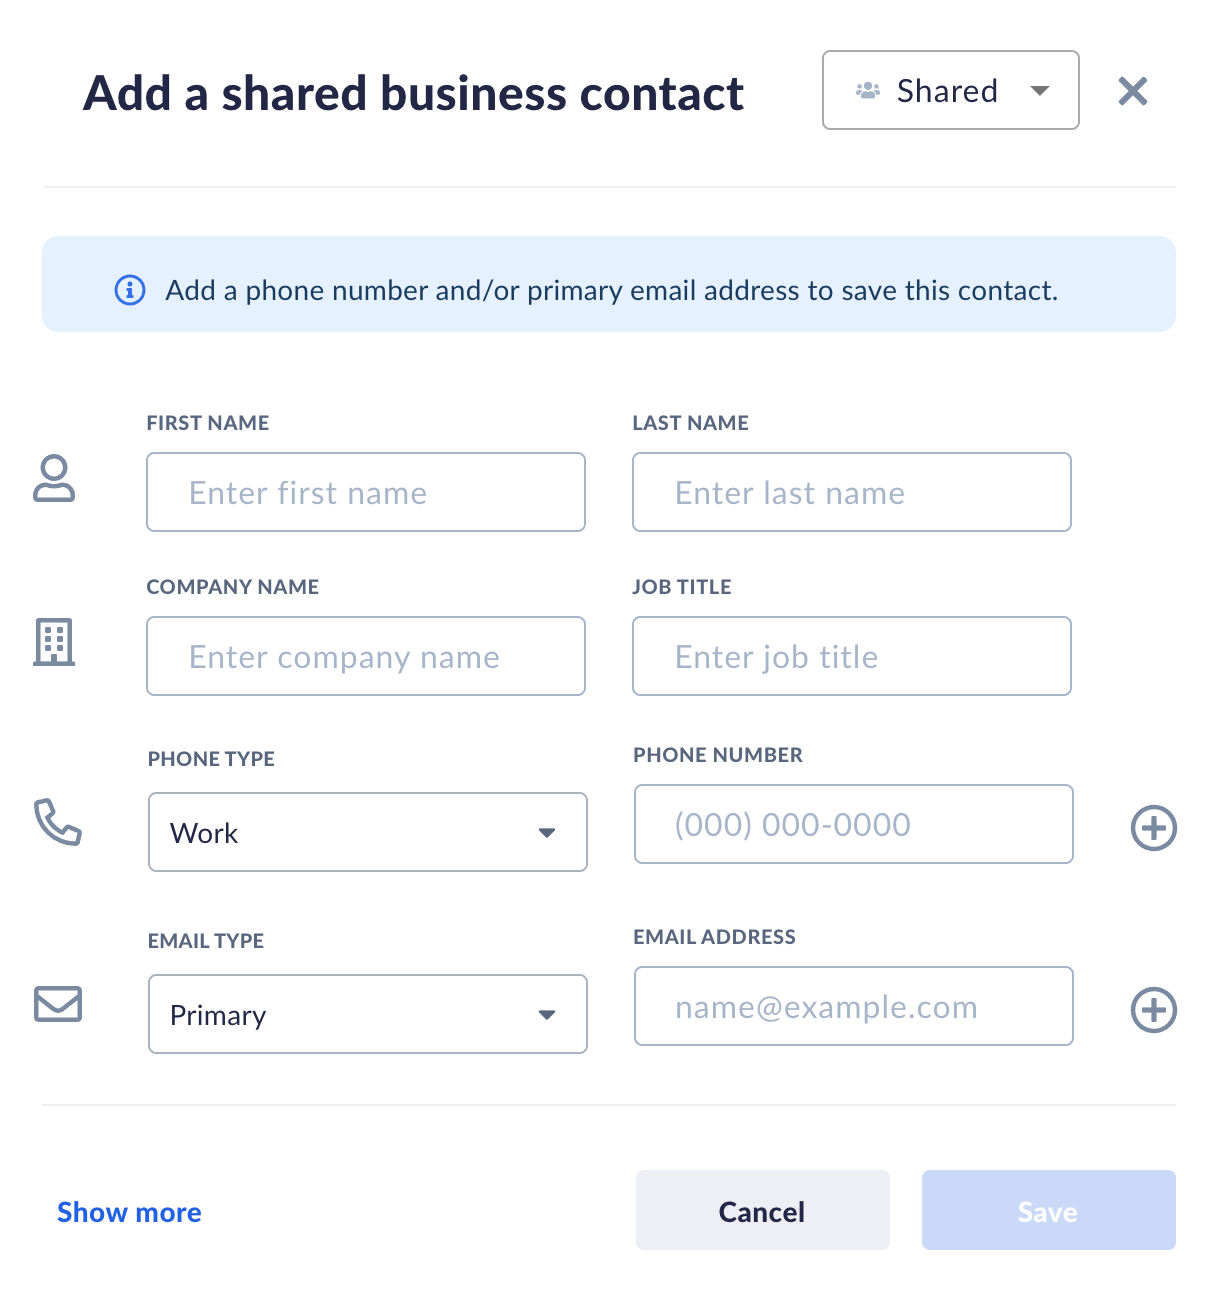
You can set business contacts to be public so that all teammates can see the contact details, or you can set them private so only you can see the contact details. All public contacts can be edited and deleted by other users on the account. Whereas private contacts can only be edited and deleted by the user who created the contact.
Hover over any contact to view contact details, or click on any contact to view their full profile – including the entire conversation history.
Adding favorites
Add contacts or teammates as favorites so they are easily accessible.
Adding notes to contacts
Add notes to contacts by selecting Add note on the lower left of the contact’s profile.
Editing contacts
Manage contacts at scale by expanding your contact list into a full-screen view.
Select the contact to view their profile and click the ellipses > Edit contact.
Select the Bulk Actions drop-down at the top right under Contacts to bulk edit, export, or delete contacts. You can also convert multiple private contacts to shared contacts simultaneously.
Block contacts and phone number
Select the number or contact and click Block Number under the Contact panel. This will prevent any future calls from this number from ringing or notifying you. If you ever want to allow calls from this number again, click Unblock.
Archiving contacts
Archived contacts will not appear in the contact list. However, you can still view the previous conversation history (calls and messages) with all archived contacts.
To archive a contact, select the contact to view their profile and click the ellipses > Archive.
You can also bulk delete imported private contacts by selecting Integrations on the left menu, selecting Disconnect next to Google Contacts or Office 365, and choosing No, delete imported private contacts from Nextiva > Disconnect.
Related articles
- Integrating your calendar with NextivaONE
- Managing calls & voicemail