With Nextiva Voice, you can assign multiple phone numbers or extensions to a Call Group. Each number will follow all call routing rules and group policies for the Call Group and function identically to the main number.
You can set this up by following the steps below:
-
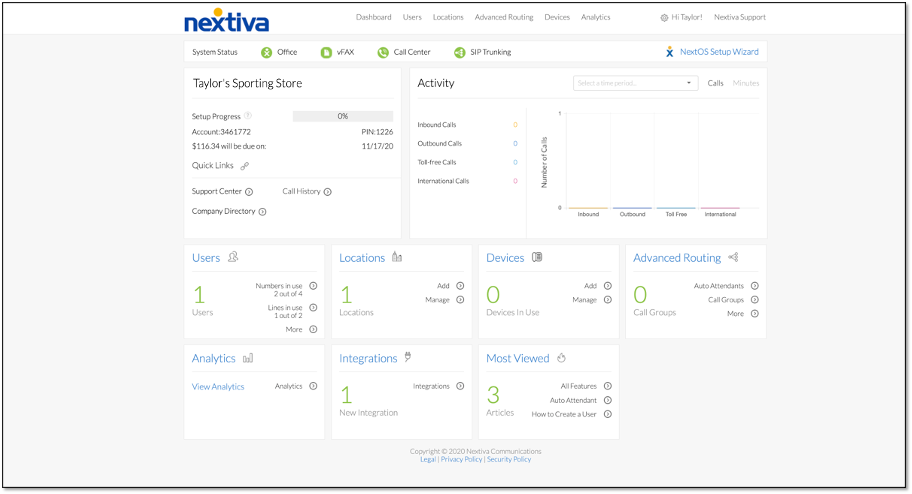
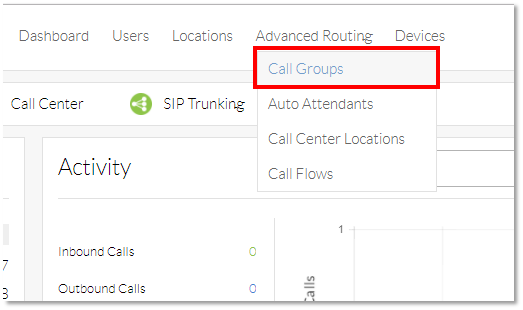
- From the Nextiva Voice Admin Dashboard, hover your mouse over Advanced Routing at the top of the page, then select Call Groups.
-
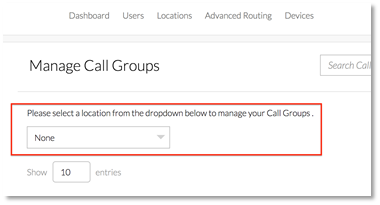
- On the Manage Call Groups screen, click the drop-down menu to select the location to which the Call Group belongs.
-
- Hover your cursor over the name of the Call Group that needs Alternate numbers configured, then click the pencil icon to the right.

-
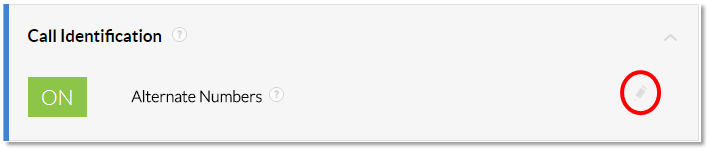
- Scroll down and select the Call identification section to expand.
- Click the pencil icon to the right of the Alternate Numbers feature.
-
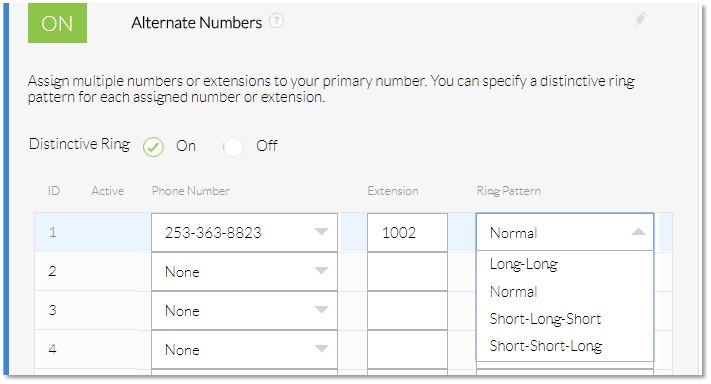
- Enter the information as indicated below:
-
- Distinctive ring: Controls whether the ring is different for incoming calls to the alternate phone numbers.
- Phone number: The alternate phone number.
- Extension: The alternate extension number. This is optional.
- Ring pattern: The ring pattern that the user will hear when the alternate phone number or alternate extension number receives an incoming call.
- Click the green Save button on the bottom-right of the screen. A pop-up message appears stating “Alternate numbers are saved successfully”.
- Make sure the ON/OFF button for the feature is set to ON. If it is set to OFF, click the button to change the setting to ON.