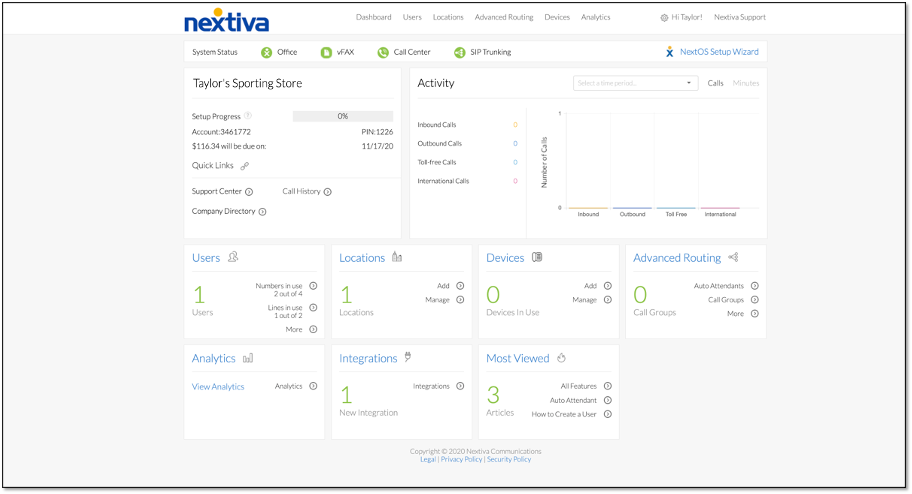
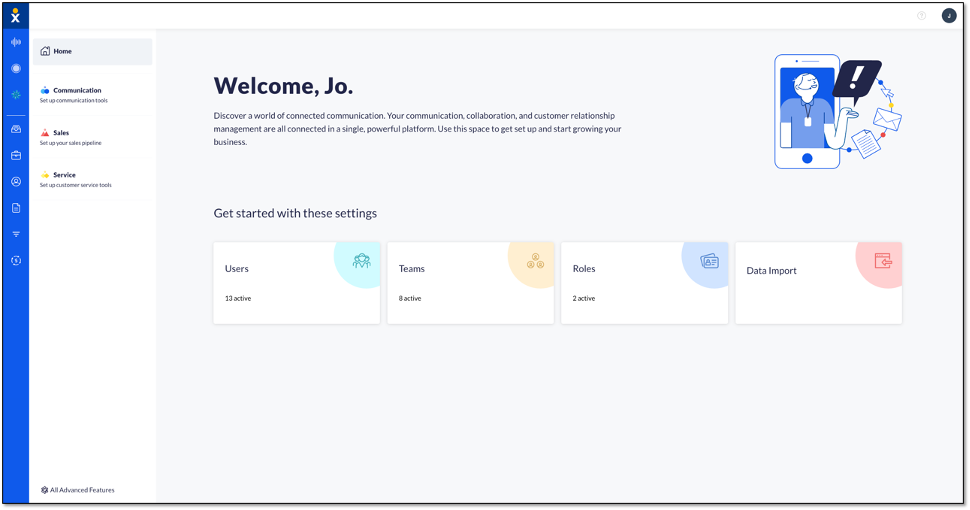
Choose the image that looks most like your screen once logged in.
In NextOS you can assign multiple phone numbers or extensions to an Auto Attendant. Each number will reach the same greeting and each menu will function identically to the main number.
Assigning Alternate Numbers to an Auto Attendant:
- From the Nextiva Voice Admin Dashboard, hover over Advanced Routing > Auto Attendants. Under Manage Auto Attendants, click the drop-down menu to select the location. Hover over the Auto Attendant that needs Alternate numbers configured, and click the pencil to the right.
- Click Call identification > pencil to the right of Alternate Numbers > enter the information below > Save.
- Distinctive ring: Controls whether the ring is different for incoming calls to the alternate phone numbers.
- Active: Informs whether the number is active by placing a check-mark in the Active field. Will be active after saving the details.
- Phone number: The alternate phone number.
- Extension: The alternate extension number. This is optional.
- Ring pattern: The ring pattern that the user will hear when the alternate phone number or alternate extension number receives an incoming call.