|
Adding agents to a call center allows users to accept incoming calls from the assigned call center queue. Before adding an agent to a call center, the user must be added to the location that contains the appropriate call center. For instructions on how to assign Supervisors, click here. |
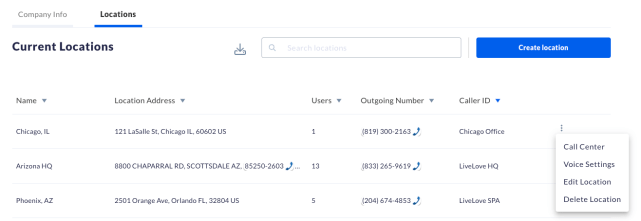
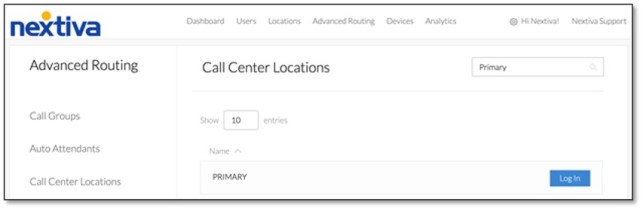
Navigating to Call Center from NextOS (If purchased after Dec. 2020)
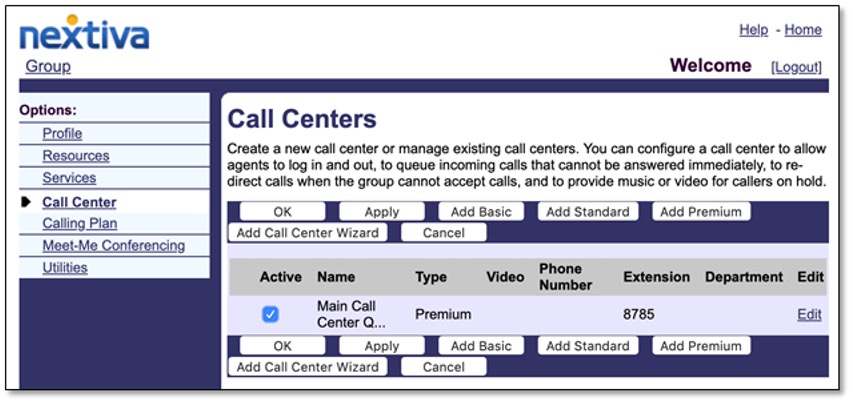
Navigating to Call Center from Nextiva Voice (If purchased before Dec. 2020)
Nextiva Call Center configuration portal