After adding agents to a call center queue, the agent will need to sign in to the queue and set their ACD state to available to receive incoming calls from the queue. It is possible to change your ACD state by logging into the Nextiva Voice Portal, to have complete control over taking inbound calls from a call center queue. It is also possible to join or leave multiple call center queues, for example, when a specific queue is receiving a high volume of calls.
Click Here to Jump to Instructions for Signing In to a Call Center
Click Here to Jump to Instructions for Becoming Available to Receive Call Center Calls
Click Here to Jump to Instructions for Going Unavailable in a Call Center
Click Here to Jump to Instruction for Signing Out of a Call Center
Signing Into a Call Center:
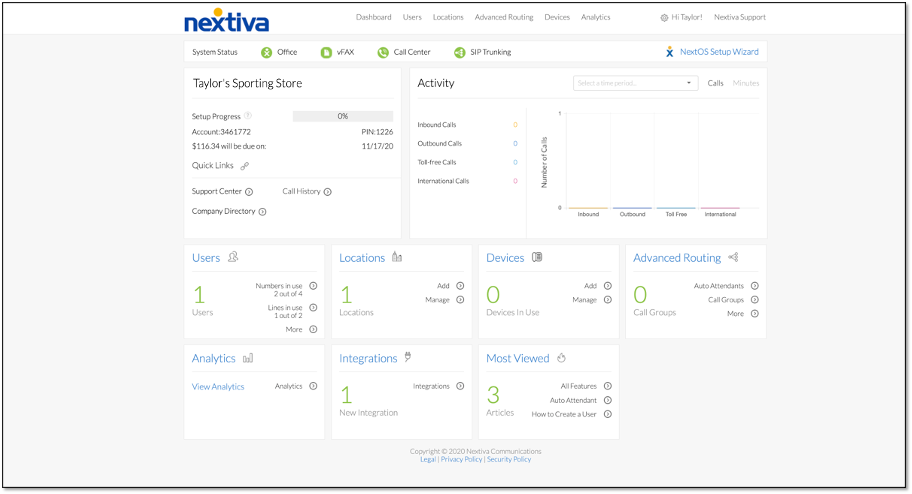
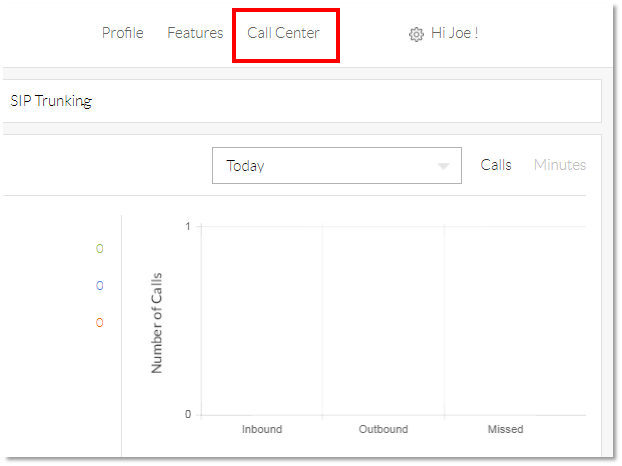
From the Nextiva Voice Portal Dashboard, click Call Center at the top of the page.
There are several Agent Settings on this page:
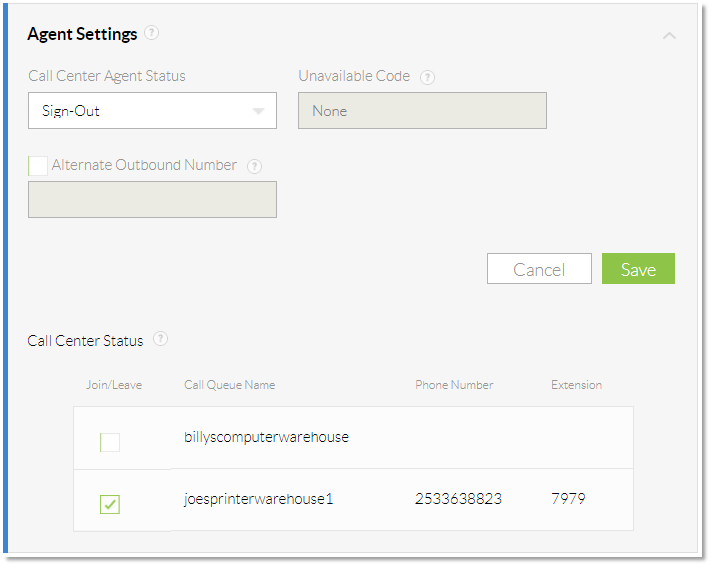
- Call Center Agent Status: Allows the agent to sign in and sign out of a call center queue, as well as go into unavailable and wrap-up.
- Unavailable Code: While in unavailable, agents can track the amount of time they are not in a queue for meetings, restroom breaks, special project, and the like.
- Alternate Outbound Number: If DNIS is enabled on the call center, agents can select an alternate outbound number to appear on the receiving device.
- Call Center Status: Lists the call centers the agent can join, as well as the queue name, phone number, and extension.
Changing the Call Center Agent Status to Sign-In allows your statistics to be tracked and managed.
Becoming Available to Receive Calls from a Call Center Queue:
Sign in to the call center queue and make yourself available to receive incoming calls from the assigned queue.
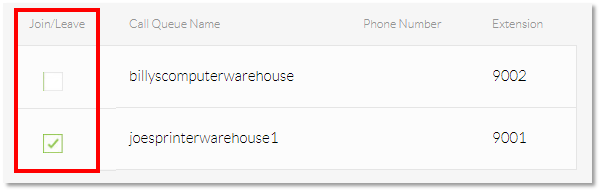
From the Call Center Agent Settings screen, ensure the Join/Leave checkbox is checked next to the Call Center you wish to log into.
Click the drop-down under Call Center Agent Status and select Available to be placed into the queue immediately. Click Save to go live.
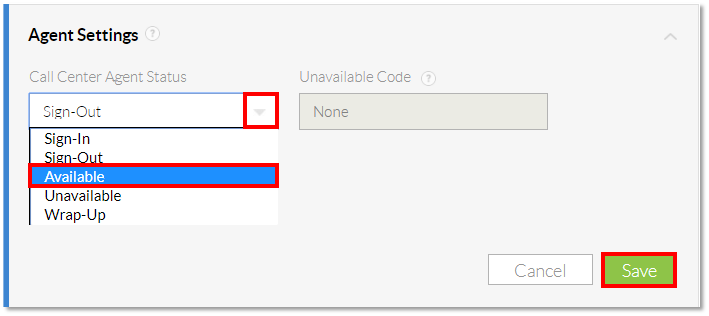
Alternatively, if you wish to sign in to the queue but go into Unavailable immediately select Unavailable and click the green Save button. Choose an unavailable code if enabled. If disabled, unavailable codes may need to be set up in your call center settings by a Nextiva support agent.
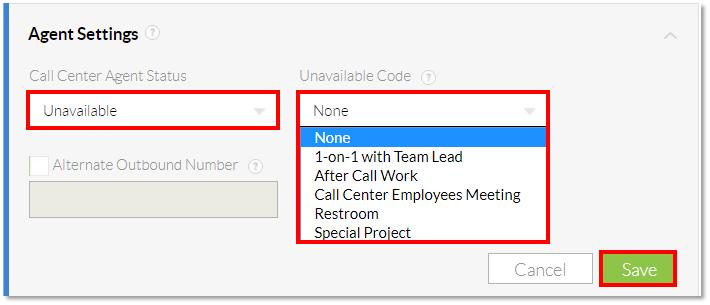
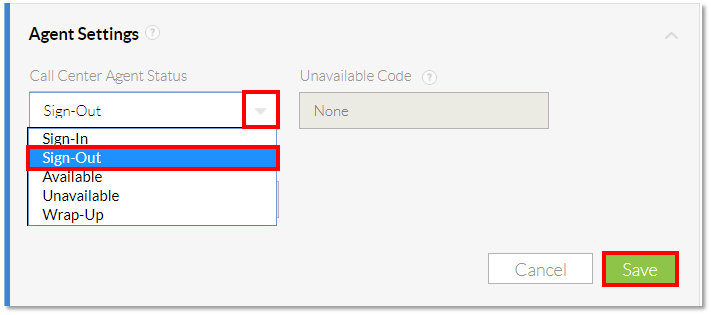
Going into Unavailable in a Call Center Queue:
From the Call Center Agent Settings screen, click the drop-down under Call Agent Status and select Unavailable.
If enabled, click the drop-down under the Unavailable Code drop-down and choose an option. If disabled, Unavailable codes may need to be set up in your Call Center settings.
Click Save. Your status is now Unavailable, and any Unavailable Code selected will be.
Signing Out of a Call Center Queue:
Sign out of the call center queue to stop receiving incoming calls from the queue.
From the Call Center Agent Settings screen, click the drop-down under Call Agent Status and select Sign-Out. You have been signed out of the queue.