There are three steps to provision a Panasonic KX-TGP600. If you need to provision your device, click the links below to jump to the corresponding section:
Enabling the Web Configuration Utility
Locating the IP Address of the Device
Entering the Provisioning Server
To Enable the Web Configuration Utility:
- On the Panasonic KX-TPA60 handset, press the MENU softkey (middle soft key).
- Select Setting Handset from the menu.
- Select Other Option
- Select Embedded Web
- Select the On soft key.
NOTE: Unlike other Panasonic phones, the handset does not beep when the embedded web is turned on. Instead, after a few seconds, the screen will return to the previous menu.
To Locate the IP Address of the Device:
- On the Panasonic KX-TPA60 handset, press the MENU soft key (middle soft key).
- Select System Settings from the menu.
- Select Status
- Select IPv4 Settings
- Select IP Address from the menu.
- Make a note of the IP address that appears on the screen.
To Enter the Provisioning Server:
- Enter the IP address into the address bar of a web browser (IE: Firefox, Chrome, Internet Explorer) on a computer on the same network of the device, adding a /?x after the IP. Example: 10.9.200.104/?x.
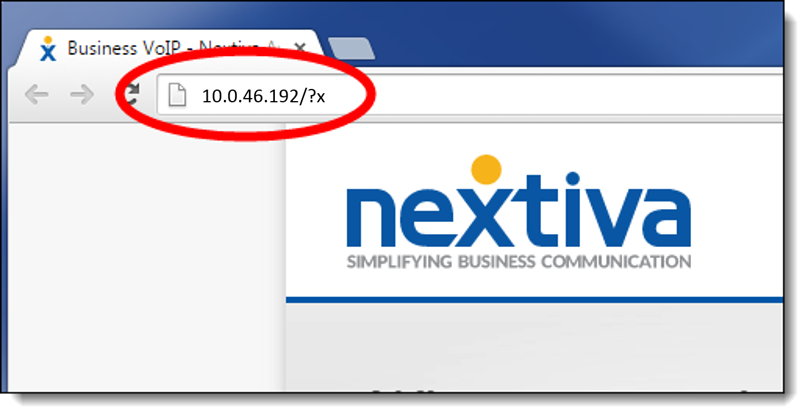
Entering the IP Address in Chrome
- Enter admin as the User Name and adminpass as the Password.
- Click the Maintenance tab at the top of the screen.
- Enter http://dm.nextiva.com:80/dms/Nextiva_Service_Provider/Panasonic/KX-TGP-600/TGP600-{mac}.cfg in the Standard File URL text box.
- Click Save at the bottom of the screen. After a few minutes, the phone will provision and register. When it does, the status light on the Panasonic KX-TGP600 base unit will turn solid green.