Use the Rule Templates view to perform the following tasks:
You can access the Rule Templates view from the Administration Tools side navigation panel > Automate Workflows > Rule Templates.
Creating New Rules from Templates
You can use rule templates as a starting point to create new rules.
- In the Rule Templates view, locate the template on which you want to base your new rule, click the corresponding Ellipses icon, and select Create a new rule from template (Figure 1-1).
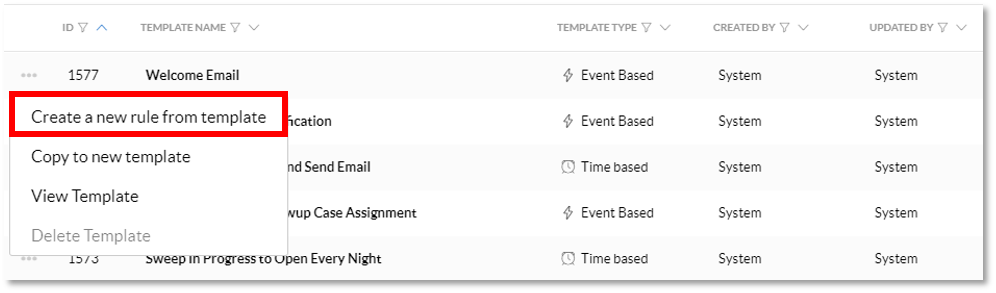 Figure 1-1: Create a New Rule from Template Selection
- Modify the event trigger, condition(s), and action(s) as you wish. For more information, click here.
- Test and finalize the rule. For more information, click here.
- Click Save & Close. Your newly created rule will appear on the list of rules on the Manage Rules view.
- If desired, categorize the rule by clicking the Ellipses icon corresponding to your rule from the list and selecting Edit. For more information, click here.
Creating Rule Templates
Create new rule templates in any of the following ways:
- Creating a new rule template from scratch
- Copying an existing rule template to create a new rule template
- Creating a new rule template from a rule
Creating a New Rule Template from Scratch
You can create a new rule template from scratch via the Add icon at the top-right of the page.
- In the Rule Templates view, click the green Add icon at the top-right of the page.
- On the Setup page, enter a descriptive name for the rule template that will be displayed in the Rule Templates view.
- Enter a description of the rule template if desired. This may assist when the rule template is later edited to identify, in broad terms, the purpose of the rule template.
- If desired, select a category to help you organize your rule templates. You can select multiple categories, as well as click the X to deselect any. To add or remove categories, click Manage categories.
- To add a new category, click Add category and enter a name in the Category Name text box. You can add multiple new categories.
- To remove existing categories, click the red X that corresponds with the category you want to delete. You can remove multiple categories.
- Click Save. The Category drop-down list will reflect your changes immediately.
- Click Next to continue creating the rule template. Alternatively, you can click Save & Close to save your work for later.
- Add the event trigger, condition(s), and action(s) as you wish. For more information, click here.
- Test and finalize the rule. For more information, click here.
- Click Save & Close. Your newly created rule template will appear on the list of rule templates on the Rule Templates view.
Copying an Existing Template to Create a New Template
You can base a new rule template on an existing rule template by copying and modifying an existing rule template and saving it as a new one.
- In the Rule Templates view, locate the template on which you want to base your new rule template, click the corresponding Ellipses icon, and select Copy to new template (Figure 2-2).
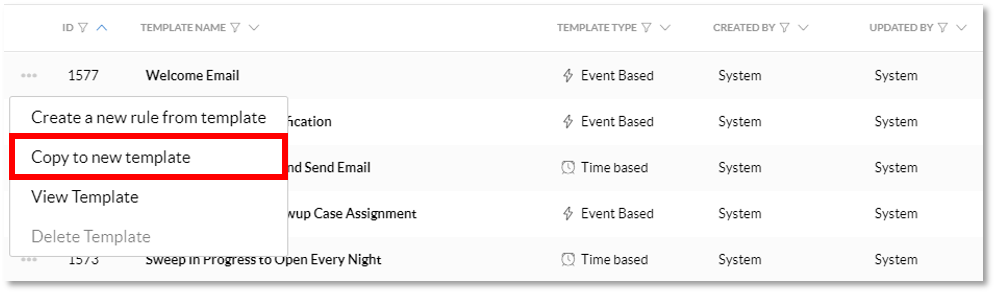 Figure 2-2: Copy to New Template Selection
- On the Setup page, rename the rule template and revise the description.
- If desired, select a category to help you organize your rule templates. To add or remove categories, click Manage categories.
- To add a new category, click Add category and enter a name in the Category Name text box. You can add multiple new categories.
- To remove existing categories, click the red X that corresponds with the category you want to delete. You can remove multiple categories.
- Click Save. The Category drop-down list will reflect your changes immediately.
- Click Next to continue creating the rule template. Alternatively, you can click Save & Close to save your work for later.
- Modify the event trigger, condition(s), and action(s) as you wish. For more information, click here.
- Test and finalize the rule. For more information, click here.
- Click Save & Close. Your newly created rule template will appear on the list of rules on the Rule Templates view.
Creating a New Template from a Rule
For information about creating a new template from an existing rule, click here.
Editing Templates
- In the Rule Templates view, locate the template you want to edit and click the row. Alternatively, you can click the corresponding Ellipses icon, and select Edit Template (Figure 3-1).
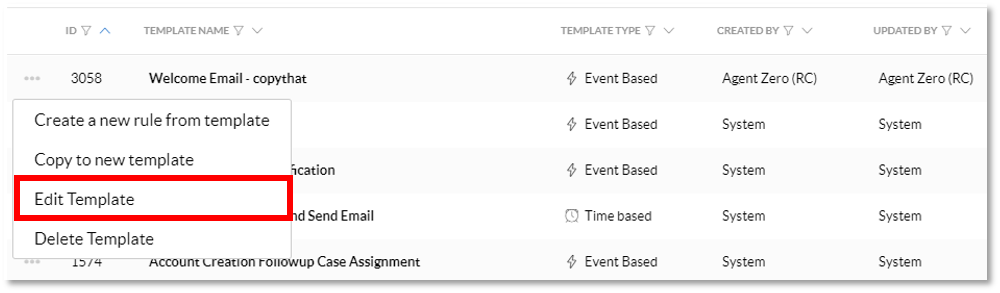 Figure 3-1: Edit Template Selection
NOTE: You cannot edit the default templates, templates created by System.
- Modify the template name, description, and or categories. For more information, click here.
- Click Next to continue editing the rule template. Alternatively, you can click Save & Close to save your work for later.
- Modify the event trigger, condition(s), and action(s) as you wish. For more information, click here.
- Test and finalize the rule. For more information, click here.
- Click Save & Close.
Deleting Templates
- In the Rule Templates view, locate the template you want to edit and click the row. Alternatively, you can click the corresponding Ellipses icon, and select Delete Template (Figure 4-1).
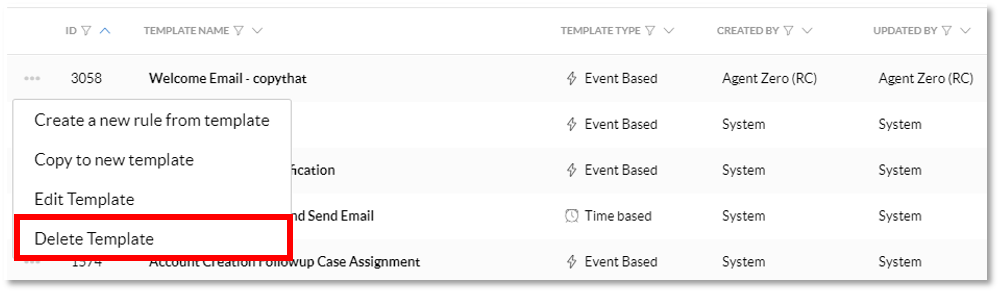 Figure 4-1: Delete Template Selection
- Click Delete.