.chooseScreenMost { display: flex; flex-wrap: nowrap; gap: 15px; }
.chooseScreenMost > div{width: 50%;}
.chooseScreenMost.topChoice > div:nth-of-type(1){width: 49.3%;}
.chooseScreenMost.topChoice > div:nth-of-type(2){width: 50.7%;}
.chooseScreenMost div img{ width: 100%; }
.chooseScreenMost div a br{ display: none;}
.hkb-article__content img { border-radius: 0;box-shadow: none!important; border: none;}
.chooseFlexCenter {align-items: center;}
@media only screen and (max-width:767px){
.chooseScreenMost { display: flex; flex-wrap: wrap; }
.chooseScreenMost > div, .chooseScreenMost.topChoice > div:nth-of-type(1), .chooseScreenMost.topChoice > div:nth-of-type(2){ width: 100%; max-width: 567px;}
}
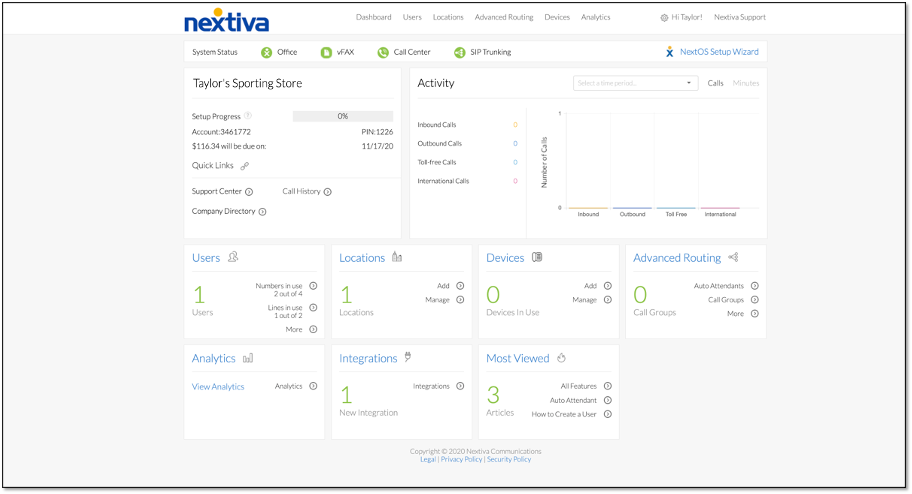
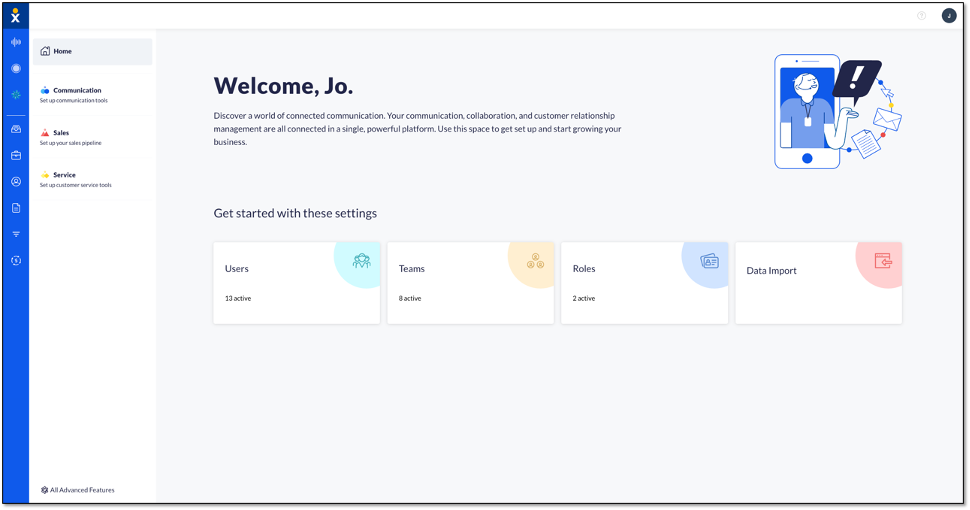
Choose the image that looks most like your screen once logged in.
If inbound calls do not reach your selected Call Forward Always number, there are a few things you will want to check in the Voice Portal.
- Is Do Not Disturb is Enabled? This will prevent all calls from forwarding until DND feature is turned Off.
- If there is no power or Internet connection to your Nextiva phone, the star (*) codes to activate and deactivate Call Forwarding will not work.
- Phones that were manually provisioned may not be able to access the star (*) codes and will have to be forwarded from the Voice Portal.
- Lastly, double-check that the destination phone number is valid and that Call Forwarding Always is toggled on.
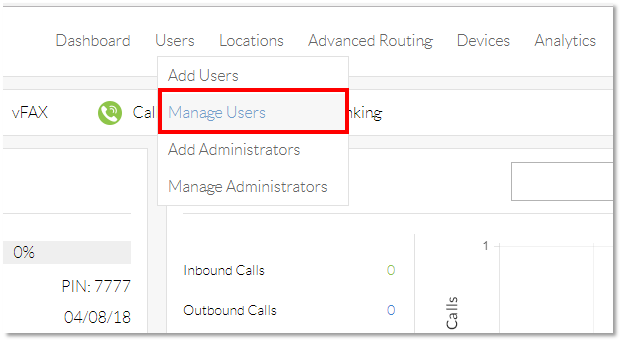
To Troubleshoot Call Forwarding Always from the Nextiva Voice Admin Portal:
-
- From the Nextiva Voice Admin Dashboard, hover your cursor over Users and select Manage Users.
-
- Hover your cursor over the name of the user, and select the pencil icon to the right.

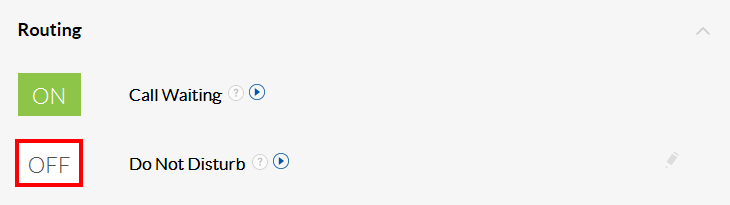
- To check Do Not Disturb status, select Routing and confirm Do Not Disturb is turned OFF.
- Hover your cursor over the name of the user, and select the pencil icon to the right.
-
- Select the Forwarding section and make sure the Call Forward Always is turned ON.

- If it is turned on, select Call Forward Always and confirm the forwarding number is correct.
- Select Save to apply all changes.