If inbound calls do not reach your selected Call Forward Selective number, there are a few things you will want to check in the Voice Portal.
- Is Do Not Disturb is Enabled? This will prevent all calls from forwarding until DND feature is turned Off.
- Is Call Forwarding Always toggled On.
- If there is no power or Internet connection to your Nextiva phone, the star (*) codes to activate and deactivate Call Forwarding will not work.
- Phones that were manually provisioned may not be able to access the star (*) codes and will have to be forwarded from the Voice Portal.
- Double-check that the destination phone number is valid and the correct schedule is applied. and that
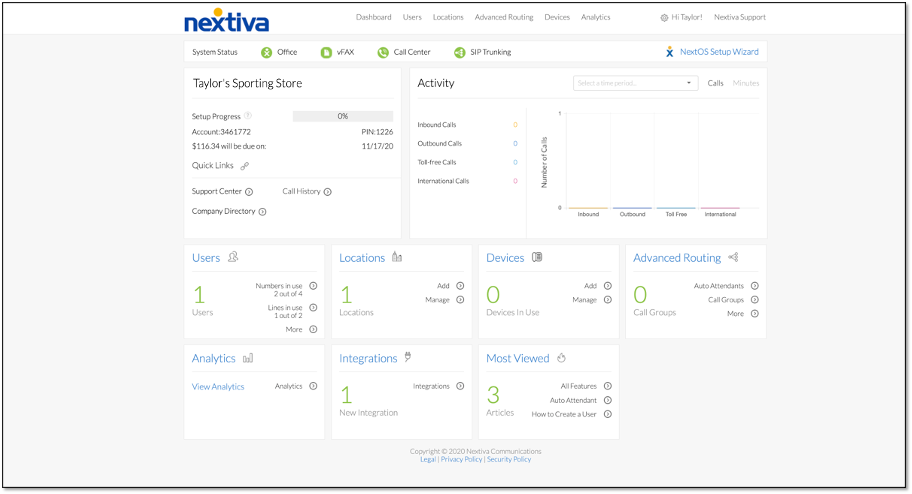
To Troubleshoot Call Forwarding Selective from the Nextiva Voice Admin Portal:
-
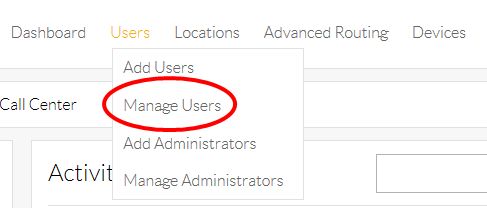
- From the Nextiva Voice Admin Dashboard, hover over Users at the top of the screen and select Manage Users.
-
- Hover your cursor over the name of the user, and click the pencil icon to the right.

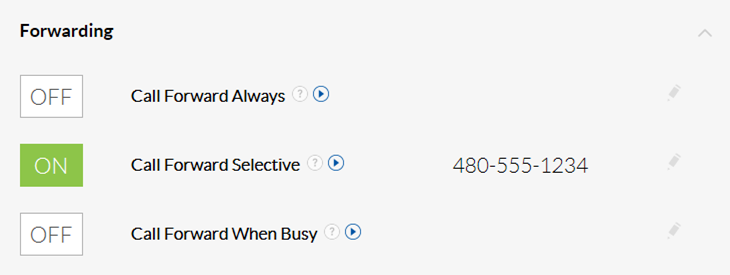
- Select the Forwarding section and make sure the Call Forward Selective is ON.
- Hover your cursor over the name of the user, and click the pencil icon to the right.
-
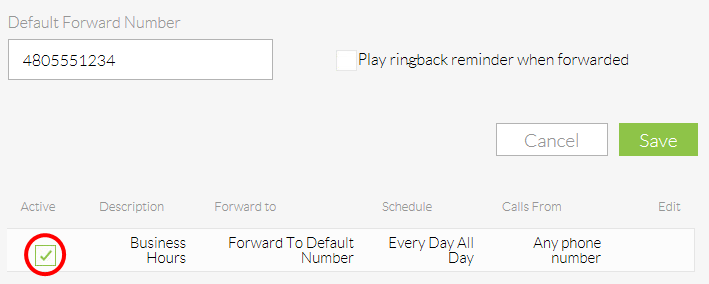
- Select the pencil icon to the right of Call Forward Selective to ensure there is a valid 10-digit phone number in the Default Forward Number field.
NOTE: There should be no spaces, dashes, or digits missing.
Also, make sure there is a checkmark in the Active box.
- Select the pencil icon to the right of Call Forward Selective to ensure there is a valid 10-digit phone number in the Default Forward Number field.
- Select the pencil icon to the right under the Edit column and make sure there are no additional phone numbers listed under the Forward Number field, also make sure the correct Schedule is selected.