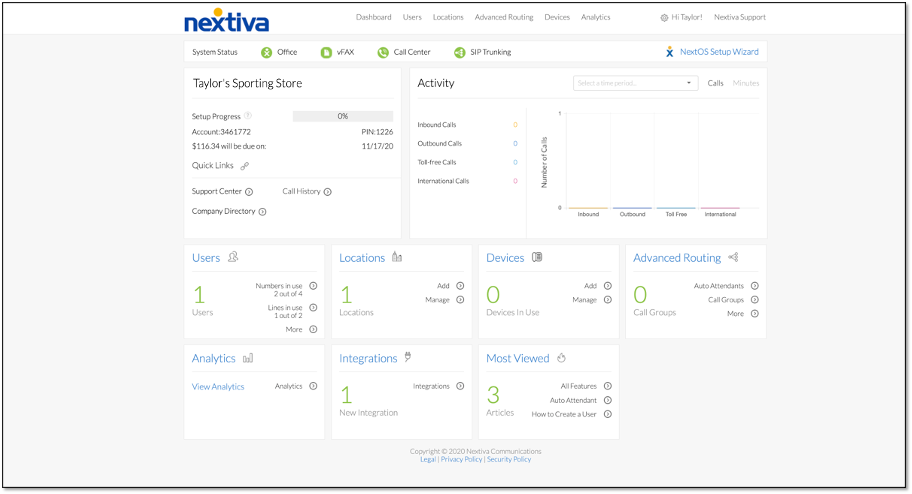
Choose the image that looks most like your screen once logged in.
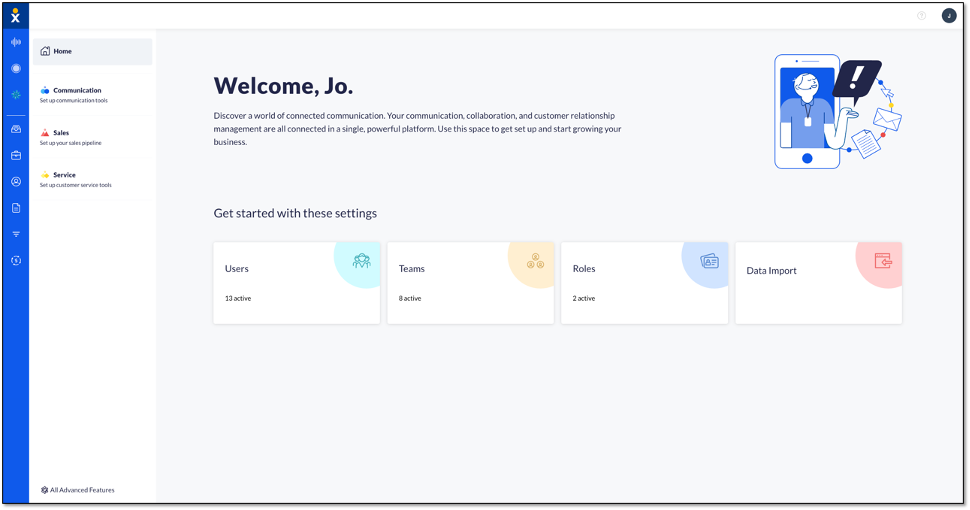
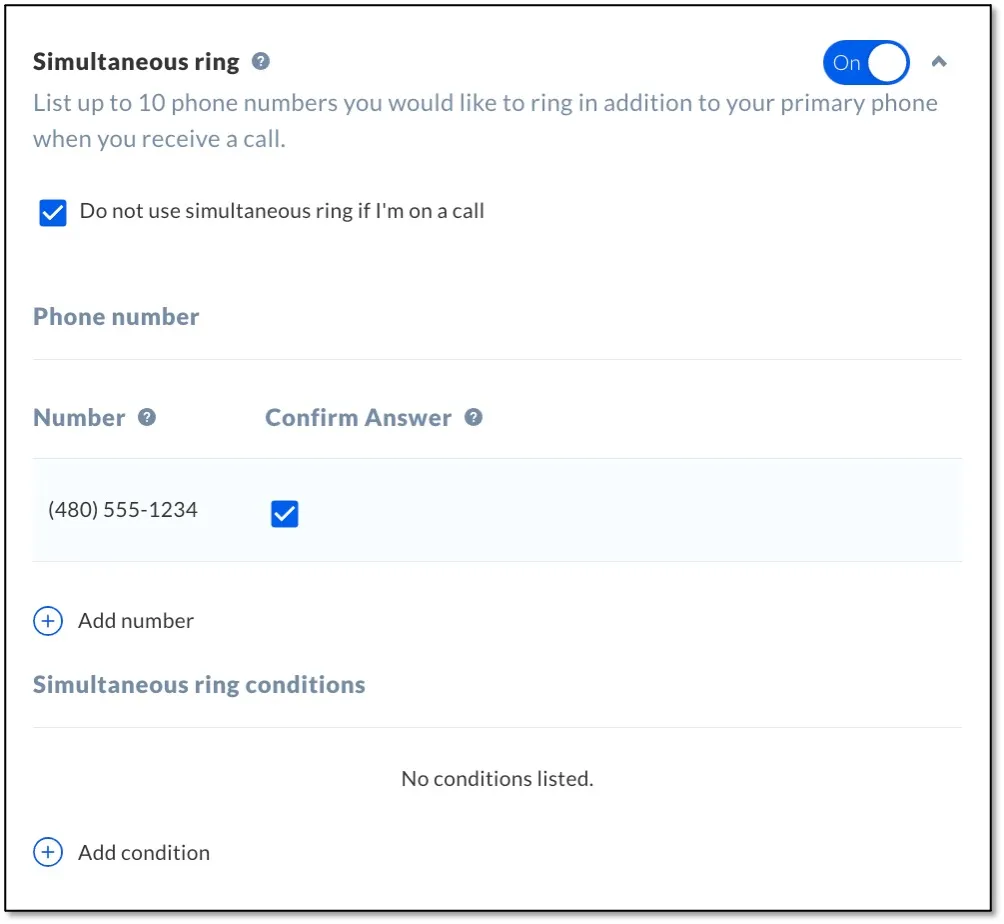
From the NextOS admin home page, select Users > Actions > Voice Settings > Mobility > Simultaneous ring. Click Add number and enter the phone number > Save.
You can also choose conditions based on a specified schedule and phone number(s), including any private or unavailable numbers. For example, if you have a simultaneous ring setup to ring your desk phone and your cell phone, a schedule can be applied to the simultaneous ring feature so that calls only ring to your cell phone during business hours.
Click Add condition and enter the required information > Add.
Setting up simultaneous ring (NextOS 3.0)
From the Nextiva voice admin dashboard, hover over Users > Manage Users. Hover your cursor over the user and click the pencil icon > Mobility > pencil icon to the right of the simultaneous ring feature. Enter the phone number and choose to enable the below options > Save.
- Do not use simultaneous ring if I’m on a call: check this box to have calls ring only available devices.
- Answer confirmation: check this box to require the recipient to press a key on their phone to accept the call. This can be used to prevent calls from going to the voicemail box of one of the simultaneous ring phone numbers.
You can also specify criteria based on a specified schedule and phone number(s), including any private or unavailable numbers. For example, if you have a simultaneous ring setup to ring your desk phone and your cell phone, a schedule can be applied to the simultaneous ring feature so that calls only ring to your cell phone during business hours.
Click the plus (+) icon and enter the required information > Save Criteria.