Group Paging enables a user to page a predefined group of users by dialing a paging group number or extension, like a group intercom.
Follow the instructions below to set up Group Paging for a specific location:
- Visit www.nextiva.com, and click Client Login to log in to NextOS.
- From the NextOS home page, select Voice.
- From the Nextiva Voice Admin Dashboard, hover over Locations at the top and select Manage Locations.
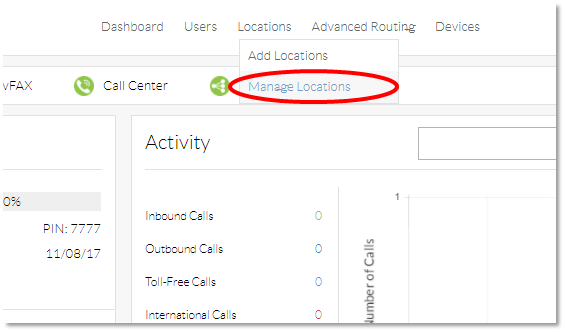 Manage Locations
 - Hover your cursor over the location you want to set up Group Paging for, and click the pencil icon to the right.
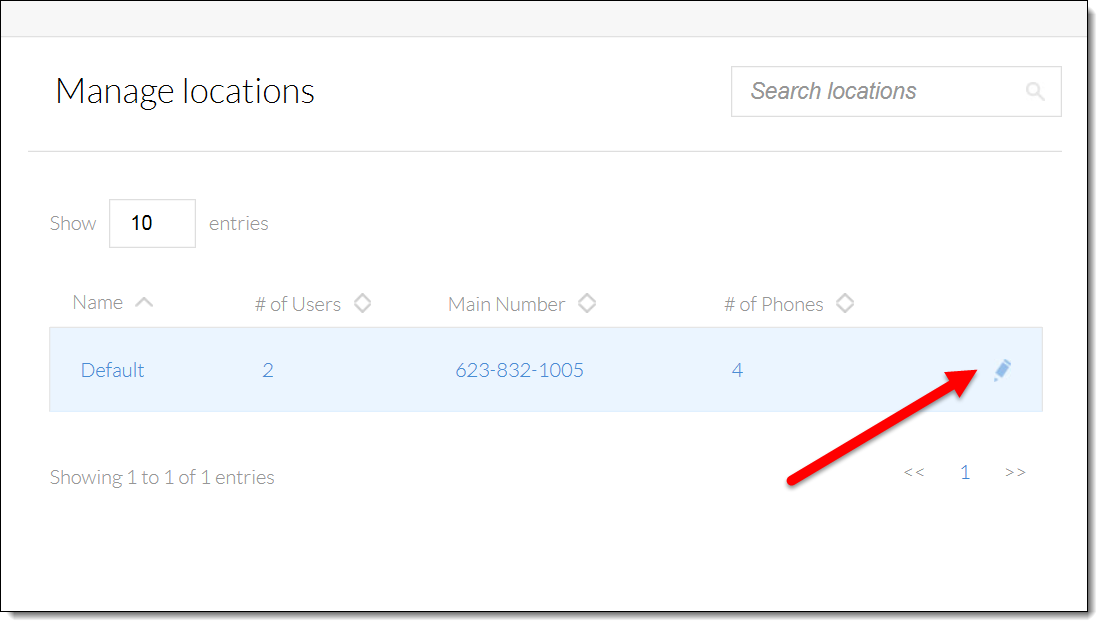 Edit Location
 - Scroll down, and select the Location features section.
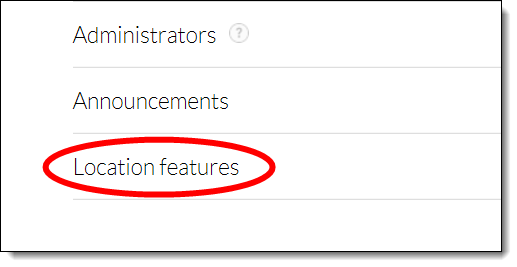 Location Features
 - Click the pencil icon to the right of Group paging.
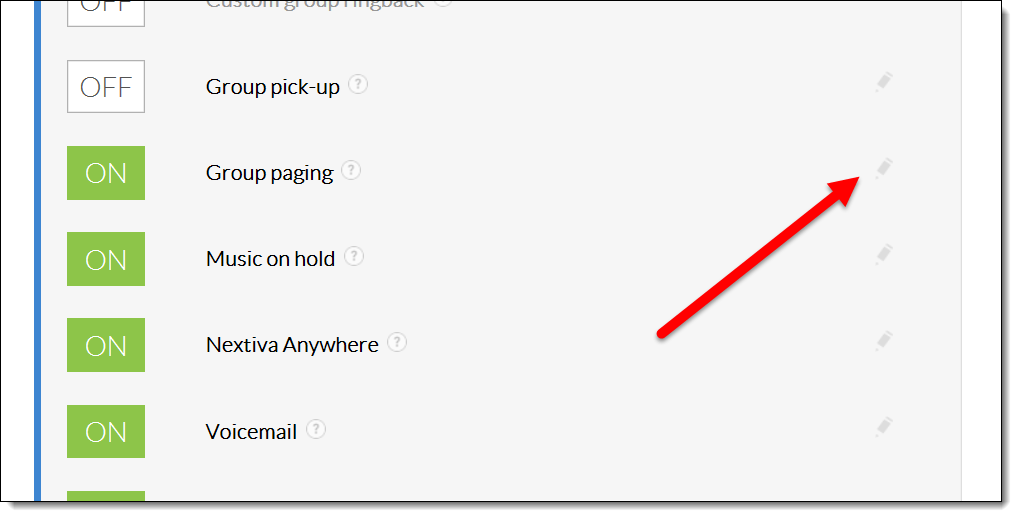 Group Paging
 - Click the plus sign at the bottom-right of the menu.
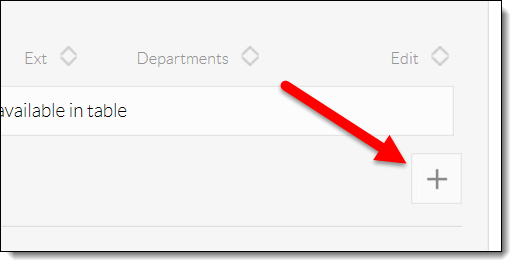 Add a Paging Group
 - Enter the required information as indicated below:
- Name: A descriptive name for the Group page. If you are setting up only one group page for everyone in the company, enter “GroupPage” as the name. Please note that special characters or spaces are not supported for the name.
- Caller ID first name and Caller ID last name: The text entered here will appear on the caller ID screen for all users who receive the group page. If you’re unsure what to enter, type “Group” for the first name, and “Page” for the last name. This displays “Group Page” on the caller ID screen for all users who receive the group page.
- Phone Number: The phone number for the group page. This is optional.
- Extension: The extension number users will dial to initiate the group page. This is required.
- Department: The department for the group page. This is optional.
- Timezone: The time zone the paging group is centralized in.
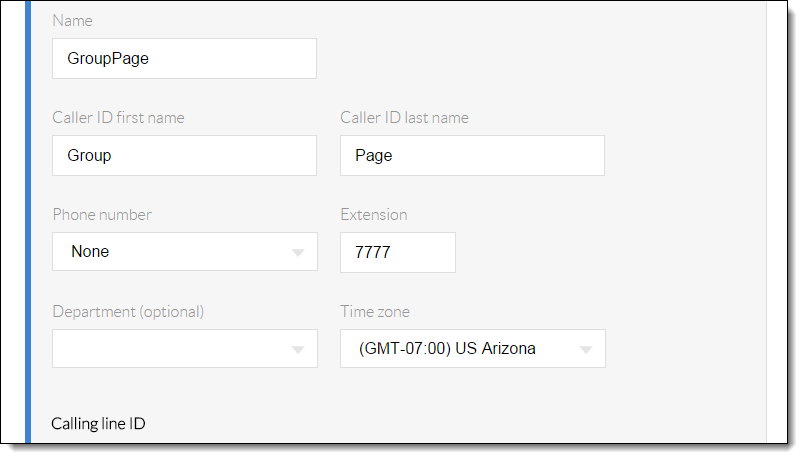 Paging Group Details
 - Scroll down until the Calling Line ID section is visible. Enter the required information as indicated below:
- Paging Group: this option displays the Calling line ID first name and Calling line ID last name when initiating the page. This is the default option.
- Originating user: select this option to display the originating user’s caller ID. You have the option to enter a prefix for the user’s caller ID (ex. “Page from”) if you’d like.
- Confirmation tone sending timeout: this is the time in seconds after a target user answers that the originator of the page hears a confirmation tone. This is set to 1 second by default.
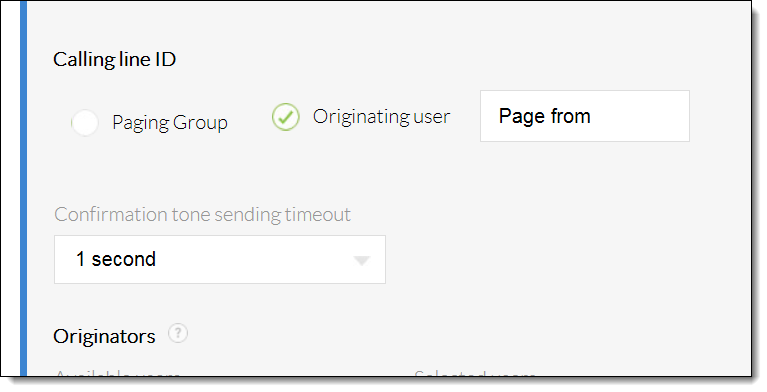 Calling Line ID Details
 - Select the users that can originate a page by clicking the plus sign next to their names in the Available users box under the Originators section. Alternatively, you can click All at the top of the list to allow all users on the account to originate a group page.
- Select the users that will be the target of the page by clicking the plus sign next to their names in the Available users box under the Targets section. Alternatively, you can click All at the top of the list to make all users the target of any page.
- Click the green Save button at the bottom-right of the menu. A pop-up message appears stating that the Group Paging has been added.
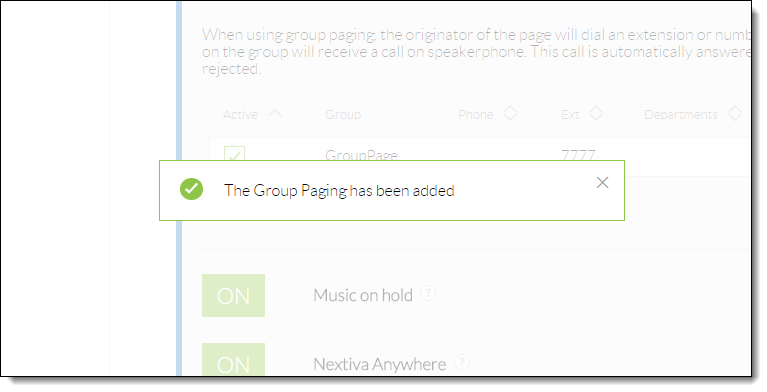 Confirmation Message
NOTE: if you are using Internet Explorer, you will not see a plus sign next to the users’ names. Instead, click on the names of the users to move them over to the Selected users box.
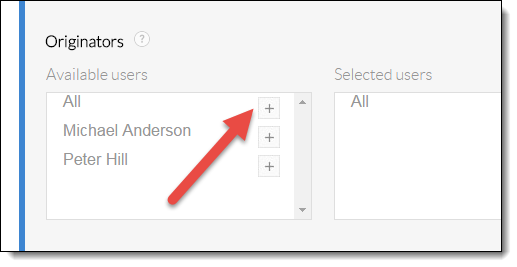 Originators
NOTE: If you are using Internet Explorer, you will not see a plus sign next to the users’ names. Instead, click on the names of the users to move them over to the Selected users box.
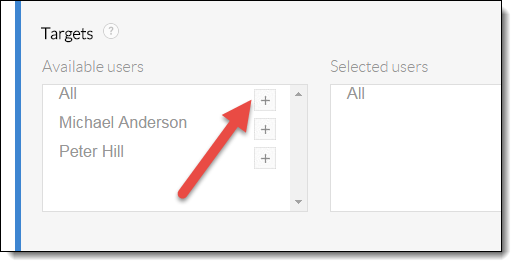 Targets
Using Group Paging
To use Group paging, a user listed as an originator in the paging group dials the extension of the paging group. The originating user will hear a message stating “Paging System Ready” and target users will hear a message stating “Paging.” After these messages, all further communication through the originator’s phone is relayed through the speakerphone of the targets’ phones. When the originator has finished their announcement, they can hang up the phone to end the page.
Group Paging communication is one-way and no response from the targets will be delivered to any phone in the paging group.
