Bria is a business-class mobile application provided by CounterPath®. It is not a free program, and when installing it you will need to have a license key from CounterPath. If you have purchased Bria, follow the steps below to connect it to your Nextiva service:
Once you have installed the Bria application on your Android, run the program.
Follow the below steps to complete the setup process in the Bria application on your Android:
- Visit nextiva.com, and click Client Login to log in to NextOS.
- From the NextOS Home Page, select Voice.
- From the Nextiva Voice Admin Dashboard, hover your cursor over Users and select Manage Users.
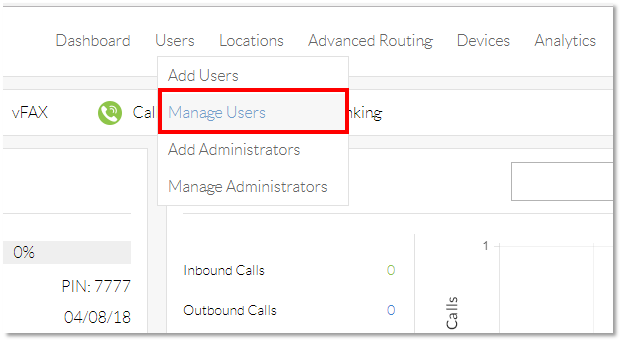 Manage Users
 - Hover your cursor over the user you are assigning Bria to, and click the pencil icon that appears to the right of their name.
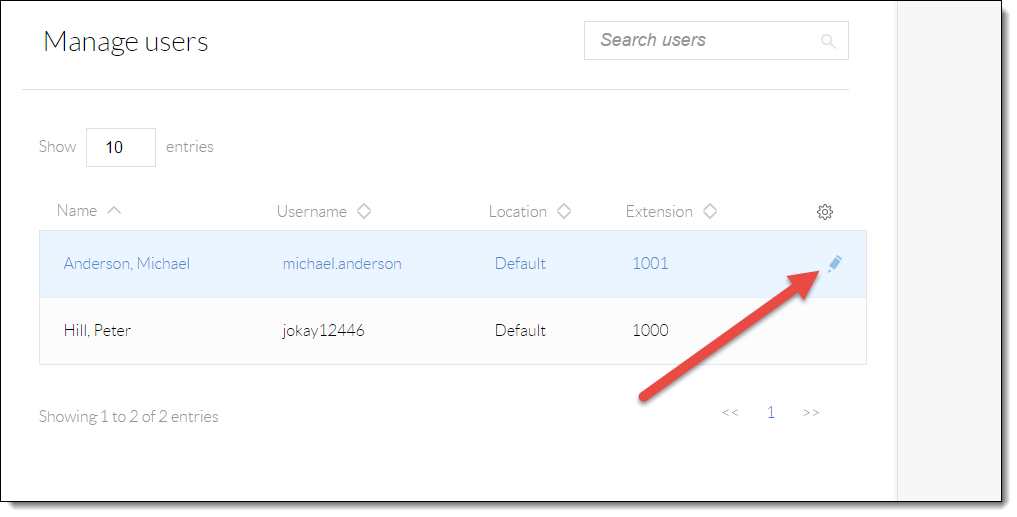 Edit User
 - Scroll down, and click the Device section.
- Select the Own Device radio button.
- Select Generic SIP Phone from the drop-down list of the Own Device list.
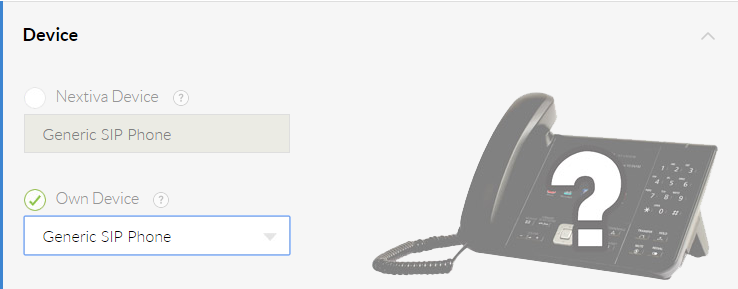 Device Drop-down
 - Click the green Generate button under the Authentication Name text box.
- Select the Change Password checkbox under Domain.
- Click the green Generate button under the Change Password checkbox. Copy the SIP Username, Domain, Authentication Name, and Password onto a notepad, or document them in some way, as they will be important in setting up Bria.
 Device Details
 - Click Save & Continue. A pop-up message appears indicating the transaction has been processed.
- Install Bria on your Android.
- Once you have opened the Bria application on your Android, you will see a
 icon. Select this icon to access the Settings menu.
 - You will see various options within the Settings menu. Tap the option labeled Accounts.
- At the top of the Accounts screen, you will see an option labeled Accounts +. Tap this option to create a new account.
- Do not select any of the predefined criteria of another provider. Instead, select SIP Making Calls.
- Enter the required user information you copied earlier from the NextOS 3.0 portal to provision Bria:
- Account Name: Enter “Nextiva” or any description you would like to use as your account name.
- Display As: Text entered in this field will typically show up as an “internal caller ID setting” when dialing another user or extension within your Nextiva account.
- Username: Enter the SIP Username that you generated earlier in the NextOS 3.0 portal.
- Password: Enter the password that you generated earlier in the NextOS 3.0 portal.
- Domain: Enter the domain that you generated earlier in the NextOS 3.0 portal, which is prod.voipdnsservers.com.
- VM Number: The user’s voicemail number should be entered as 9999.
- Continue by selecting the Account Advanced option, and enter the required information.
- Outbound Proxy: Enter prod.voipdnsservers.com:5062
- Authorization Name: Enter the Authentication Name that you generated earlier in the NextOS 3.0 portal.
- Select the Back option and return to the Accounts menu.
- In the upper left corner of the screen, select the Accounts button.
- Proceed by tapping the Preferences button.
- Within the Mobile Data Network, turn the following two settings to On:
- Use When Available
- Allow VoIP Calls
- In the upper left corner of the screen, select the Accounts button to return to the Accounts page.
- Select the blue arrow to the right of your Nextiva account.
- At the top of the menu, select the button labeled Register.
- The application will display Registered if all of the necessary credentials have been met.
- To confirm Bria has been successfully connected to your Nextiva account, place a test call by selecting the Phone icon at the bottom of the Bria menu.
Need additional help? Click here.