Export data from Nextiva CRM to evaluate and compare to previous years. For example, you can export the total number of Accounts each quarter to compare to previous quarters to determine how many new accounts signed up.
- Visit www.nextiva.com, and click Login to log in to NextOS.
- From the NextOS Home Page, select CRM.
- Click Administration Tools (wrench) icon at the top-right corner of the Nextiva
CRM window. - Under Advanced Settings in the left navigation panel, select Data Migration &
Integration. - On the Data Management page, click View Recent Imports, then Export Data at the top right-hand corner.
- Enter a description describing the export, and then select the checkbox(es) next to the desired data to be exported.
- Click Save & Run.
NOTE: The export will be available to download under the Import History
page for up to seven days before it is automatically deleted from the system.
Exporting Data from Tables
Administrators can also export data from any Account, Contact, Case, Lead, Opportunity, and Product table.
Exporting Data from a Table
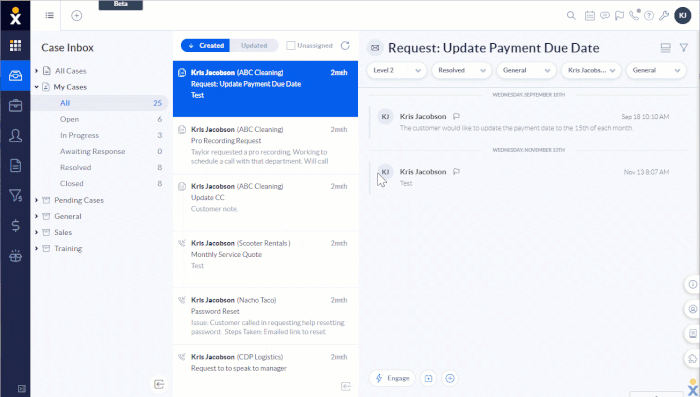
- In the left navigation panel, select the desired record type (Account, Contact, Case, Lead, Opportunity, or Product).
- Sort and filter the data in the CRM table as desired. To export only specific rows, select the checkboxes corresponding to the desired rows to include. Otherwise, the first 5,000 rows will be exported.
NOTE: Only selected rows on the current page will be exported. The rows selected on other pages will not be included in the .csv file.
- Click Export at the top-right corner of the window and complete the fields in the Export dialog box. Click Save.