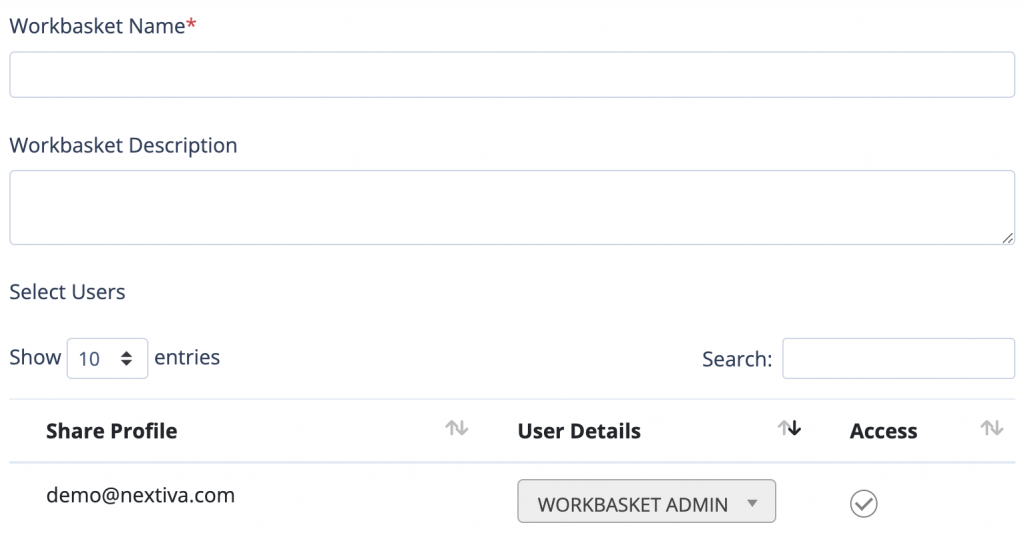
Create Workbaskets aka teams to route customer interactions to the right group of users. For example, you can create workbaskets for specific departments so interactions are routed to the correct team based on business hours or specified keywords.
Create Workbaskets aka teams to route customer interactions to the right group of users. For example, you can create workbaskets for specific departments so interactions are routed to the correct team based on business hours or specified keywords.