This article focuses on the routing of stranded calls, which happens when all agents have signed out of the queue (e.g. end of shift). This feature is only available for Professional or Enterprise Call Centers.
Navigating to Call Center from NextOS (If purchased after Dec. 2020)
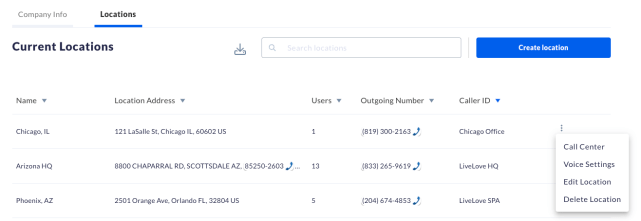
Navigating to Call Center from Nextiva Voice (If purchased before Dec. 2020)
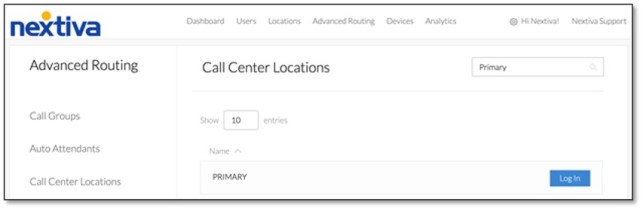
The Configuration Portal will open in a new tab or window. On the left-hand menu, select Call Center. Select Call Centers under the Basic column.

Select Edit to the right of the Call Center you wish to set up Stranded Call Routing for.

Select Routing Policies under the Options section on the left-hand side.
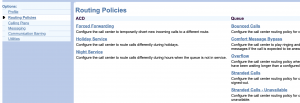
Select Stranded Calls under the Queue column.
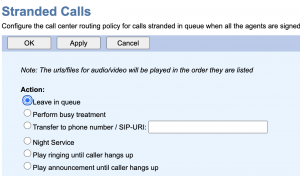
Under Action, select one of the following options:
- Leave in queue: All stranded calls will be left in the queue.
- Perform busy treatment: All stranded calls will hear a busy tone.
- Transfer to phone number/SIP-URI: All stranded calls will forward to a specific phone number.
Click OK to save changes.