Navigating to Call Center from NextOS (If purchased after Dec. 2020)
Navigating to Call Center from Nextiva Voice (If purchased before Dec. 2020)
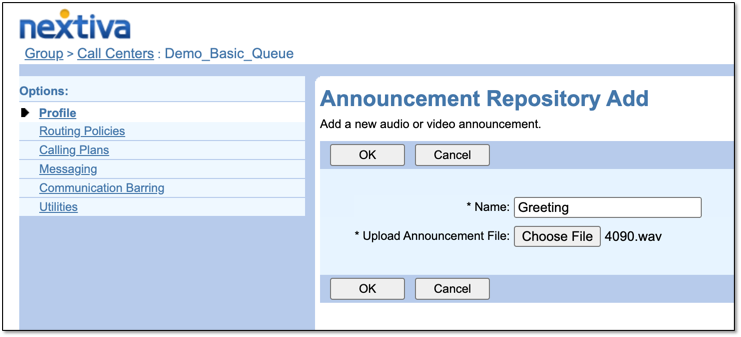
Customize announcements for callers when they enter the queue, or while they are waiting in the queue, such as the estimated wait time, or the monthly specials, for example. You can also set up announcements only Agents can hear before a call receiving a call from the queue.
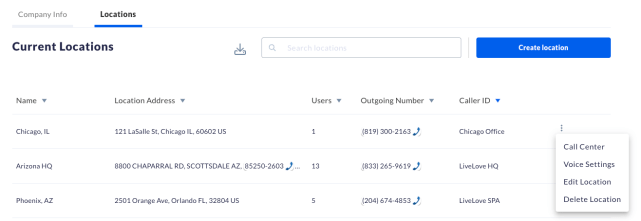
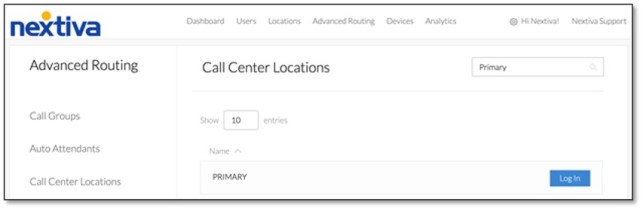
From the Nextiva Voice Admin Dashboard, hover over Advanced Routing > Call Center Locations.
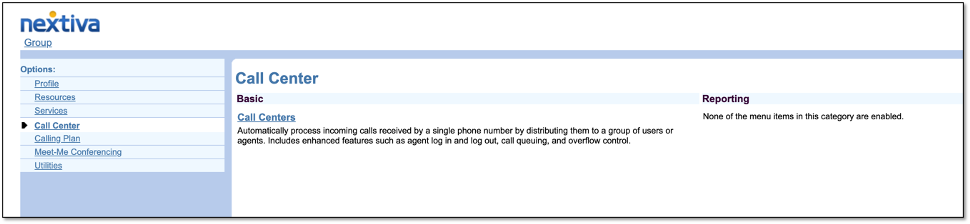
Click Log In to the right of the Call Center Location > Call Center > Call Centers.
Click Edit to the right of the Call Center. Select the Announcement Repository > Add > Choose File > OK > OK.
Click Announcements and select the announcement for the Entrance Message, Estimated Wait Message, Comfort Message, and Music on Hold Message and Call Whisper Message. Click Apply.