 VoIP
VoIP  Blog
Blog  Business Communication
  Customer Experience
  Leadership
  Marketing & Sales
  Productivity
3CX built its reputation as a flexible, cost-effective PBX system, and for many businesses it delivered. But recent security breaches, opaque pricing changes, and an increasing IT management burden have pushed a lot of teams to start looking elsewhere.
The good news: The business phone system market has never been more competitive. Whether you want a fully managed cloud solution, a self-hosted alternative, or something that simply works without a dedicated IT resource babysitting it, there are strong options available.
We’ll outline several strengths and weaknesses, and then compare some of the best 3CX alternatives and summarize what they offer.
3CX Alternatives at a Glance (table)
| Provider | Cloud/On-premise | Why it’s a top alternative | Pricing | Best for |
|---|---|---|---|---|
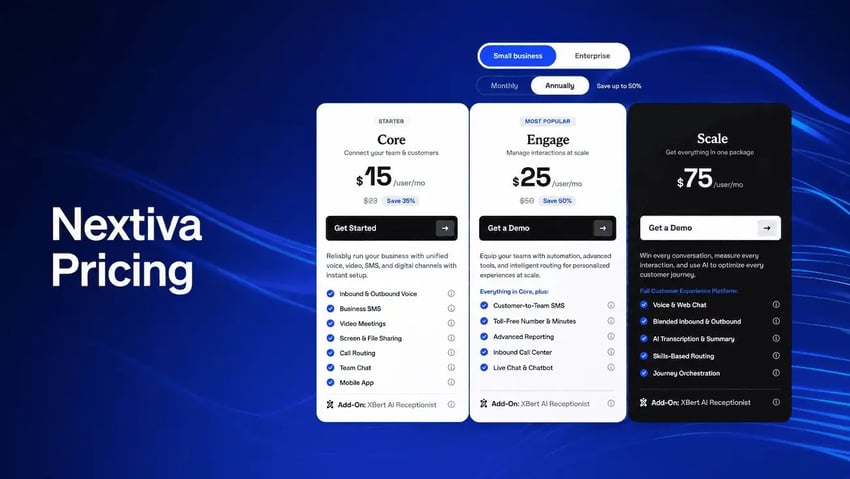
| Nextiva | Primarily cloud | All-in-one UCaaS suite with strong reliability, bundled features (AI voice agent, call recording, IVR, and analytics), and good support. | Starts at $15 /user/month | The best overall cloud phone system for organizations of all sizes, including growing businesses. |
| Dialpad | Cloud | Built-in AI with real-time transcription and coaching. | Starts at $15 /user/month | Small and midsize businesses that want a cloud phone system with strong AI features. |
| FreePBX | On‑prem or self‑hosted | Open‑source PBX with deep customization and low software cost. | Core software free; pay for hardware, SIP trunk, server/hosting. | Organizations with in-house IT that want full control and flexibility. |
| RingCentral | Cloud | Very feature‑rich UCaaS with seamless integration into tools like Salesforce. | Starts at $20 /user/month | A reliable pick for SMBs needing a well-rounded cloud phone platform. |
| Yeastar | On‑prem and cloud options | Works with a wide array of communication devices, offers on-premises and cloud-hosted services, and has a partner community. | Hardware plus licenses for on‑prem; per‑user for cloud (request a quote). | SMBs that need a mix of on‑site PBX and cloud. |
| Vonage | Cloud | Offers unlimited calls and SMS, and APIs for customization. | Starts at $13.99 /line/month (mobile only) | SMBs wanting a cloud phone system with add-on flexibility. |
Strengths of 3CX
Before exploring alternatives, let’s first understand what makes 3CX a popular PBX solution. Its features and versatility cater to a wide range of business needs.
User-friendly PBX
One of the standout characteristics of 3CX is its user-friendly communication tools for admins, where much of the technical complexity is behind the scenes. It brings VoIP service, conferencing, and messaging together. This integrated setup eliminates the hassle of managing multiple communication channels, making collaboration achievable for teams.
For a hosted PBX, it is easy to manage on the admin side and somewhat intuitive on the user side, but there are many options to configure before deployment.
Flexible hosting
3CX supports expansion for both startups and mid-market organizations.
It allows businesses to scale their communication systems without overhauling existing infrastructure, making it a practical choice for long-term growth. For instance, you can use 3CX with Nextiva’s VoIP phone service.
You can also choose to host with 3CX directly or on-premises, or on public cloud providers like Amazon EC2 or Google Cloud Platform. However, those have additional costs and technical requirements to consider. However, if you want the flexibility of maintaining your office PBX, then 3CX is a decent option.
Lower costs
Budget concerns are a priority for every business, and 3CX offers affordability. Its startup plan provides a free introduction to the software for up to 10 seats. Companies can save money through:
- Flexible deployment options: You can choose between cloud-based or on-premises setups, whichever best fits your business needs and budget. This flexibility ensures you’re not paying more than what works for you.
- Lower telephony costs: While you still have to find a SIP trunk provider, the self-hosted option is attractive if you don’t have heavy usage. This makes 3CX an appealing option for those considering platforms like Zoom or GoTo Connect.
- Reduced maintenance expenses: You can keep IT costs down thanks to 3CX’s straightforward setup and minimal hardware requirements. You don’t need a vast tech team to maintain a reliable communication system.
However, its new pricing model erodes some cost savings when you consider hosting, support, and licensing costs.
For businesses on a tight budget, 3CX is attractive. If your current contact center or call center solution isn’t meeting expectations, exploring alternatives like service provider integration or advanced API capabilities might be the next step.
Integration with popular tools
3CX works best with customer relationship management (CRM) tools like Salesforce and Microsoft Dynamics, simplifying things for your team. Instead of jumping between different systems, employees can access customer data directly within the platform.
These integrations save time and help your team respond more quickly and personally to customers. Automated features like interaction logging enable your team to focus on what truly matters: a great customer experience.

Downsides of 3CX
Although it has some good features and versatility, there are also some downsides.
Confusing pricing
While 3CX remains attractive when starting, its pricing is confusing and not the best value for businesses that need a solid communications platform to power their company.
When considering 3CX, you have to select between 3CX Pro and 3CX Ent plans. The Enterprise plan gives you more flexibility over call recording, logos on phones, and voicemail transcription. That’s fine, but then we get to the concept of simultaneous calls as a factor in its costs. Depending on the number of user seats, 3CX only permits a finite number of concurrent calls. For instance, for 120 users, only 32 concurrent calls are allowed.
Then we have hosting to consider. Self-hosting is an option, but it’s an extra IT burden (and liability). 3CX provides annual PBX hosting for up to 120 users for roughly USD 828 (795 euros). However, recent feedback on Reddit suggests IT pros aren’t satisfied with it.
Lastly, you’re only entitled to one support ticket for roughly $104 or five tickets for $365. Generally, you’re on your own or asking for help on public forums.
![How Much Does a Business Phone System Cost? [2026 SMB Guide]](https://www.nextiva.com/cdn-cgi/image/width=850,height=478,fit=cover,gravity=auto,format=auto/blog/wp-content/uploads/sites/10/2023/10/cost-of-voip-phone-system.jpg?resize=768,432)
Security concerns
In March 2023, cybersecurity researchers uncovered a supply chain attack targeting 3CX. The attack involved compromised versions of the 3CX desktop app for Windows and macOS, which contained malicious code designed to steal sensitive information and potentially provide attackers with remote access to infected systems.
The compromised software versions were digitally signed with legitimate 3CX certificates, making them appear trustworthy to users and security systems. The attack was attributed to the North Korean state-sponsored hacking group, Lazarus.
In response, 3CX updated its software and advised all users to install it immediately. They also implemented additional security measures, including new code signing procedures and enhanced supply chain security controls. The incident highlighted the growing sophistication of supply chain attacks and the importance of support and rapid incident response.
Other security issues worth noting can be found here.
Additional IT burden
As organizations grow, so do their IT demands. With so many different hosted phone systems and contact center software available, maintaining dedicated PBX servers isn’t always the best use of resources. Additionally, virtually every other business application is hosted, so why not your business voice platform?
When you use 3CX, you’ll always have these concerns on your mind:
- Server hosting and configuration
- Procuring SIP trunks and DIDs
- Security audits and pen-testing
- User onboarding and setup
- Regulatory compliance like E911, 10DLC, etc.
- Changing business needs (like call centers)
- Single sign-on user authentication
Who Should Look for a 3CX Alternative?
3CX works well for some organizations, but it’s not the right fit for everyone. You’re probably considering a 3CX alternative if you recognize yourself in any of these situations.
You were affected by the 2023 security breach (or don’t want to risk another one). That supply chain attack was a wake-up call, and the CVEs (Common Vulnerabilities and Exposures) that followed didn’t help. A breach isn’t just a technical problem, it’s a trust problem.
You’re growing fast and need a cloud-first phone system that scales without extra work. 3CX’s self-managed model makes sense when you have the IT resources to run it. But if you don’t want to own hosting, updates, backups, and monitoring, a managed UCaaS platform can shift maintenance to the provider.
You want predictable pricing without licensing surprises. 3CX has changed its pricing model more than once, and the current structure (tied to simultaneous calls rather than users) can produce unexpected costs as usage grows.
Based on our analysis, here are the top 3CX and Wildix alternatives that offer the flexibility, features, and ease of use your business requires.
Top 3CX Alternatives to Consider
If 3CX doesn’t meet your needs, several alternatives offer better functionality, more transparent pricing, and superior tools for enhancing communication workflows. Here are the top contenders:
1. Nextiva
Overview of key features
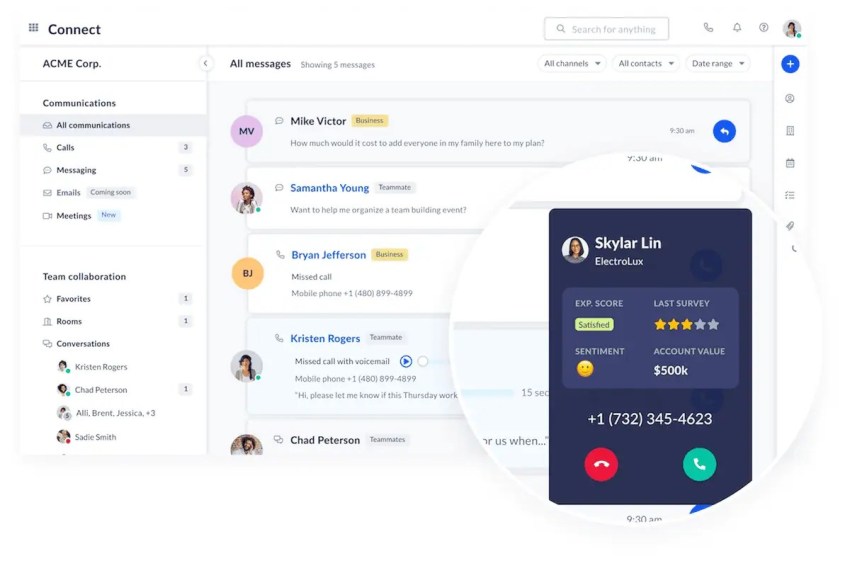
Nextiva is a strong 3CX alternative that provides a cloud-based communications platform built for growing businesses and distributed teams. It combines business calling, video meetings, and team messaging in one system, making it easier to manage day-to-day communications without maintaining an on-prem PBX. Nextiva also offers XBert AI, an AI receptionist/agent that can answer calls, handle routine questions, route callers to the right person, and support faster call handling when your team is busy. With over 1 million users and billions of interactions handled annually, it’s a trusted name in the industry.
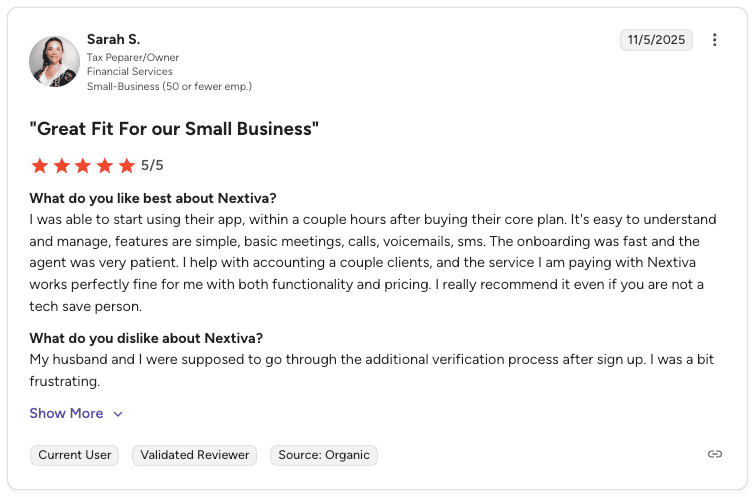
On Capterra, Nextiva scores higher than 3CX and has many more customer interactions that back those ratings up.
- On Capterra, Nextiva scored higher on every construct vs. 3CX, with a 4.6 out of 5 rating.
- On Gartner PeerInsights, Nextiva is rated 4.6 out of 5 (664+ reviews), surpassing 3CX’s 4.2 scores (16 reviews).
- On G2, Nextiva is rated higher than 3CX across some noteworthy categories: meeting requirements, quality of support, and partner in doing business with over 3,240+ reviews.

Pros:
- Zero installation, servers need to be provisioned, or IT hassles.
- Easy-to-use softphones are available and routinely updated.
- PSTN connectivity is included for every user with unlimited calling nationwide
- Enterprise-grade call routing and redundancy (automatic failover)
- Plenty of flexible customizations are available for admins and users
- Award-winning support is available 24/7, but you probably won’t need it.
Cons:
- No free trial means customers must commit to Nextiva without doing any hands-on testing.
- Flat-rate pricing may not suit businesses with light usage.
- Less appealing to those needing on-premises solutions.
Pricing
Nextiva’s pricing for unlimited calls nationwide starts at $15 per user per month, with metered SIP trunks available at $14.95 monthly. Depending on the plan you choose, features like call recording and SMS may be an added cost. While the lack of a free trial could be a drawback, the platform’s low and competitive entry-level pricing and rich feature set make Nextiva a strong choice for businesses looking for a reliable communication tool.

Best Suited For
Nextiva’s cloud-hosted PBX is perfect for businesses of all sizes that want an intuitive platform with call recording, IVR, and analytics.
Rating: 4.5/5 stars (3,448 user reviews)
2. Dialpad

Overview of key features
Dialpad is a cloud business communication platform with separate products for calling (Connect), sales (Sell), and support/contact center (Support). It includes built-in AI features such as real-time transcription, call summaries, and live coaching prompts, plus call routing options (IVR/ACD) for higher-volume teams.
Pros:
- Strong built-in AI for transcription, summaries, and on-call coaching prompts
- Solid integrations with popular CRMs (on higher plans) and productivity suites like Google Workspace and Microsoft 365.
- Offers both UCaaS (business phone) and contact-center options (routing, IVR/ACD)
Cons:
- Some advanced features (certain AI analytics, deeper CRM integrations, contact center tools) are limited to higher-tier plans.
- Video meeting duration and participant limits can be restrictive on lower plans compared with dedicated video platforms.
- Some contact-center capabilities may require higher-tier plans than basic calling
Pricing
Dialpad publishes pricing by product (Connect, Support, Sell, AI Agent). Entry-level pricing is commonly positioned at $15 per user/month with annual billing for Dialpad Connect (business phone). Higher tiers (Pro and Enterprise) add more integrations, advanced analytics, and contact center capabilities at higher per‑user pricing.
Best Suited For
Any sales and support team that want AI-assisted conversations (transcription, summaries, coaching) built into calling.
Rating: 4.4/5 stars (4,695 user reviews)

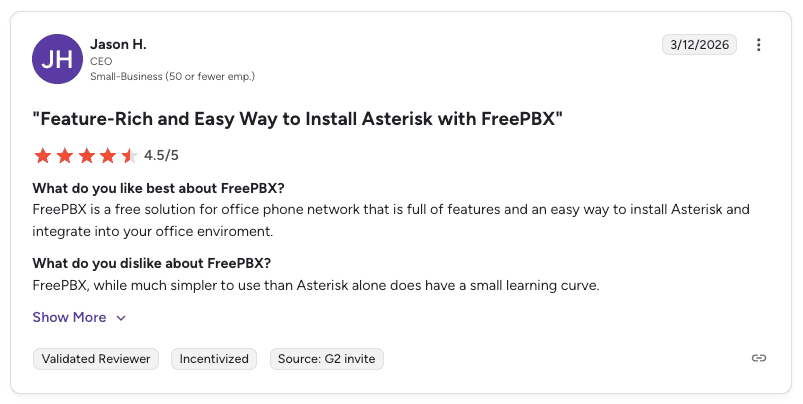
3. FreePBX

Overview of key features
FreePBX is a customizable, open-source communication platform that works with various hardware. FreePBX is free to download, making it a cost-effective option. However, setup can be complex, and support is limited.
Pros:
- Free solution allows businesses to allocate budgets elsewhere.
- Compatibility with a variety of modules and add-ons makes customization easy.
- Extensive configuration options let businesses tailor the platform to their needs.
Cons:
- The setup process can be challenging for smaller businesses.
- Support relies on community resources that may lack immediacy and reliability.
Pricing
Although FreePBX is free to download, businesses should account for additional costs, such as:
- Hardware: Costs vary depending on business requirements.
- Paid modules and add-ons: Prices range from $39 to $349 each.
Best Suited For
A budget-friendly and open-source choice. It’s perfect for businesses that want control and extensive customization options, especially those looking to enhance their helpdesk and voicemail solutions.
Rating: 4.4/5 stars (16 user reviews)
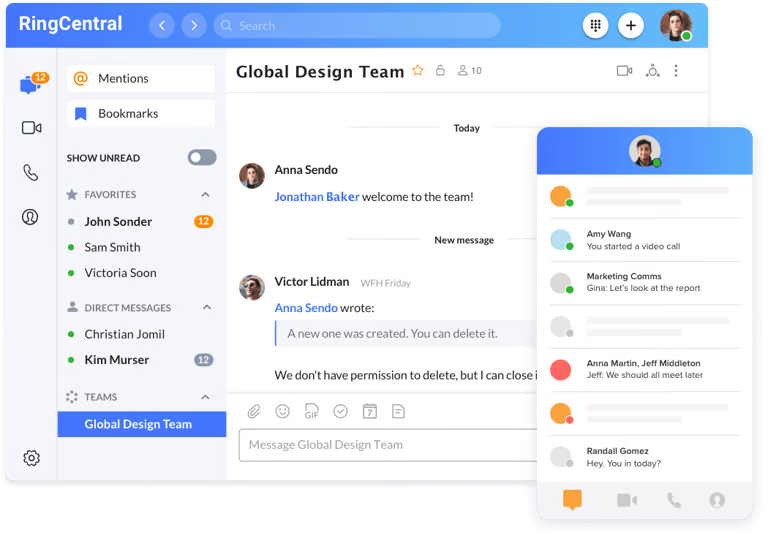
4. RingCentral
Overview of key features
RingCentral is a cloud-based platform that combines voice calls, video conferencing, messaging, and CRM integrations. RingCentral is easy to use, works with tools like Salesforce, and offers mobile apps for flexibility. While pricing can be tricky and setup takes time, its features and 24/7 support make it a reliable business choice.
Pros:
- Its dashboard is easy to navigate, even for new users.
- Its mobile apps for Android and iOS keep teams connected anywhere.
- Its support teams are available 24/7 to address issues quickly.
Cons:
- Multiple pricing tiers and add-ons can make costs confusing.
- Implementation can take up to 90 days, which may be too long for some businesses.
- Additional fees for certain features, like call recording, can affect overall costs.
Pricing
Plans start at $19.99 per user per month, and costs vary depending on your chosen features. Businesses can select tiers that fit their needs by providing features such as video conferencing, call management, or advanced integrations.
Best Suited For
RingCentral is a reliable pick for small- and medium-sized businesses that combines VoIP service, phone calls, and instant messaging in one platform and provides seamless integration into tools like Salesforce.
Rating: 4.3/5 stars (2,947 user reviews)

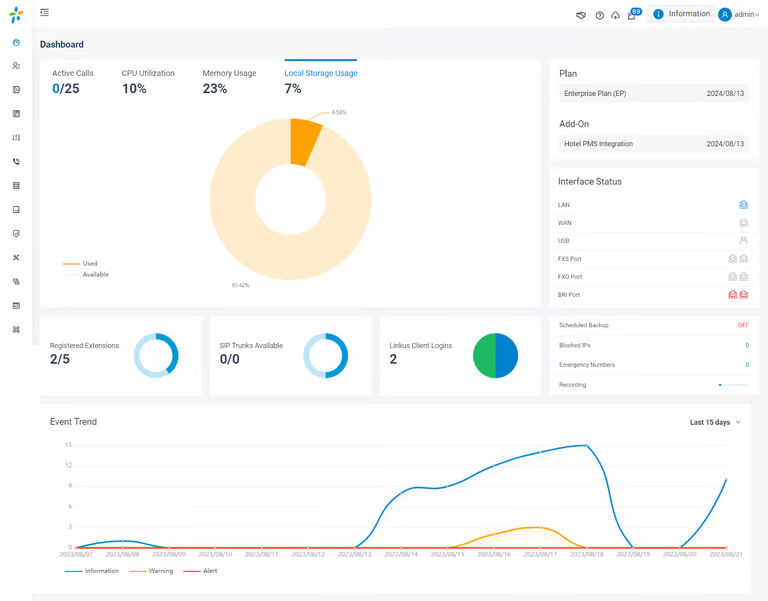
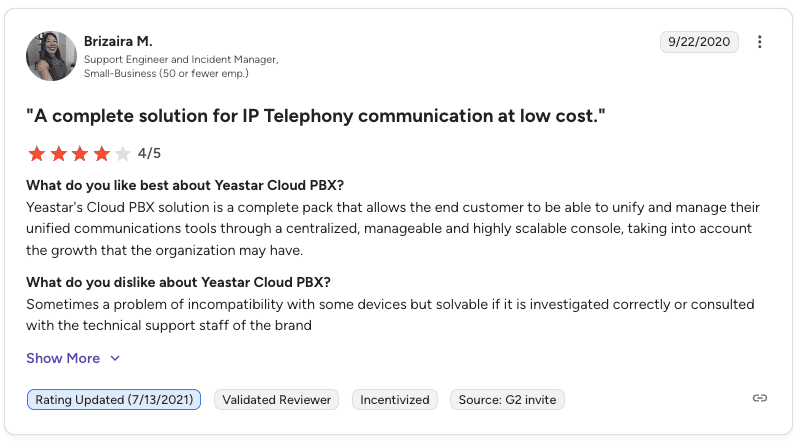
5. Yeastar
Overview of key features
Yeastar is an efficient, cost-effective unified communication platform supporting voice calls, messaging, and video conferencing. It works with various VoIP providers and offers both on-premises and cloud-based solutions. Known for its customizability and integrations with tools like Salesforce, Yeastar is a great choice for businesses seeking flexibility and scalability.
Pros:
- Provides custom features to match business needs.
- Adapts easily as businesses grow.
- Supports third-party tools like CRM solutions for improved productivity.
- Offers savings you can’t get from traditional systems.
Cons:
- It can be challenging for non-technical teams to configure.
- It may lack some advanced functionalities found in larger platforms.
- Its customer support quality can vary depending on the provider.
Pricing
Yeastar plans start at $15 per user per month for basic features, with advanced options like video conferencing and call recording available in higher-tier plans that cost up to $30 per user per month. Flexible pricing makes Yeastar accessible for businesses without large upfront investments.
Best Suited For
Yeastar is a growing contender in the unified communications space that works with a wide array of communication devices, offers on-premises and cloud-hosted services, and has a partner community.
Rating: 4.5/5 (3 user reviews)
6. Vonage
Overview of key features
Vonage is a cloud-based communication platform that offers voice calls, video conferencing, messaging, and CRM integrations like Salesforce. Vonage’s mobile app for iOS and Android keeps teams connected across devices. This platform is a flexible and scalable choice for businesses of all sizes.
Pros:
- Mobile app for on-the-go communication.
- Integration with CRM software and third-party tools.
- Scalability that suits growing businesses.
- High-quality voice and video calls.
Cons:
- Pricing can be higher than that of similar platforms.
- Hidden fees can affect overall costs.
- Setup may require technical support.
- Customer support can be inconsistent.
Pricing
Plans start at $19.99 per user per month, and advanced features cost more. Businesses should consider their needs to find the best value.
Best Suited For
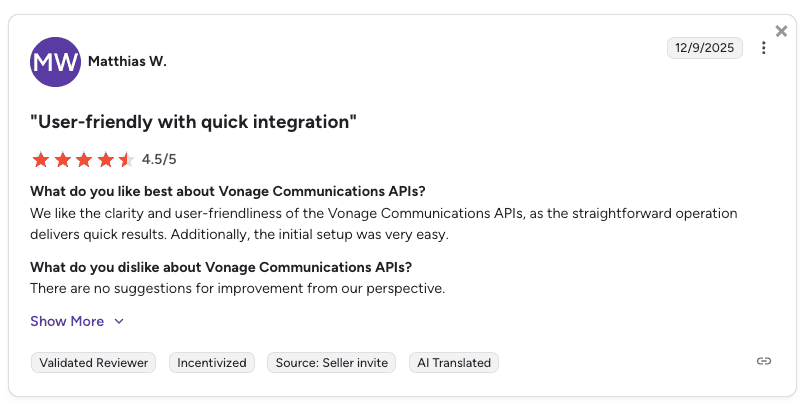
Vonage offers unlimited calls, SMS, and has a mobile app, so it’s a good option for teams that need flexibility.
Rating: 4.3/5 stars (1,003 user reviews)
How to Choose the Right Alternative
Choosing a 3CX alternative comes down to how much control you want, how much time you can spend managing the system, and what your business needs now versus a year from now. Use these criteria to narrow your shortlist quickly.
Company size and calling complexity
Start with how your team actually uses phones. Solo owners or small businesses may only need straightforward calling, voicemail, and business hours. Growing teams often need more, such as higher call volume, call routing rules, analytics, and the ability to add users and numbers without reworking everything. If you expect growth, choose a platform that won’t force a migration in 12–18 months.
Hosting preference and IT involvement
Decide who should own maintenance. If you want the provider to handle updates, security patches, backups, and uptime, a cloud-managed platform is usually the simplest path. If you need on-site control or have a strong IT partner, an on-prem or self-hosted PBX can offer flexibility. Of course, that also means you’re responsible for security, monitoring, and troubleshooting.
Budget and total cost over time
Compare more than the sticker price. Cloud platforms are typically priced per user, while self-hosted options can look cheaper upfront but add costs for hosting, SIP trunking, hardware, support time, and ongoing maintenance. When comparing options, estimate your real monthly cost (licenses + add-ons + IT time) and consider which features you’ll need as your business grows.
The right platform can simplify communication, improve collaboration, and help your business run smoothly. There’s no one-size-fits-all solution, but these options offer great starting points:
- Nextiva: The best overall cloud-hosted PBX. It’s perfect for businesses of all sizes that want an intuitive platform with call recording, IVR, and analytics.
- Dialpad: A good option for any sales and support team that wants a cloud phone system with strong AI features.
- FreePBX: A budget-friendly and open-source choice. It’s perfect for businesses that want control and extensive customization options, especially those looking to enhance their helpdesk and voicemail solutions.
- RingCentral MVP: A reliable pick for small and medium-sized businesses. It combines VoIP service, phone calls, and instant messaging in one platform and provides seamless integration into tools like Salesforce.
- Yeastar: A growing contender in the unified communications space. It works with a wide array of communication devices, offers on-premises and cloud-hosted services, and has a partner community.
- Vonage: A good option for teams that need flexibility. It offers unlimited calls and SMS and has a mobile app so you can stay connected wherever you are.

Why Nextiva Stands Out as the Best 3CX Alternative
A reliable communication platform can make a world of difference. That’s why many organizations are replacing their PBXs in favor of a cloud-hosted one.
In fact, that’s one reason Shelby American ditched its old PBX and opted for Nextiva.
Among the alternatives to Yeastar, Nextiva stands out as a practical choice for teams that want PBX-style capabilities (calling, messaging, video, live chat, and texting) without the ongoing operational burden. It’s built to scale, supports everyday features like voicemail and call analytics, and connects with tools many businesses already use (including CRMs). With plans starting at $15 per user per month and 24/7 support, it’s also easier to budget and manage over time.
So if you’re exploring 3CX alternatives, be sure to add Nextiva to your shortlist to compare.
Get the best business phone service for less.
Simplify team communication with the top-rated phone system for small businesses. Advanced phone features included.
Frequently Asked Questions
Many companies explore alternatives because of 3CX’s complex pricing, infrastructure demands, and challenges with vendor support.
According to Gartner, over 70% of organizations prefer simpler pricing models, which drives them to seek options with better clarity and features.
Top options include Nextiva, FreePBX, RingCentral, and GoTo Connect. These platforms offer features like queues, workspace tools, and transparent pricing to improve team collaboration and customer engagement. The upside of going with a hosted provider is that you can deploy faster and have fewer maintenance worries.
Nextiva offers a unified platform that combines voice, video, and messaging. Its transparent pricing starts at $15 per user per month. The business phone system is user-friendly, with voicemail transcription and screen sharing. Nextiva is a versatile choice for businesses of all sizes because of CRM integration, Google, and Outlook, and provides 24/7 support.
Nextiva offers softphone apps for Windows, Mac, and even Linux. You don’t have to configure the advanced IP telephony settings. Nextiva just works — so you can get local phone numbers in any area code and begin calling quickly.
Look for clear pricing, essential features like voice and video calls, scalability, and reliable support. Prioritize a platform that aligns with your business goals and simplifies collaboration for your tea