Bria 3 is a business class mobile and computer application provided by CounterPath. It includes the ability to transfer and conference calls. To set up the CounterPath Bria 3 program, follow the steps below:
Once your Bria 3 has been installed, run the application. You will be required to input a license key before the application will run. After you have installed and licensed the software, you can finish the setup process inside the Bria application.
Follow These Steps:
- For Administrators, log in to NextOS by visiting www.nextiva.com and clicking on Login found at the top of the page. Alternatively, click here.
- Log in to NextOS with your login credentials.
- From the main dashboard, hover your cursor over Users and select Manage Users (Figure 1-1).
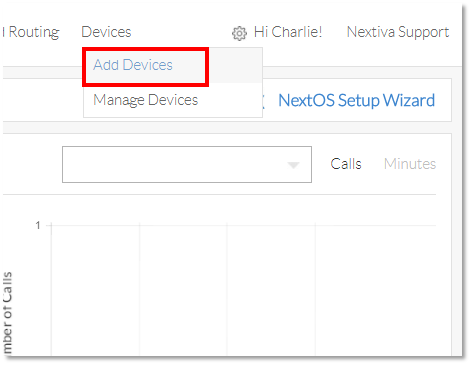
Figure 1-1: Add Devices
- Click the drop-down arrow under Select Model and select Generic SIP Phone.
- Select Assign to assign the device to a User.
- Click the drop-down arrow under Choose one user for assignment to this device to select a User to assign the device to. Click the Change Password check box, then click the Generate buttons to generate new authentication details (Figure 1-3).
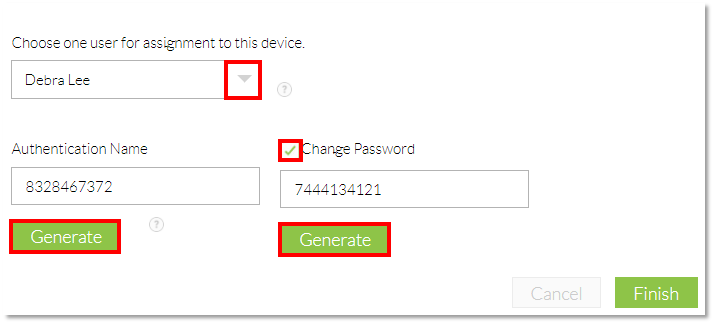
Figure 1-3: Select a User and Generate Authentication Details
- Click Finish to apply changes.
- Ensure that the computer with the CounterPath Bria 3 installation has a physical hard-wire Internet connection. Wireless applications can lead to poor audio quality, depending on the strength of the signal.
- Once your Bria 3 has been installed, run the application. You will be required to input a license key before the application will run. Then, follow these steps:
- Select Preferences from the menu
-
Under the Accounts Tab press “New SIP Account”
Fill out the required information under the tab “Account”
Account name: Use a name that will help you identify this account name in the future.
Under User Details:
- User ID: Input the SIP Username from the employee that will be using this device
- Domain: Input prod.voipdnsservers.com:5062
- Password: Input the Authentication Password from the employee that will be using this device
- Display name: This can be anything. This name will display when calling between Nextiva devices
- Authorization name: Input the Authentication Name for the employee that will be using this device
- Leave the Domain Proxy at default
- Click the tab labeled Topology towards the top of the window
- For Firewall traversal method, choose the None (use local IP address) radio button
Click OK to save all
Next, select Softphone at the top and then Preferences. Once the window opens, select the option labeled Audio Codecs on the left-hand side.
Remove all current audio codecs with the exception of G711uLaw.
Our last step will be to select the option on the left-hand menu labeled Calls and uncheck or disable the RTP inactivity timers.
Push OK to save the changes. Bria 3 should now work properly with Nextiva's Network. It is always a best practice to make a test call to ensure the softphone was set up properly.