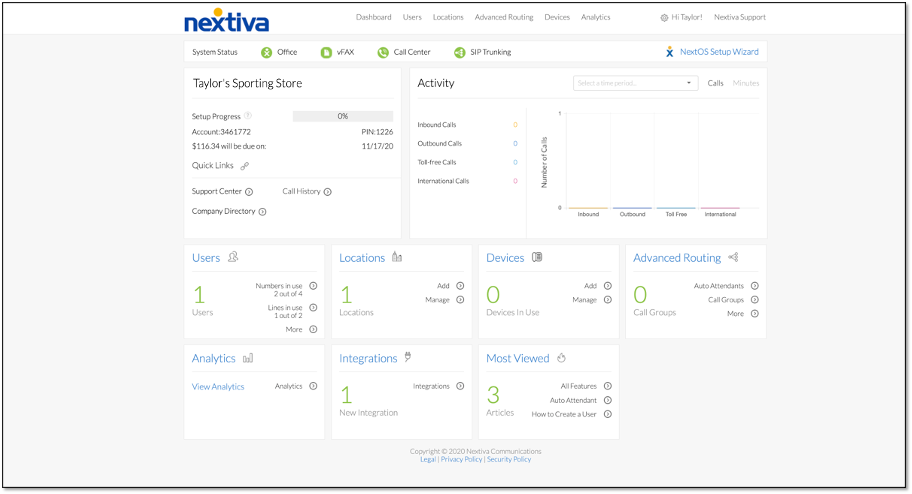
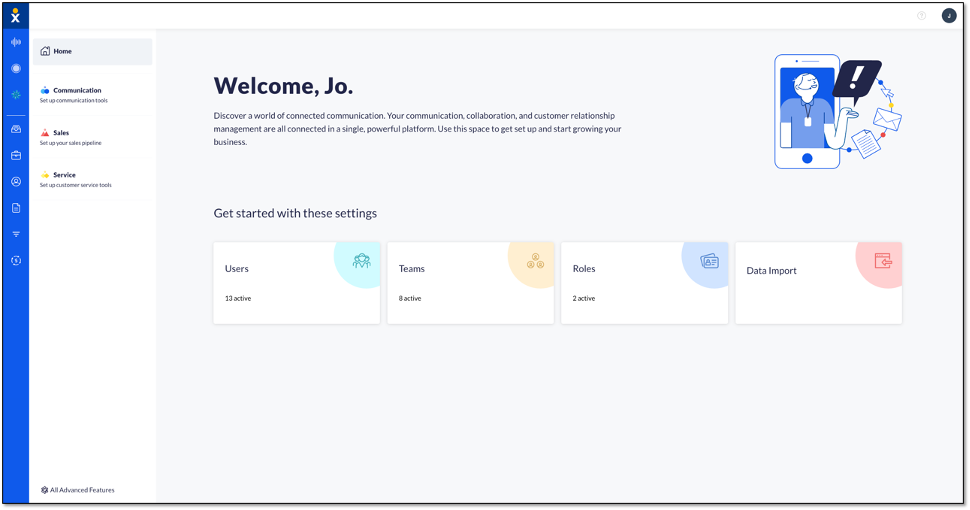
Choose the image that looks most like your screen once logged in.
Nextiva Anywhere allows you to make and receive calls from any device, at any location, with only one phone number, one dial plan, one voicemail box, and a unified set of features. This will allow you to move seamlessly between whichever devices you choose. You can now leave the office without leaving your business behind or having to give out personal phone numbers. Make sure you set up this feature properly before troubleshooting: Click Here.
If you are not receiving calls to your Nextiva Anywhere location or can’t call out, here are tips to troubleshoot Nextiva Anywhere failures.
Check your Nextiva Anywhere Phone Number:
- From the Nextiva Voice Admin Dashboard, hover your cursor over Users and select Manage Users
- Hover your cursor over the user you wish to edit Nextiva Anywhere information for and click the pencil icon.
- Scroll down and click Mobility to expand the section.
- Click the pencil icon to the right of Nextiva Anywhere.
- Make sure the phone you are calling from is entered in the Phone Number field. Make any changes needed.
- Click Save to apply changes.
Inbound Calls Not Ringing Anywhere Number:
- From the Nextiva Voice Admin Dashboard, hover your cursor over Users and select Manage Users
- Hover your cursor over the User you wish to edit Nextiva Anywhere information for and click the pencil icon.
- Scroll down and click Mobility to expand the section.
- Click the pencil icon to the right of Nextiva Anywhere.
- Verify the following information:
- Verify that Enable This Location has a checkmark in the box.
- Verify the Phone Number box is the number of the phone you are calling from.
- Click Save to apply changes.
Verify Call Forwarding, Do Not Disturb, and CommPilot Express Are Disabled:
- From the Nextiva Voice Admin Dashboard, hover your cursor over Advanced Routing and select Call Center Locations.
- Click the blue Log In button to open the Configuration Portal.
- Click on Users under the basic column and search for the user you wish to check.
- Once on the user’s profile page, select Incoming Calls from the left menu.
- Make sure Call Forwarding Always under the Basic column is turned Off.
- In the same column, check to make sure Do Not Disturb is also turned Off.
- On the right Advanced column, check to make sure CommPilot Express is Off.
- Make changes if necessary and select Apply.
If Unable to Make Outbound Calls:
You may receive the message that your passcode is not valid when attempting to dial outbound from your Nextiva Anywhere phone. This “passcode” is the voicemail box PIN or password for the employee. If you are inputting your employee voicemail PIN and are denied access, we will need to reset this in the Nextiva Portal.
To reset your voicemail password, Click Here.
Once you have reset your PIN, you should now be able to dial your Nextiva Anywhere phone number and when prompted for your passcode, enter the new 4-digit PIN you just created.
Please contact our Amazing Service Team at (800) 285-7995 or email [email protected] for assistance.

