Importing data to NextOS
Get started with Nextiva by importing your existing data, such as devices and users.
Templates
Download one of the below templates to import data to Nextiva CRM quickly:
Importing data to Nextiva Voice
When adding users in Nextiva Voice you can choose to import a list of users and their details together.
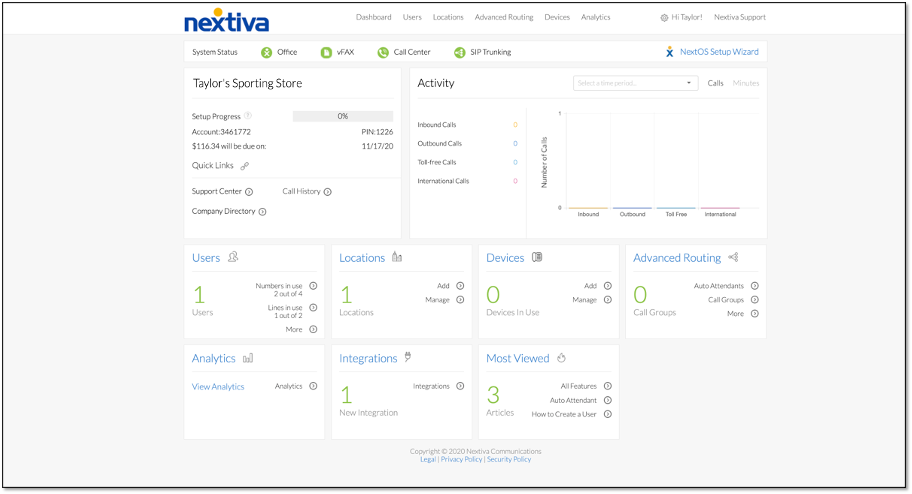
- From the NextOS Home Page, select Voice > Users > Add Users >Import users.
- Click Download XLS Template or the Download CSV Template to download the template user file.
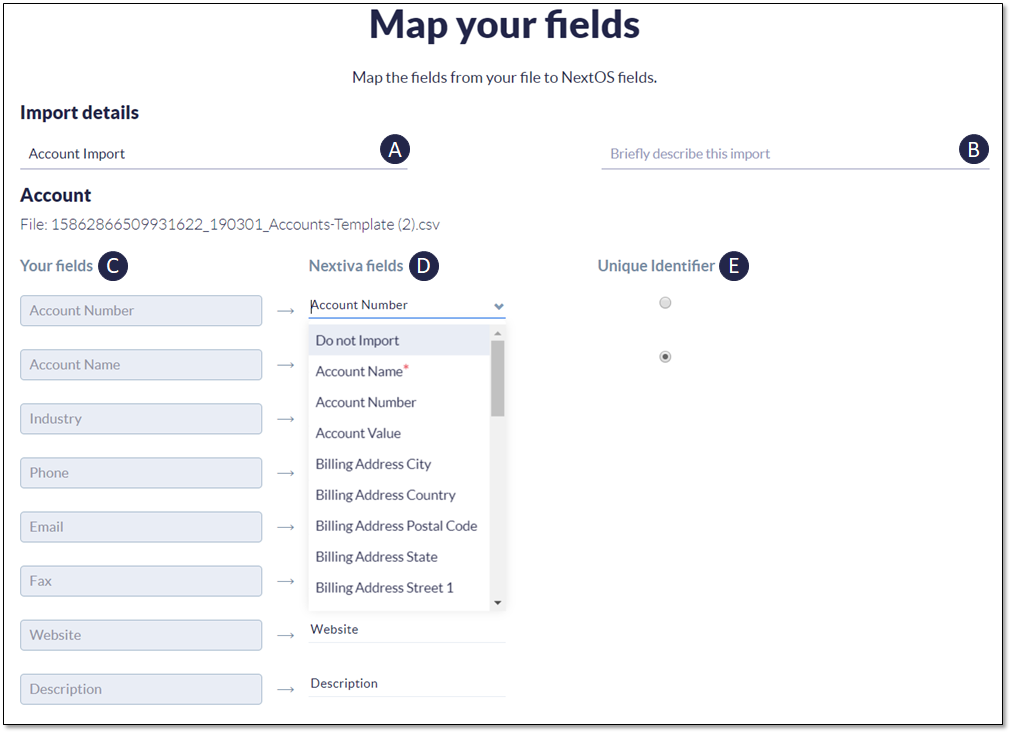
- Open the downloaded template file and enter the required information for each user you want to import. The template file includes the following fields:
-
- First Name: The user’s first name.
- Last Name: The user’s last name.
- Email Address: The user’s email address where voicemails and login information may be sent.
- Send Voicemails to Email?: Enter a single letter response of Y for “yes” or N for “no” to designate whether voicemail to email should be enabled for each user.
- Location Name: The name of the location for this user, exactly as it is listed in the location’s profile.
- Phone Number: The user’s intended phone number (not required).
- Extension: The user’s intended extension number.
- Alt Fwding Number: The phone number that calls should forward to if the user’s device is found to be de-registered.
- Nextiva Device: Type Y for “yes” if the device was purchased from Nextiva, or N for “no” if it was a device you are bringing with you.
- Device Model: Select the model of the device from the drop-down list.
- MAC Address: A 12-character code including numbers and letters A-F; this is usually found on the bottom of the device.
- Preferred Username: A unique username for signing into various services, such as the Nextiva App.
- Authorized User: Type Y for “yes” if the user is an authorized user who can make changes to the account and receive account related information, including billing data. Type N for “no” if you do not want the user to have this access.
- Authorized User PIN: A 4-digit security PIN for the user. This is only required if you typed Y for “yes” in the Authorized User field.
- Welcome Email: If you’d like the user to receive an email with their login credentials type Y for “yes” or type N for “no”.

- Click Upload complete and upload the completed template file. Click Complete Import.
- Once we have verified that all the information is correct and no errors were found, click Import records > Finished.